10 Essential Tips for Caring for Anthurium Polyschistum
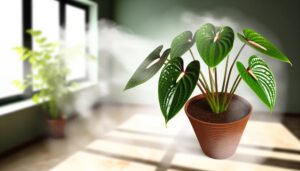
Caring for Anthurium polyschistum requires attention to detail. Position your plant in bright, indirect light, preferably near an east or north-facing window with sheer curtains.
Water consistently, allowing the top inch of soil to dry. Use distilled or rainwater.
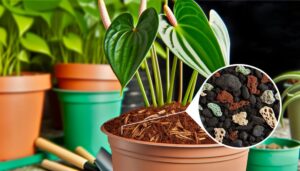
Maintain humidity levels between 70-80% with a humidifier or water tray. Use a well-draining mix of orchid bark, peat moss, and perlite.
Keep temperatures between 65°F to 80°F. Prune regularly and use sterilized shears.
Monitor for pests and diseases, applying insecticidal soap as needed. Repot every 1-2 years, and propagate via stem cuttings or root division.
For in-depth growth tips, explore further.
Key Takeaways
- Place Anthurium Polyschistum in bright, indirect light to prevent leaf burn.
- Water consistently, allowing the top inch of soil to dry between waterings.
- Maintain high humidity levels between 70-80% using a humidifier or water tray.
- Use a well-draining soil mix with orchid bark, peat moss, and perlite to prevent root rot.
- Fertilize every 4-6 weeks during the growing season with a balanced, water-soluble fertilizer.
1. Optimal Light Conditions
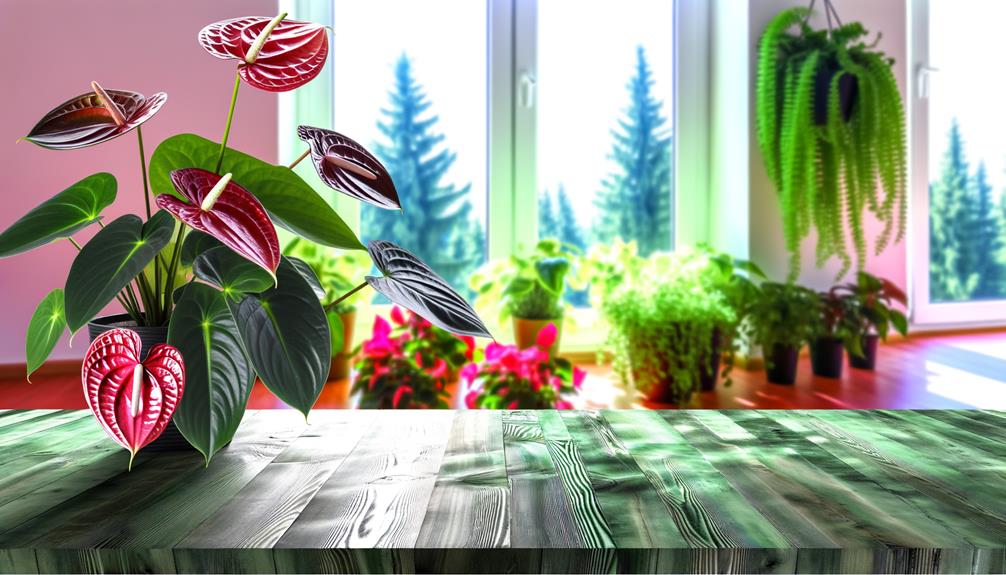
To guarantee your Anthurium Polyschistum thrives, place it in bright, indirect light to mimic its natural habitat.
This plant, native to tropical rainforests, requires filtered sunlight. Position it near an east or north-facing window, safeguarding it from direct sun, which can cause leaf scorch.
Use sheer curtains to disperse intense light if necessary. Artificial grow lights can supplement natural light, especially in darker months.
Rotate the plant periodically to ensure even light exposure on all sides. Avoid low light conditions, as they can hinder growth and reduce leaf vitality.
2. Proper Watering Techniques
Guarantee your Anthurium Polyschistum thrives by watering it consistently but allowing the top inch of soil to dry out between waterings.
This prevents root rot and promotes ideal hydration. Use distilled or rainwater to avoid harmful minerals found in tap water.
Water the plant thoroughly until excess drains out, promoting even soil moisture. Always empty the saucer to prevent waterlogging.
Monitor the plant, adjusting the watering frequency based on seasonal changes—less in winter, more in summer.
Employ a moisture meter for precision. By adhering to these techniques, you support the plant’s health and longevity, promoting it remains a vibrant focal point.
Your meticulous care will create an environment where Anthurium Polyschistum can flourish, enhancing your space beautifully.
3. Ideal Humidity Levels
Maintaining high moisture levels, ideally between 70-80%, is essential for the best growth of Anthurium Polyschistum.
You can achieve this by using a humidifier or placing a tray of water near the plant to increase ambient dampness. Grouping plants together also creates a microenvironment with elevated moisture.
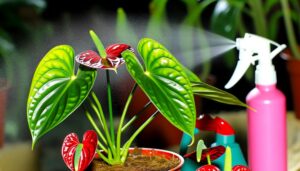
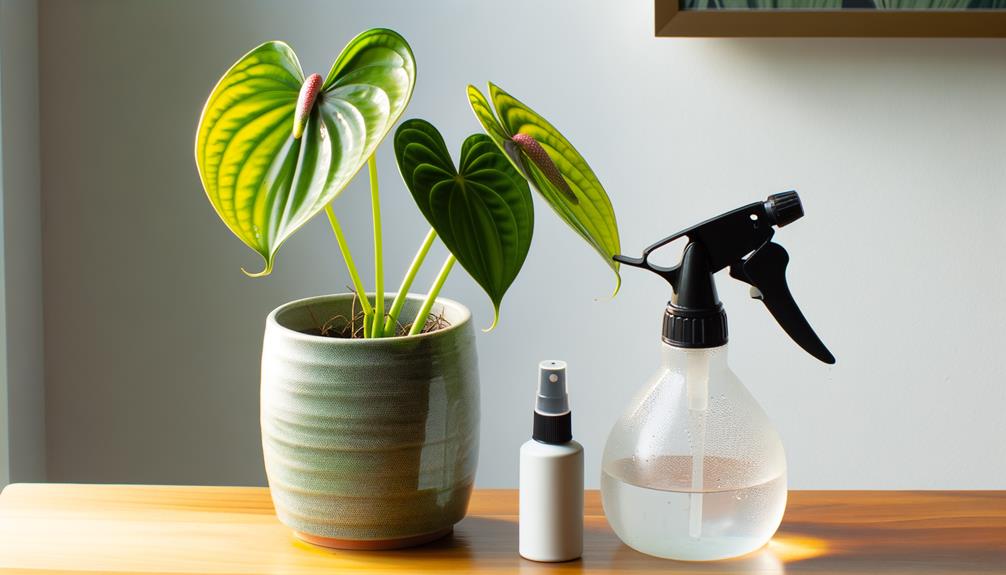
Regularly misting the leaves with distilled water can help, but avoid over-wetting to prevent fungal issues.
Monitor moisture with a hygrometer to ensure it stays within the best range. If you live in a dry climate, consider a moisture dome or a terrarium setup. Providing consistent, high moisture not only supports healthy foliage but also enhances the plant’s ability to absorb nutrients effectively.
4. Soil and Potting Mix
To maximize your Anthurium Polyschistum thrives, use a potting mix that mimics its natural habitat. Aim for a blend that includes orchid bark, peat moss, and perlite to provide proper drainage and aeration.
This combination prevents root rot and supports healthy growth by maintaining an ideal moisture balance.
Proper Soil Composition
Selecting the right soil composition for Anthurium Polyschistum involves creating a well-draining mix that mimics its natural tropical habitat.
Aim for a blend that retains moisture yet drains efficiently. You’ll need components like orchid bark, perlite, and peat moss. These materials maintain aeration and prevent root rot, essential for the plant’s health.
| Key Ingredient | Benefits |
|---|---|
| Orchid Bark | Enhances aeration, mimics natural habitat |
| Perlite | Improves drainage, reduces soil compaction |
| Peat Moss | Retains moisture, balances pH |
| Charcoal | Filters impurities, prevents odor |
Avoid heavy, compact soils as they can suffocate the roots. Regularly check the soil’s moisture levels and adjust your mix as needed.
This tailored approach guarantees your Anthurium Polyschistum thrives, providing exquisite foliage for your space.
Ideal Potting Mix
Creating the ideal potting mix for Anthurium Polyschistum involves combining specific soil components to achieve growth conditions.
- Start with a base of high-quality orchid bark to ensure good structure.
- Add sphagnum moss to retain moisture, but avoid water saturation.
- Integrate perlite or pumice to enhance aeration and improve drainage.
- A small amount of charcoal will help absorb impurities and maintain the mix fresh.
Consider including a bit of coco coir for extra moisture retention, but balance it with the other ingredients to prevent denseness.
Aim for a slightly acidic pH range (5.5-6.5) to optimize nutrient absorption.
Drainage and Aeration
Proper drainage and aeration are crucial for preventing root rot and securing the healthy growth of your Anthurium Polyschistum.
Choose a potting mix that’s well-draining yet retains some moisture. A blend of orchid bark, perlite, and peat moss works excellently. Make sure the pot has drainage holes to expel excess water.
Avoid compacted soils, as they restrict airflow and lead to waterlogging. Regularly check the soil’s texture; it should be loose and crumbly.
For aeration, consider incorporating activated charcoal or pumice into the mix, as these materials enhance oxygen flow to the roots. When repotting, gently loosen the root ball to improve soil contact and air circulation.
5. Temperature Requirements
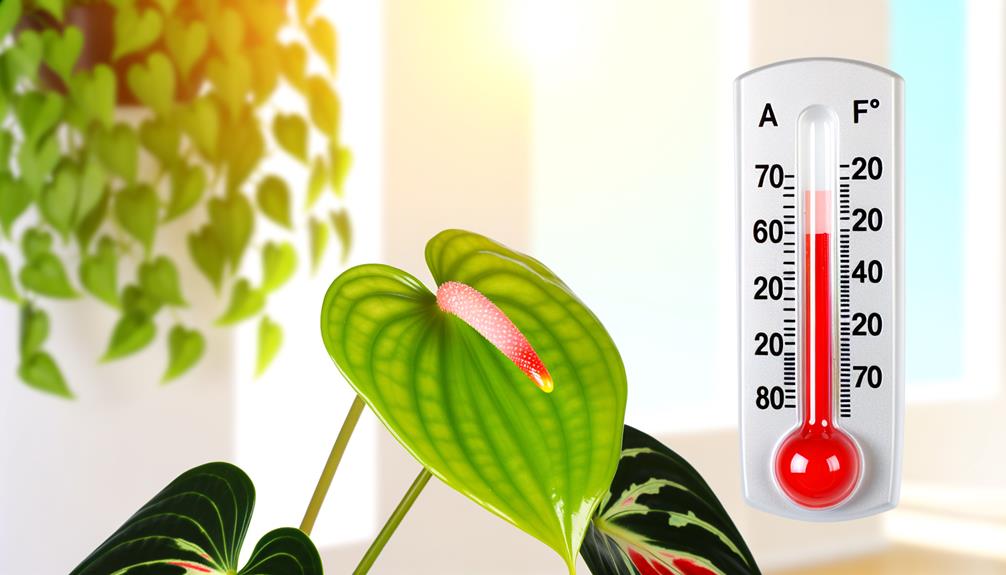
Maintaining an ideal temperature range between 65°F and 80°F is essential for the health and growth of your anthurium polyschistum.
This tropical plant thrives in a warm environment, mimicking its native habitat. Consistent temperatures help prevent stress and promote robust growth.
Here are some practical tips to ensure best temperature conditions:
- Avoid drafts: Position your plant away from windows or doors where cold air might seep in.
- Use a thermometer: Regularly monitor room temperature to maintain the ideal range.
- Avoid heat sources: Keep the plant away from radiators or direct sunlight, which can cause overheating.
- Humidity control: High humidity levels complement the temperature range, so consider a humidifier.
6. Fertilization Guidelines
To maximize your Anthurium polyschistum thrives, establish a prime nutrient schedule by using a balanced, water-soluble fertilizer.
Choose a fertilizer with a ratio of 20-20-20 or similar, and apply it at half-strength every four to six weeks during the growing season.
Avoid over-fertilizing, as excessive nutrients can lead to root burn and hinder plant health.
Optimal Nutrient Schedule
Anthurium polyschistum thrives when you apply a balanced, water-soluble fertilizer every four to six weeks during the growing season. To optimize nutrient absorption and robust growth, follow these expert guidelines:
- Dilution Rate: Always dilute the fertilizer to half its recommended strength to prevent root burn.
- Application Timing: Fertilize in the morning when stomata are open, allowing better nutrient uptake.
- Soil Moisture: Make sure the soil is already moist before fertilizing to avoid shocking the plant.
- Leaching: Once a month, leach the soil by flushing it with water to remove any accumulated salts.
Choosing Right Fertilizer
Selecting the appropriate fertilizer for your Anthurium polyschistum involves understanding the specific nutrient needs that promote its lush, vibrant growth.
You’ll want a balanced, water-soluble fertilizer with an N-P-K ratio around 20-20-20. This guarantees your plant receives equal parts nitrogen, phosphorus, and potassium, fostering strong roots, healthy foliage, and beautiful blooms.
Opt for a slow-release formula to provide a steady nutrient supply without the risk of over-fertilization. Additionally, incorporating micronutrients like magnesium and calcium enhances overall plant health. Always check for urea-free formulations to prevent root burn.
Application Frequency Tips
For best growth, fertilize your Anthurium polyschistum every 4-6 weeks during the growing season, adjusting frequency based on the plant’s response and environmental conditions.
Observe leaf coloration and growth rates to fine-tune your schedule. Use a balanced, water-soluble fertilizer, diluted to half-strength, to avoid nutrient burn.
Here are some practical tips:
- Monitor foliage: Yellowing leaves may indicate nutrient deficiencies.
- Adjust for light: Plants in higher light levels may need more frequent feeding.
- Water before fertilizing: This helps prevent root burn.
- Seasonal adjustments: Reduce frequency in the dormant winter months.
7. Pruning and Maintenance
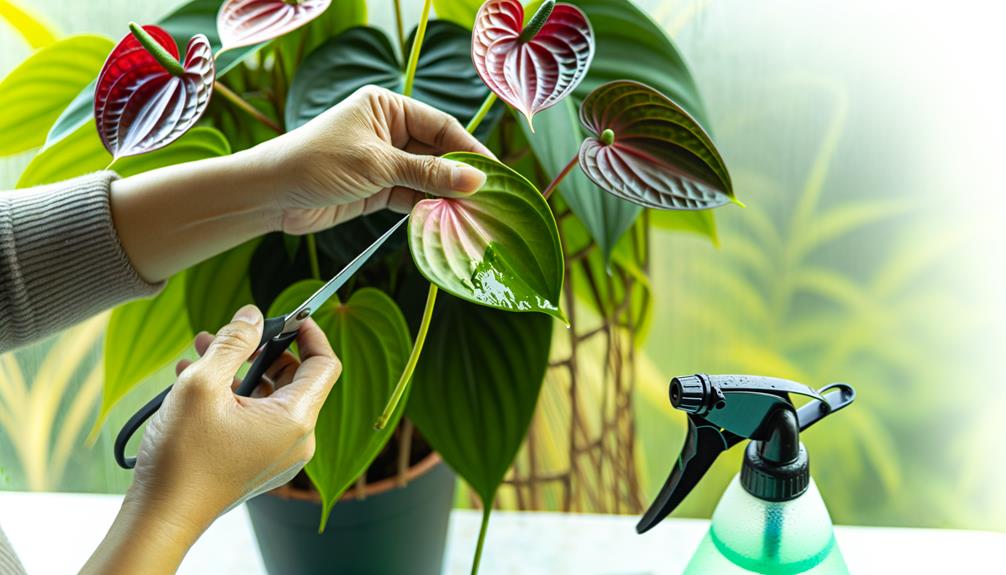
Regularly trimming the yellowing leaves and dead stems is crucial for maintaining the health and appearance of your Anthurium Polyschistum. Use sterilized pruning shears to make clean cuts, which help prevent infections.
Focus on removing any discolored or damaged foliage, as this promotes new growth and improves overall plant vigor.
Additionally, prune any leggy or excessively long stems to maintain a balanced shape. Always cut just above a node, which stimulates healthy branching.
During the growing season, inspect the plant weekly and perform minor maintenance as necessary.
By dedicating time to these tasks, you’ll safeguard your Anthurium Polyschistum thrives, offering a lush and vibrant display that brings joy to those you assist with your gardening expertise.
8. Pest and Disease Control
To keep your Anthurium polyschistum healthy, you need to identify common pests like spider mites and aphids early.
Implement preventive care strategies such as maintaining proper humidity levels and ensuring good air circulation.
If infestations occur, use effective treatment solutions like insecticidal soap or neem oil to manage the problem swiftly.
Identifying Common Pests
A few prevalent pests you need to watch for on your Anthurium polyschistum include spider mites, aphids, and scale insects. Each of these pests can wreak havoc if left unchecked, so it’s essential to identify them early.
To spot these nuisances, look for:
- Spider mites: Tiny, web-spinning pests that cause stippling and leaf discoloration.
- Aphids: Small, soft-bodied insects that cluster on new growth, excrete sticky honeydew.
- Scale insects: Hard-shelled bugs that attach to stems and leaves, sucking plant sap.
- Mealybugs: Cotton-like masses found in leaf axils, causing yellowing and stunted growth.
Regularly inspect your plant’s leaves, stems, and undersides for these signs. Early detection and intervention will help maintain a healthy Anthurium polyschistum.
Preventive Care Strategies
Implementing a strong preventive care routine is crucial for keeping your Anthurium polyschistum free from pests and diseases.
Begin with maintaining ideal humidity levels (60-80%) to deter spider mites. Regularly inspect foliage for early signs of infestation, such as discolored leaves or webbing.
Sanitize tools and pots to prevent pathogen spread. Use neem oil or insecticidal soap as a preventive treatment, applying it every two weeks. Promote proper air circulation to discourage fungal growth—consider using a fan if necessary.
Quarantine any new plants for at least two weeks to prevent introducing pests. Lastly, avoid excessive watering to prevent root rot, a common issue.
By following these preventive measures, you’ll create a healthier environment for your Anthurium polyschistum.
Effective Treatment Solutions
When dealing with pest infestations or diseases on your Anthurium polyschistum, timely and precise action is crucial to minimize damage and restore plant health. Start by identifying the specific pest or disease affecting your plant.
Use targeted treatments to address the issue effectively. For pests, consider insecticidal soaps or neem oil. For fungal infections, apply a suitable fungicide.
Inspect Regularly: Check your plant weekly for signs of pests or disease.
Isolate Affected Plants: Prevent the spread by isolating infected plants immediately.
Prune Damaged Areas: Remove diseased or pest-ridden leaves to halt progression.
Maintain Ideal Conditions: Ensure proper humidity, lighting, and soil conditions to strengthen plant resilience.
9. Repotting Best Practices
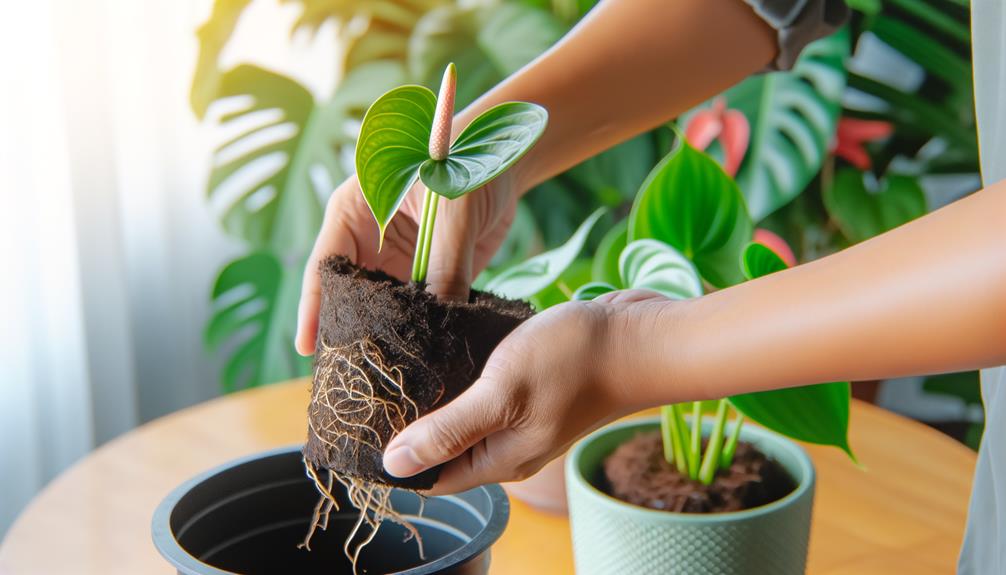
To secure the health and growth of your Anthurium Polyschistum, repotting should be done every 1-2 years.
Start by selecting a pot that’s 1-2 inches larger in diameter than the current one. Use a well-draining potting mix, ideally a combination of orchid bark, peat, and perlite.
Gently remove the plant from its old pot, taking care not to damage the root system. Inspect and prune any dead or rotting roots.
Place the Anthurium in the new pot, confirming the root ball sits at the same depth as before. Fill in with the potting mix, firm it gently, and water thoroughly.
This process promotes root health and secures your plant continues to thrive, offering beauty and joy to those you serve.
10. Propagation Methods
Propagating Anthurium Polyschistum can be effectively achieved through stem cuttings or by dividing the root ball.
For stem cuttings, select a healthy stem with at least two nodes and use sterilized pruning shears to make a clean cut. Place the cutting in a well-draining mix and maintain high moisture levels.
Root division involves gently removing the plant from its pot and carefully separating the root ball into smaller sections, each with a portion of the root system and foliage.
Here are key steps:
- Stem Cuttings: Choose healthy stems, cut below a node, place in soil.
- Root Division: Separate root clusters, make sure each section has roots and leaves.
- Moisture: Maintain high moisture levels for new cuttings.
- Soil: Use a well-draining medium to prevent rot.
Conclusion
To sum up, mastering the care for your anthurium polyschistum isn’t rocket science. By ensuring ideal light, precise watering, and just the right humidity, you’ll keep your plant in top shape.
Use well-draining soil, maintain perfect temperatures, and don’t shy away from a little pruning. Stay vigilant for pests, repot when necessary, and propagate with care.
Follow these expert tips, and your anthurium will thrive, rewarding you with its vibrant beauty. Happy growing!

