5 Simple Steps to Successfully Grow Anthurium Plants
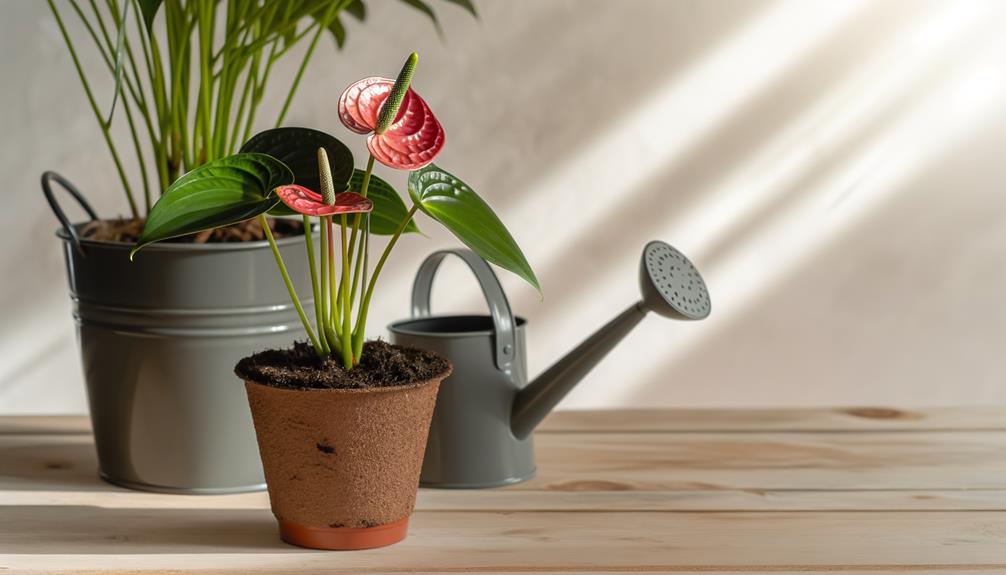
To cultivate Anthurium andraeanum successfully, first, select a terracotta pot with multiple drainage holes, slightly larger than the root ball. Use a soil mix of orchid bark, peat moss, and perlite, and apply a monthly balanced, water-soluble fertilizer.
Water when the top inch of soil is dry, ensuring a well-draining environment. Provide bright, indirect light, preferably near an east or north-facing window, while maintaining high humidity and a consistent temperature range.
Regularly prune, clean foliage, fertilize, and check for pests. Mastering these steps reveals more intricate care techniques for thriving Anthuriums.
Key Takeaways
- Choose a breathable terracotta pot with multiple drainage holes to ensure proper root health.
- Use a soil mix of orchid bark, peat moss, and perlite for optimal growth.
- Water when the top inch of soil feels dry to prevent root rot.
- Provide bright, indirect light and maintain high humidity levels.
- Regularly prune, clean foliage, and inspect for pests to keep the plant healthy.
Step 01: Choose the Right Pot
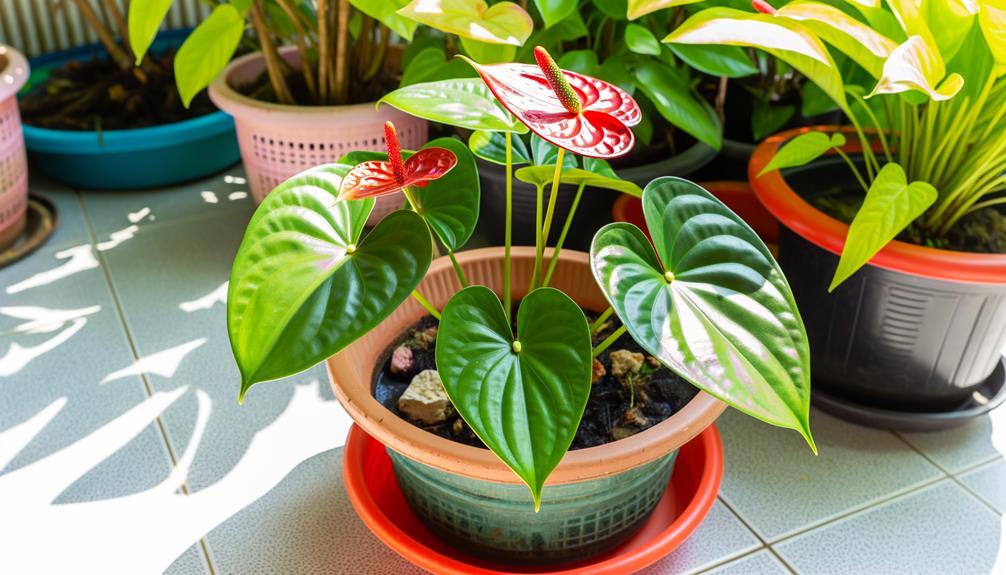
When selecting the right pot for your Anthurium andraeanum, make certain it has sufficient drainage holes to prevent waterlogging and root rot.
Choose a pot size that’s slightly larger than the plant’s root ball. Typically, a pot with a diameter of 5-7 inches (12-18 cm) is ideal for young plants.
As the Anthurium matures, you may need to repot it into a larger container, but avoid oversized pots as they can retain too much moisture.
Opt for a pot material that allows for breathability; terracotta pots are an excellent choice.
Always prioritize pots with multiple drainage holes to facilitate proper water flow.
This careful selection helps maintain prime root health and promotes vigorous growth for your Anthurium andraeanum.
Step 02: Optimal Soil Mix
Selecting the right pot is just one step; making sure your Anthurium andraeanum thrives also requires a soil mix that offers excellent aeration and drainage.
Use a blend of equal parts orchid bark, peat moss, and perlite. This combination mimics the plant’s natural epiphytic environment.
Fertilizer application should be done monthly using a balanced, water-soluble fertilizer diluted to half-strength.
Maintain high humidity levels, ideally between 60-80%, to prevent leaf browning. Repotting should occur every 2-3 years or when roots outgrow the pot.
Always inspect for pests like aphids and spider mites during repotting and apply appropriate pest control measures. This soil mix, combined with proper care, ensures robust Anthurium growth.
Step 03: Proper Watering Techniques
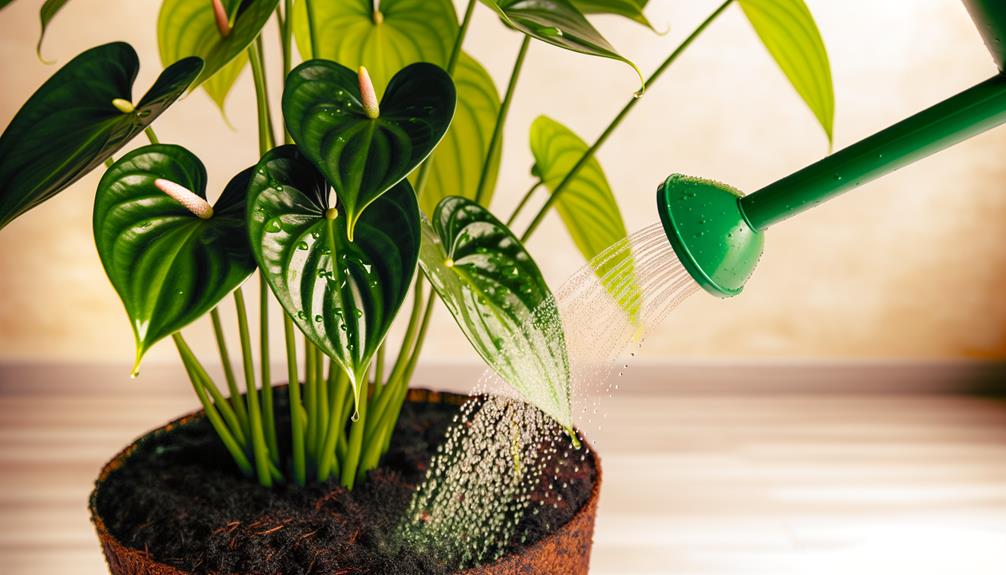
To optimize hydration, water your Anthurium andraeanum only when the top inch of the soil mix feels dry to the touch. This helps maintain ideal moisture levels and prevents overwatering risks.
Establish a watering frequency based on environmental factors like humidity and temperature. Use a well-draining mix to ensure proper drainage solutions, avoiding root rot.
| Factor | Recommendation |
|---|---|
| Watering Frequency | Check soil moisture weekly |
| Overwatering Risks | Verify pot has drainage holes |
| Moisture Levels | Maintain consistent moisture |
| Drainage Solutions | Use a porous soil mix |
Monitor the plant closely, adjusting your approach as necessary. Remember, Anthurium andraeanum thrives when you balance watering frequency and moisture levels, and provide effective drainage solutions.
Step 04: Ideal Light Conditions
After mastering proper watering techniques, maximize your Anthurium andraeanum receives bright, indirect light to promote healthy growth and vibrant blooms.
Light levels are vital; position your plant near an east or north-facing window where it can absorb filtered sunlight. Avoid direct sunlight, which can scorch the leaves.
Ideal temperature ranges from 65-80°F (18-27°C). Consistent temperatures prevent stress, fostering robust growth.
Monitor watering frequency; adjust based on light exposure and temperature. Increased light often requires more frequent watering.
Ensure high humidity, around 60-80%, to mimic tropical environments. You can achieve this with a humidifier or by placing a water tray nearby.
Proper light and humidity levels create ideal conditions for your Anthurium’s thriving.
Step 05: Routine Maintenance Tips
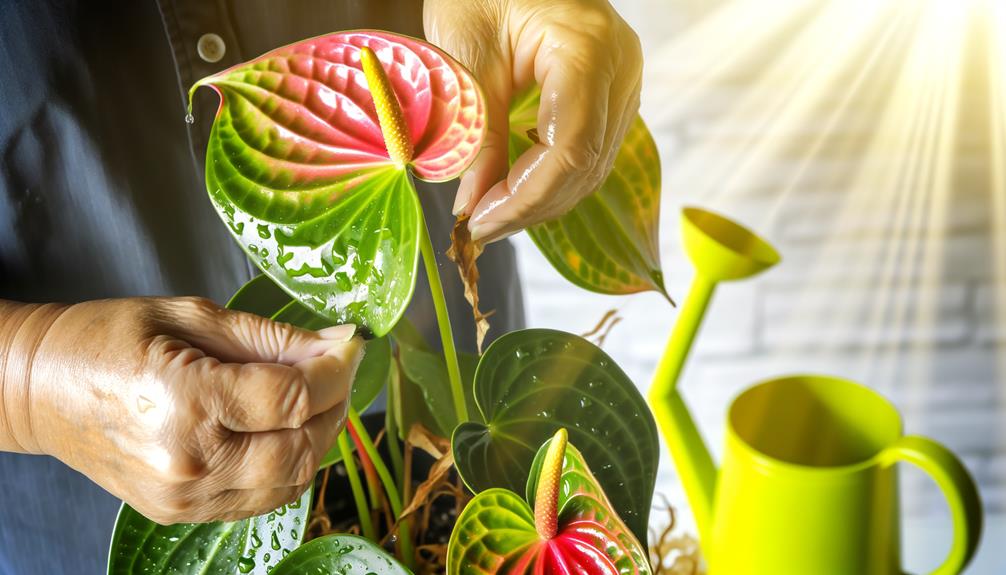
Regular maintenance of your Anthurium andraeanum promotes its health and longevity, necessitating tasks such as pruning, cleaning, and periodic fertilization. Employ proper pruning methods by removing yellow or damaged leaves with sterilized scissors to prevent disease spread.
Clean the foliage with a damp cloth to maintain photosynthetic efficiency. Establish a consistent fertilizing schedule, using a balanced, water-soluble fertilizer (20-20-20) every 6-8 weeks during the growing season. Dilute the fertilizer to half-strength to avoid root burn.
Monitor for pests like aphids or mealybugs, and utilize neem oil treatments if necessary. Guarantee the plant’s medium remains moist but not waterlogged, as Anthurium roots require well-draining conditions.
These steps will ensure your Anthurium thrives.
Conclusion
By following these five simple steps, you’ll transform your anthurium plants (Anthurium andraeanum) into thriving, vibrant specimens.
- Choose the right pot
- Use a perfect soil mix
- Master proper watering techniques
- Provide ideal light conditions
- Adhere to routine maintenance tips
Just like programming a VCR, these guidelines guarantee your anthuriums flourish with minimal fuss.
Remember, consistent care and attention are the keys to success, turning your indoor garden into a botanical paradise.
Happy growing!


