5 Steps to Propagating Anthurium in Water
To propagate Anthurium in water, you’ll need sterilized pruning shears, a glass container with distilled water, and rooting hormone. First, select a stem with at least two leaves and visible nodes.
Make a clean cut below a node using sterilized shears. Next, prepare room-temperature distilled water in a transparent container.
Submerge one node and ensure the cutting is upright. Change the water every 3-4 days to prevent bacterial growth.
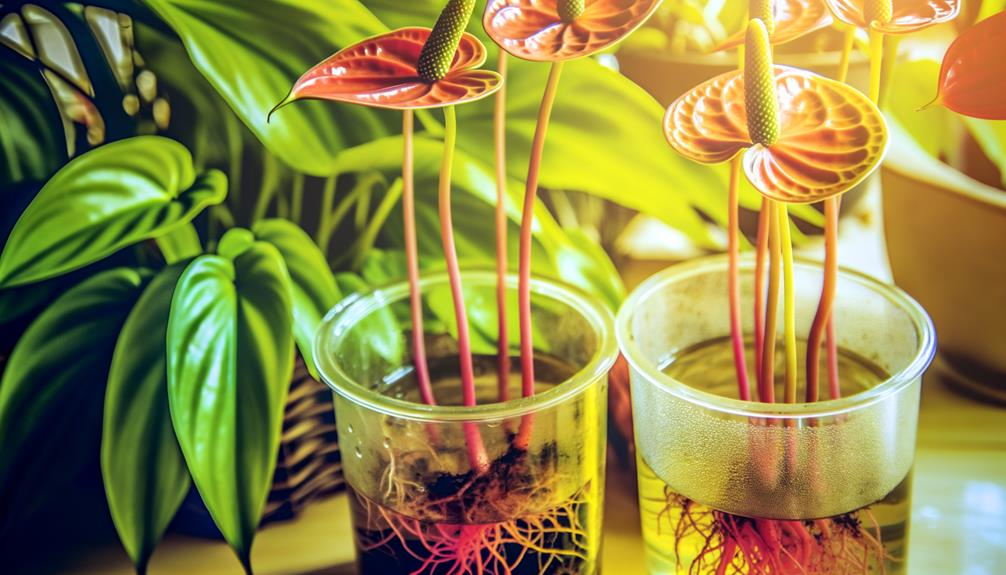
Monitor for root development, which typically appears within 2-4 weeks, and maintain a temperature of 70-80°F. With proper care, your Anthurium should thrive.
There’s more to explore for best results.
Key Takeaways
- Choose a healthy stem with at least two leaves and visible nodes for propagation.
- Use sterilized pruning shears to make a clean cut just below a node.
- Submerge at least one node in distilled or filtered water in a transparent container.
- Change the water every 3-4 days to keep it fresh and oxygenated.
- Maintain a stable temperature between 70-80°F and provide indirect sunlight for optimal growth.
Step 01: Gather Your Supplies
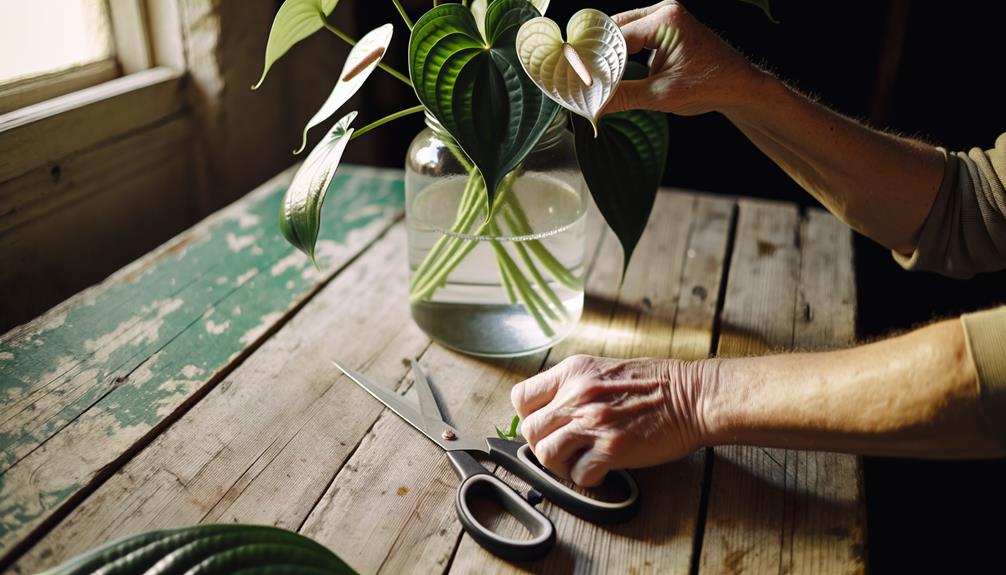
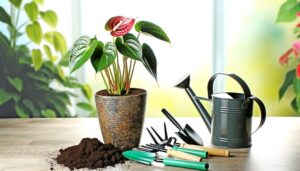
Before you begin propagating your Anthurium in water, make sure you have the necessary supplies meticulously gathered.
You’ll need a sterilized pair of pruning shears or a sharp knife to guarantee a clean cut, reducing the risk of infection.
Prepare a glass container filled with distilled or filtered water to avoid chlorine and fluoride exposure. Additionally, have rooting hormone powder on hand to stimulate root development.
Make sure you’ve got rubbing alcohol for sterilizing tools and any gloves to maintain hygiene. Finally, a small stake or support may be useful for keeping the cutting upright.
Step 02: Select a Healthy Cutting
Select a strong stem with at least two leaves and visible nodes to ensure a successful propagation. Carefully examine the mother plant for any signs of disease or pests before making your selection.
Choose a stem that’s vibrant, firm, and exhibits healthy growth. Use sterilized pruning shears to make a clean cut just below a node, ensuring the cutting is approximately 4-6 inches long. Nodes are essential as they contain the meristematic tissue required for root development.
Avoid stems that appear wilted, discolored, or damaged. By selecting a healthy cutting, you’ll set a strong foundation for propagation, ensuring that the new plant thrives and flourishes, ultimately enhancing your ability to serve others with beautiful, strong Anthurium plants.
Step 03: Prepare the Water
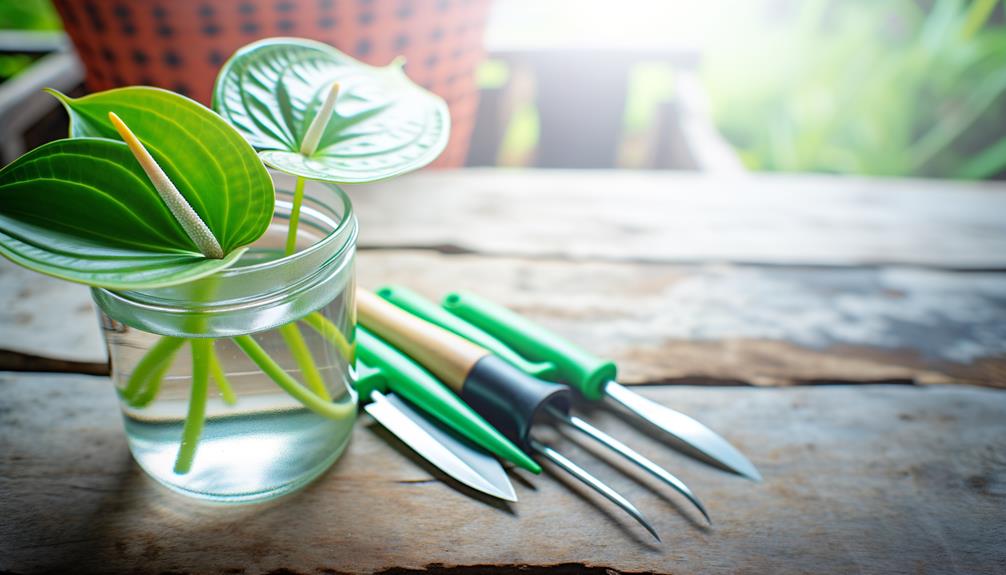
After securing a healthy cutting, it’s important to prepare the water correctly to foster ideal root development. Start by using distilled or filtered water to avoid harmful chemicals found in tap water. Confirm the water is at room temperature to prevent shock to the cutting.
| Step | Action | Purpose |
|---|---|---|
| 1 | Use distilled/filtered water | Avoids chlorine and harmful chemicals |
| 2 | Confirm room temperature water | Prevents thermal shock to the cutting |
| 3 | Change water every 3-4 days | Keeps water oxygenated and fresh |
Maintain cleanliness by changing the water every 3-4 days to prevent bacterial growth and promote oxygenation. This meticulous preparation optimizes the environment for your Anthurium cutting to thrive, ultimately leading to successful propagation.
Step 04: Place the Cutting in Water
Gently place the Anthurium cutting into the prepared water, making sure that at least one node is fully submerged, as this is where new roots will emerge.
Position the cutting so it stands upright, which will promote healthy growth patterns.
Use a transparent container to allow light penetration and make root development easy to observe.
Make sure the water level remains consistent, keeping the node submerged.
Use a clean, sharp tool to make precise cuts, reducing the risk of infection.
Position the container in a location with indirect sunlight to prevent algae growth.
Step 05: Monitor and Maintain Growth
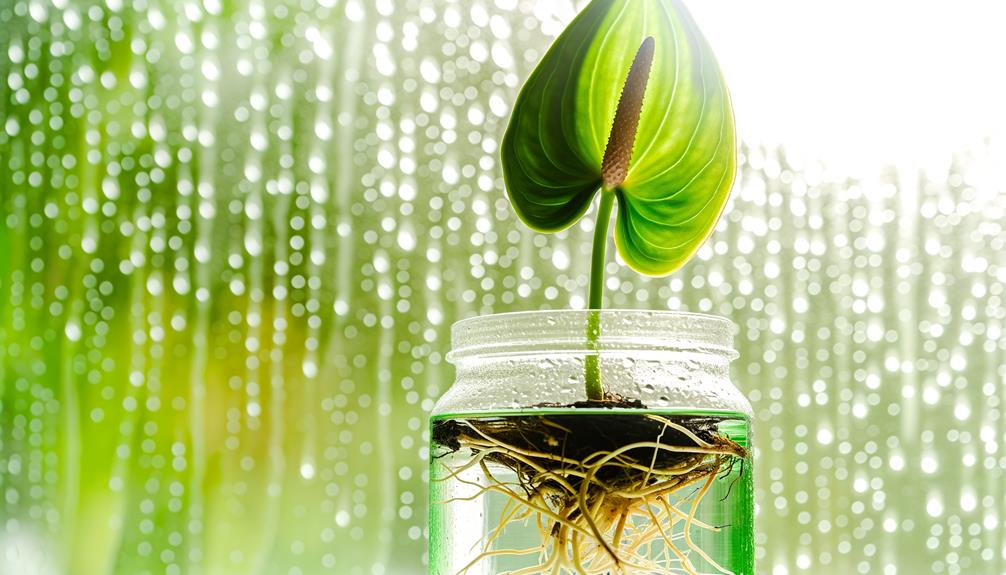
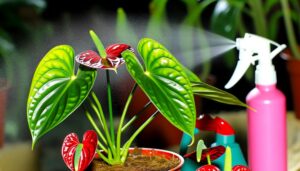
Regularly inspect the cutting for root development and signs of disease, changing the water every few days to maintain ideal growing circumstances.
Check for root elongation, which typically begins within two to four weeks. Use a transparent container to easily observe root growth and detect any discoloration or fungal issues.
Make sure the water level covers the base of the cutting without submerging the leaves. If you notice algae formation, rinse the cutting and clean the container thoroughly. Maintain a stable temperature between 70-80°F (21-27°C) and provide indirect sunlight.
If leaves yellow or roots appear mushy, trim affected areas with sterilized scissors. By closely monitoring and maintaining prime conditions, you’ll guarantee vigorous and healthy anthurium growth.
Conclusion
You’ve now mastered the art of propagating anthurium in water. By following these steps, you’re ensuring a thriving plant that’s as vibrant as a splash of color on a blank canvas.
Remember to routinely check the water for clarity and root development. With patience and care, your anthurium will flourish, showcasing your dedication to botanical excellence.
Keep nurturing, and soon you’ll have a collection of stunning, healthy plants that reflect your expert touch.

