7 Steps to Grow Anthurium Plants in Water
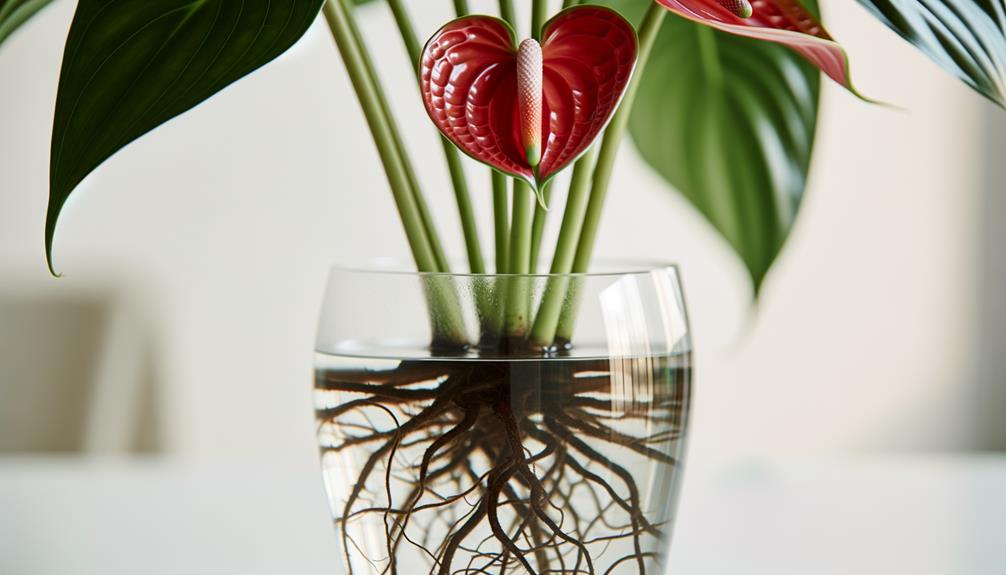
To cultivate anthurium plants in water, begin by selecting robust plants with lively leaves and sturdy white roots. Utilize a transparent vessel and distilled or filtered water.
Rinse roots under mild water and trim any harmed parts. Immerse at least two nodes in the container, positioning it in indirect sunlight.
Sustain a steady water level, refreshing it every few days. Rotate the plant regularly for uniform light exposure and guarantee suitable humidity levels.
Keep an eye on root development, and once roots are at least 2 inches long, contemplate transferring to soil. Stay tuned for comprehensive care tips and problem-solving guidance.

Key Takeaways
- Choose a healthy Anthurium plant with vibrant leaves and firm white roots.
- Rinse and trim the roots, ensuring nodes are submerged in distilled or filtered water.
- Keep the cutting in bright, indirect sunlight and change water every few days.
- Maintain consistent water levels and monitor water quality for optimal root health.
- Transfer to soil once roots are at least 2 inches long, using well-draining potting mix.
Step 01: Choose Healthy Anthurium

To guarantee your anthurium thrives in water, always select a plant with vibrant, unblemished leaves and healthy roots.
Anthurium plant selection is pivotal for successful water propagation. Examine the leaves closely; they should be bright green, free from spots or discoloration.
Check the roots, ensuring they’re firm and white, indicating good plant health. Avoid plants with yellowing leaves or mushy roots, as these are signs of disease or poor health.
Once you’ve chosen a healthy specimen, it’s easier to focus on proper anthurium water propagation and ongoing plant care. Healthy roots adapt more readily to water environments, reducing the risk of rot. This careful selection sets the foundation for a thriving, water-grown anthurium that will flourish in your home.
Step 02: Prepare the Container
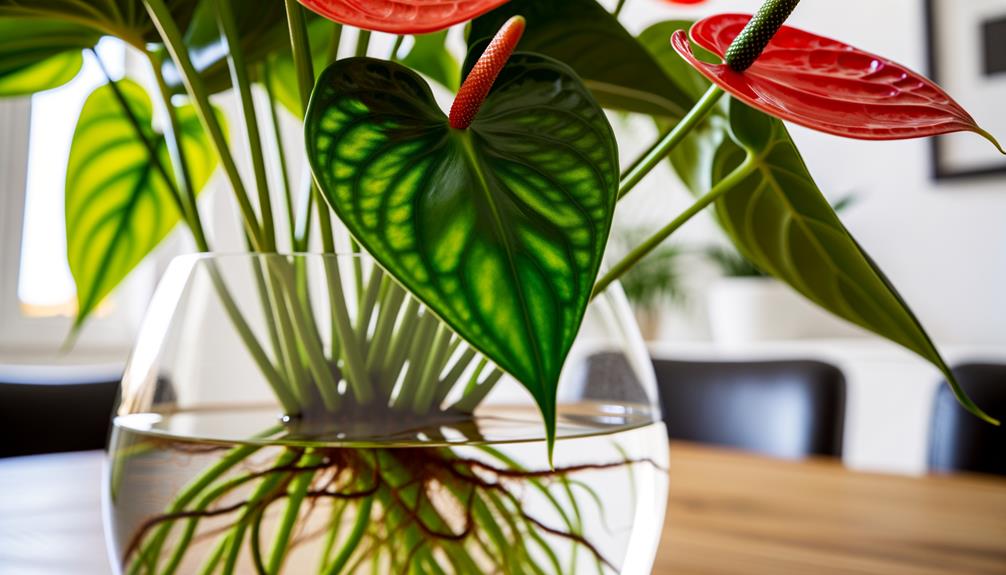
Begin by selecting a transparent glass container that allows you to monitor the anthurium’s root health easily.
Opt for a container size that provides ample space for root expansion while maintaining balance and stability.
Guarantee the container selection supports water level regulation to prevent root rot. The water level should cover the roots but not the base of the plant stem to avoid stem rot.
Prioritize water quality maintenance by using distilled or filtered water. Regularly change the water to prevent stagnation and algae growth.
- Choose a container that’s see-through.
- Guarantee the container is large enough for root growth.
- Maintain a consistent water level.
- Use distilled or filtered water.
- Change water regularly to keep it clean.
Step 03: Clean the Roots
To guarantee your Anthurium thrives in water, start by thoroughly rinsing the roots to remove any soil residue. Use clean, lukewarm water to gently wash away all dirt particles.
Next, trim any damaged or rotting roots with sterilized scissors to prevent infection and promote healthy growth.
Remove Soil Residue
Gently wash the Anthurium roots under lukewarm water to remove all traces of soil, making sure you handle them carefully to prevent any damage.
This step is vital for maintaining root health and ensuring optimal water quality. Soil residue can harbor pathogens and interfere with the plant’s shift to a hydroponic environment.
To cleanse the roots effectively:
- Use a gentle flow of water to avoid bruising the fragile roots.
- Examine roots for any remaining soil particles, especially around the root crown.
- Use your fingers to dislodge stubborn soil, being cautious not to break the roots.
- Avoid using cold water, which can startle the roots.
- Guarantee all soil is removed to prevent water contamination.
Trim Damaged Roots
Inspect the roots meticulously for any signs of damage, such as darkened, mushy, or brittle areas. Use sterilized scissors to perform root trimming, ensuring you cut just above the damaged sections. This prevents the spread of rot and promotes healthy root growth. After trimming, rinse the roots gently with clean water to remove any detached debris.
Maintaining a consistent watering schedule is vital for root health. Replace the water every week to prevent stagnation and bacterial growth.
Growth monitoring involves checking the roots periodically for signs of new growth or potential issues.
Step 04: Position the Plant
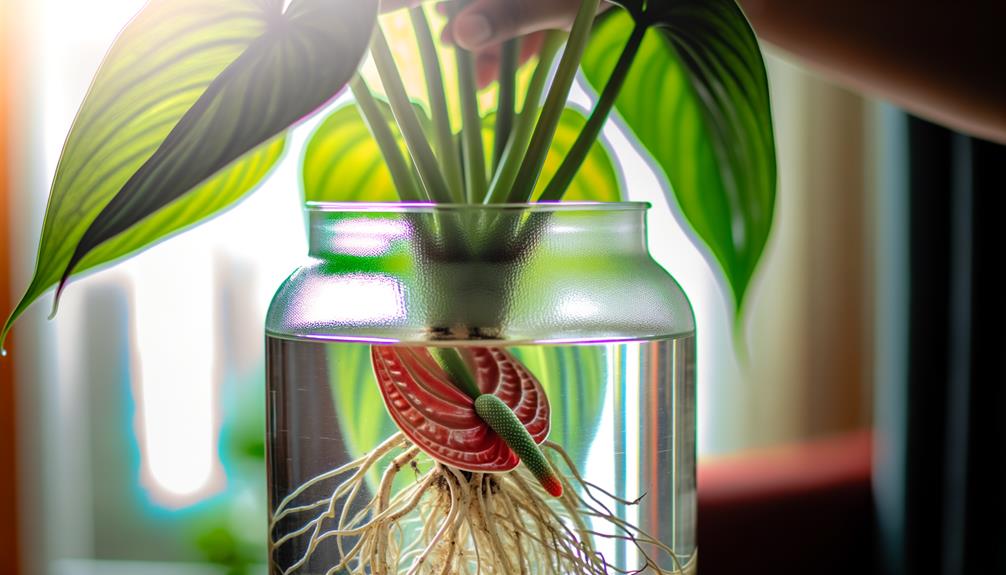
When positioning your Anthurium plant, make sure it receives bright, indirect sunlight to promote peak growth and vibrant blooms.
Direct sunlight can scorch the leaves, so place it near a window with filtered light. Rotate regularly to guarantee even exposure and growth.
To avoid overcrowding and guarantee adequate space, follow these tips:
- Place the plant where it can grow without touching other plants.
- Guarantee there’s enough room for air circulation around the plant.
- Keep it away from direct heat sources like radiators.
- Avoid placing it in high-traffic areas to prevent accidental damage.
- Use a sturdy base to hold the plant upright.
Proper positioning is essential for the health and vigor of your Anthurium plant.
Step 05: Fill With Water

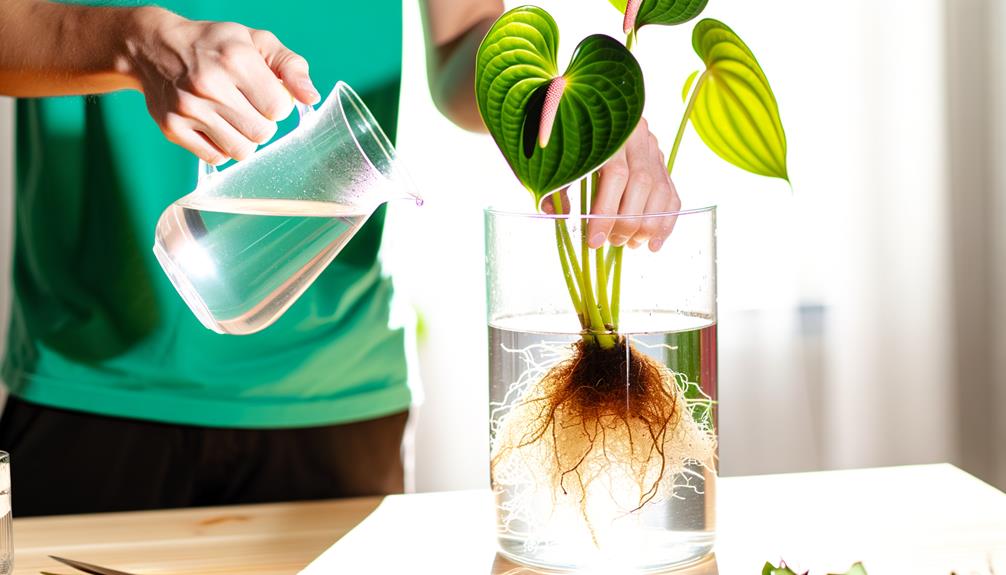
You need to fill the container with clean, room-temperature water to guarantee your Anthurium thrives.
Keeping the water level consistent is essential, so top it off as needed.
Regularly changing the water will prevent bacterial growth and provide fresh nutrients.
Choose Clean Water
Always make certain you’re using clean, filtered water to maintain the health and vibrancy of your Anthurium plants. Water quality is vital because contaminants like chlorine and heavy metals can harm the plant.
Use a container size that matches the plant’s root system to guarantee even water distribution and support.
Consider these points to enhance water quality:
- Use filtered or distilled water to evade contaminants.
- Change the water regularly to prevent stagnation.
- Test pH levels; aim for a neutral pH (6.5-7.5).
- Avoid using softened water, which contains salts.
- Rinse the container thoroughly before refilling.
Maintain Water Level
Maintaining the correct water level in your container is crucial to make certain your Anthurium plant’s roots remain hydrated but not submerged. Start by placing the roots in the container and monitoring the water level daily.
Ideally, water should cover the roots just up to where they start to taper. This guarantees that roots have access to oxygen while staying moist.
If you notice the water level dropping, adjust levels by adding clean water to maintain consistency. Use a see-through container if possible, as it allows for easy monitoring.
Change Water Regularly
Regularly changing the water in your container helps to prevent the buildup of harmful bacteria and guarantees that your Anthurium roots have access to fresh, oxygen-rich water. High water quality is essential for maintaining ideal root health.
Here’s what you should do:
- Change the water every week to keep the environment fresh.
- Use distilled or filtered water to avoid minerals that can affect water quality.
- Clean the container thoroughly to remove any residue or slime.
- Check roots for rot and trim any affected parts before refilling.
- Ensure water covers the roots but doesn’t submerge the plant’s base.
Step 06: Maintain Proper Lighting
Ensuring your Anthurium plants receive the right amount of indirect sunlight is important for their growth and health.
Place your plant in a spot where it gets plenty of light without direct sun exposure, which can scorch the leaves.
Understanding the light requirements helps you choose the perfect plant placement. Natural light is ideal, so a north or east-facing window works well.
However, if natural light isn’t sufficient, you can use artificial light. Position a fluorescent or LED grow light about 12-18 inches above the plant.
Monitor light duration carefully, aiming for 10-12 hours of light daily. Too much or too little light can hinder growth, so adjust accordingly to maintain ideal conditions.
Step 07: Monitor and Change Water

Regular monitoring and timely changes of the water are necessary to prevent root rot and maintain the health of your Anthurium plants.
Check the water quality at least once a week. Look for any signs of discoloration or odor, which can indicate poor water quality. Replace the water entirely every two weeks to minimize algae growth and ensure ideal conditions.
- Check water clarity: Cloudy water indicates bacterial growth.
- Smell the water: An off odor can indicate root rot.
- Monitor algae: Greenish water means algae growth is present.
- Inspect roots: Healthy roots are white or light tan.
- Use clean containers: Regularly clean the containers to prevent contaminant buildup.
These steps will help maintain a thriving environment for your Anthurium plants.
Conclusion
By following these 7 steps, you’ll transform your anthurium into a thriving aquatic masterpiece.
Choose a healthy plant, prepare the container meticulously, and clean those roots like a scientist in a lab.
Position it with precision, fill with crystal-clear water, and make sure it basks in perfect lighting.
Regularly monitor and change the water, and you’ll have an anthurium that looks like it belongs in a botanic fairy tale.
Your dedication will yield stunning, vibrant results.


