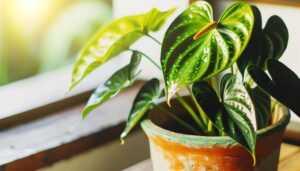
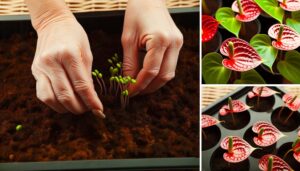
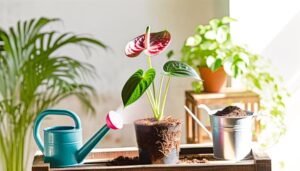
7 Steps to Successful Anthurium Plant Propagation
To propagate Anthurium plants, start by gathering sterilized shears, well-draining potting mix, containers, rooting hormone, and distilled water. Select a parent plant with robust roots and vibrant foliage.
Mix orchid bark, peat moss, perlite, and charcoal for the perfect potting blend. For division, carefully separate the root ball and replant.
For cuttings, choose a healthy stem, make a clean cut below a node, remove lower leaves, dip in rooting hormone, and place in damp soil. Monitor for growth and disease.
If you’re meticulous about these steps, you’ll soon see successful propagation in action.
Key Takeaways
- Select a healthy parent plant with vibrant foliage and a robust root system.
- Use sterilized tools to make clean cuts for division or stem cuttings.
- Apply rooting hormone to cuttings and plant in a well-draining potting mix.
- Maintain bright, indirect light and humidity levels of 60-80% for optimal growth.
- Regularly monitor for pests and common issues like overwatering or low humidity.
Step 01: Gather Necessary Supplies
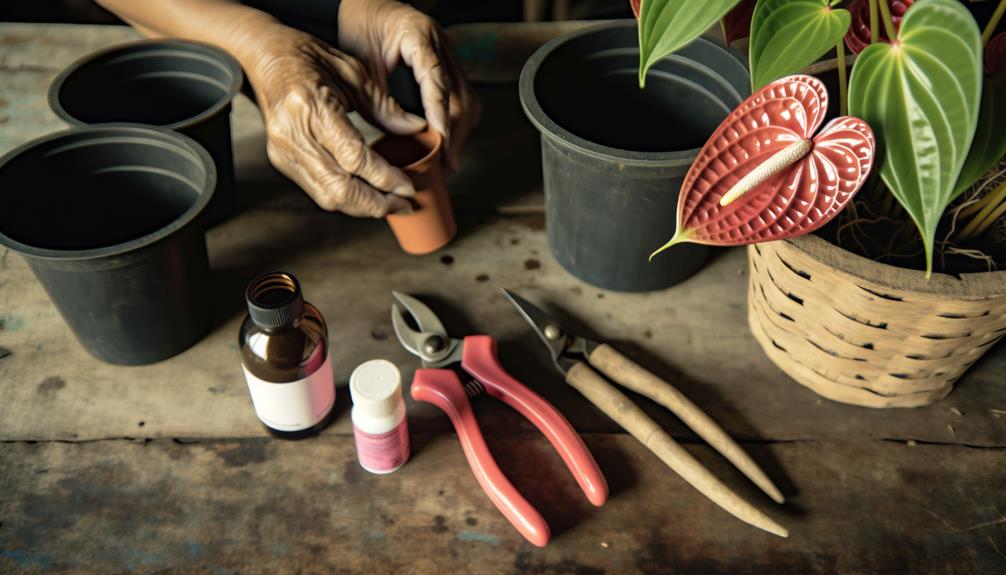
To successfully propagate anthurium plants, you’ll need to gather the essential supplies. These include sterilized trimming shears, a well-draining potting blend, and clean containers with drainage holes. Start by sterilizing your trimming shears to prevent any disease transmission.
Use a high-quality potting blend that contains ingredients like perlite, orchid bark, and peat moss. This will create proper aeration and moisture retention. Select containers that have adequate drainage holes to avoid waterlogging, which can lead to root rot.
Have some rooting hormone on hand to encourage robust root development. Additionally, prepare a spray bottle with distilled water for misting the cuttings. These preparations will create an ideal environment for the anthurium cuttings to thrive, ensuring successful propagation.
Step 02: Choose the Right Parent Plant
Selecting a healthy, mature anthurium plant with vibrant foliage and a robust root system is essential for successful propagation.
You’ll want to inspect the plant for any signs of disease or pests, such as yellowing leaves, spots, or wilting. A thriving parent plant should have dark green leaves and sturdy stems, indicating good overall health.
Check the root system by gently lifting the plant from its pot; healthy roots should be white or light tan and firm to the touch. Avoid plants with mushy or dark roots, as these can signal root rot.
Choosing an ideal parent plant ensures the cuttings or divisions you take will have the best chance of growing into strong, resilient new plants.
Step 03: Prepare the Potting Mix
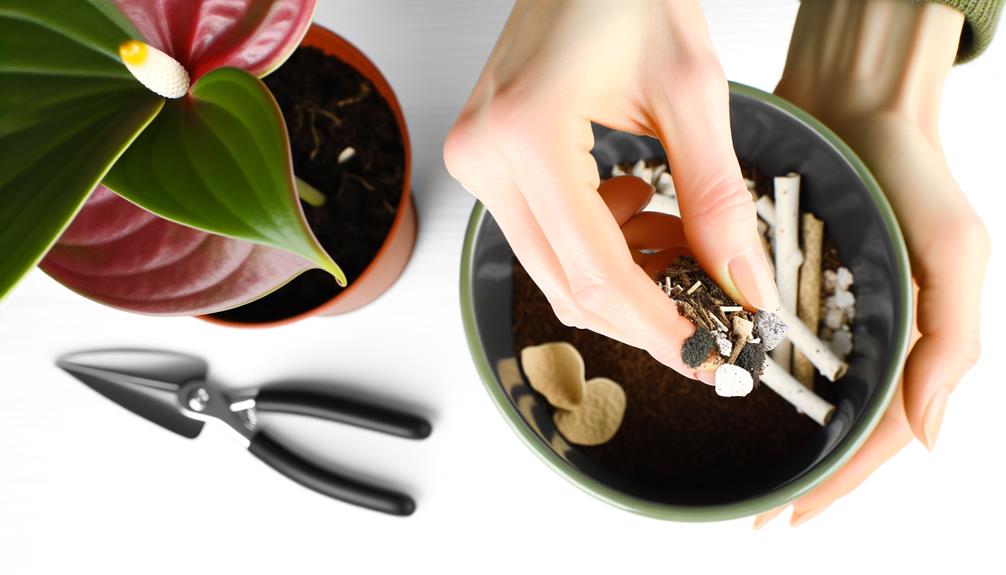
A well-draining potting mix is crucial for anthurium propagation, as these plants thrive in a medium that allows air to reach their roots while retaining adequate moisture. You should create a mix that combines different components to achieve the right balance.
Use the following table for guidance:
| Component | Proportion |
|---|---|
| Orchid bark | 40% |
| Peat moss | 30% |
| Perlite | 20% |
| Charcoal | 10% |
Blend these ingredients thoroughly to ensure uniform distribution. Orchid bark provides structure and aeration, peat moss retains moisture, perlite enhances drainage, and charcoal prevents root rot.
By preparing this specialized mix, you’ll give your anthurium cuttings the perfect environment to develop strong, healthy roots.
Step 04: Division Method
After preparing the potting mix, you can effectively propagate anthuriums through the division method, which involves separating mature plants into smaller sections.
First, gently remove the plant from its pot, taking care not to damage the roots. Rinse off the soil to clearly see the root structure.
Locate natural divisions, where the root ball and stems naturally separate. Use a clean, sharp knife or shears to cut through the root ball, ensuring each section has at least one stem and healthy roots. Replant each division into its own pot filled with the prepared mix.
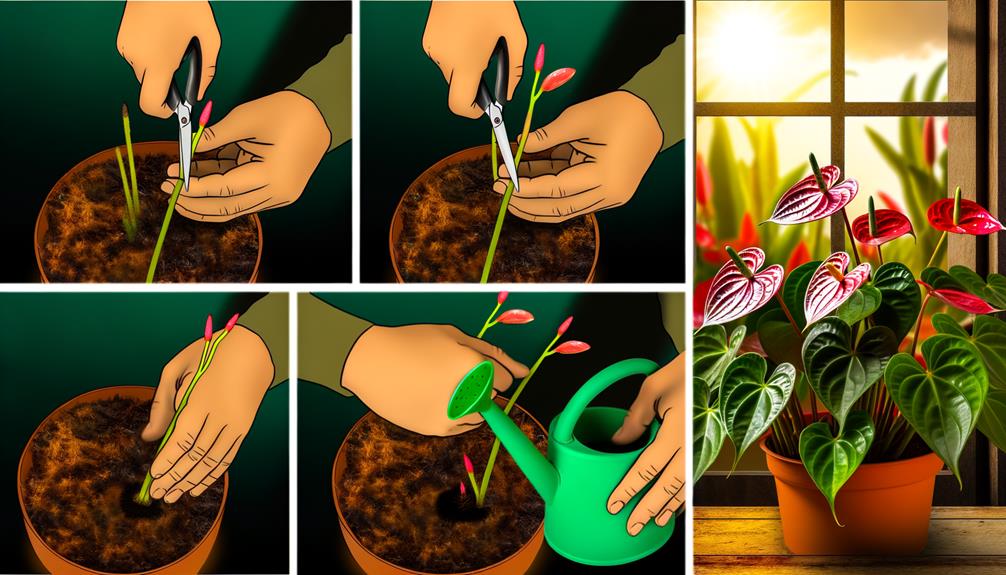
Water thoroughly and place in a warm, indirect light environment. Monitor for signs of stress, and adjust care as needed to support new growth.
Step 05: Propagation by Cuttings
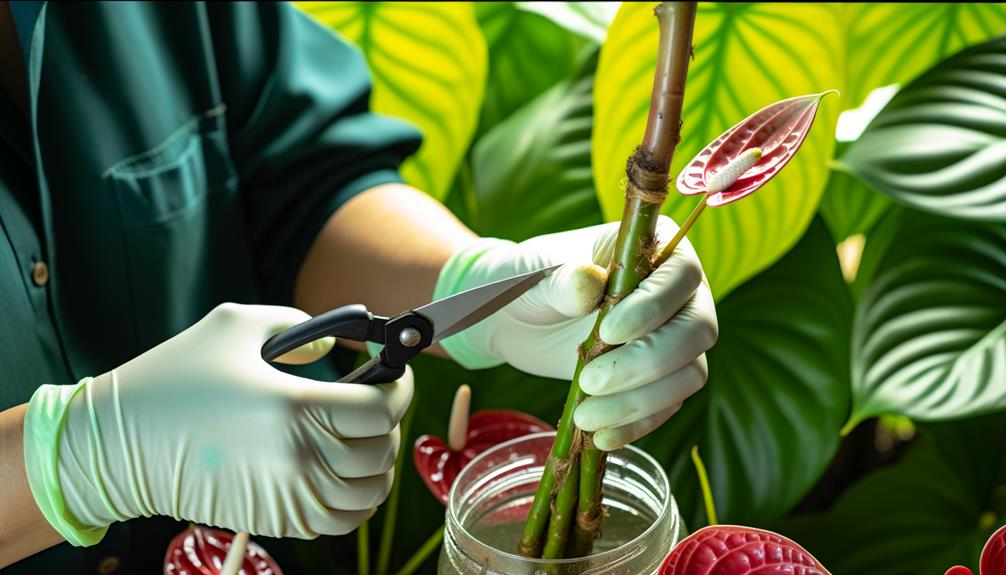
Propagation by cuttings allows you to create new anthurium plants by carefully selecting healthy stems and encouraging root formation in a controlled environment.
To start, choose a healthy stem with at least two nodes. Use a sterilized knife to make a clean cut below a node. Remove any leaves from the lower node to focus energy on root development.
Dip the cut end in rooting hormone to stimulate faster rooting. Place the cutting in a damp, well-draining potting mix, and cover it with a plastic bag to maintain humidity.
- Experience the joy of nurturing new life.
- Share the beauty of anthuriums with loved ones.
- Witness the magic of transformation firsthand.
- Enhance your skills in plant care and propagation.
Step 06: Planting and Care
To maximize growth, plant your anthurium in a well-draining potting mix rich in organic matter and place it in a location with bright, indirect light. Use a mix that includes peat, pine bark, and perlite to guarantee proper aeration and moisture retention.
Water your anthurium thoroughly but allow the top inch of the soil to dry out between waterings to prevent root rot. Maintain a consistent temperature between 65-80°F (18-27°C) and humidity levels around 70-80% for best growth.
Fertilize monthly with a balanced, water-soluble fertilizer diluted to half strength. Regularly remove any dead or yellowing leaves to encourage healthy new growth.
Step 07: Monitoring Growth and Health
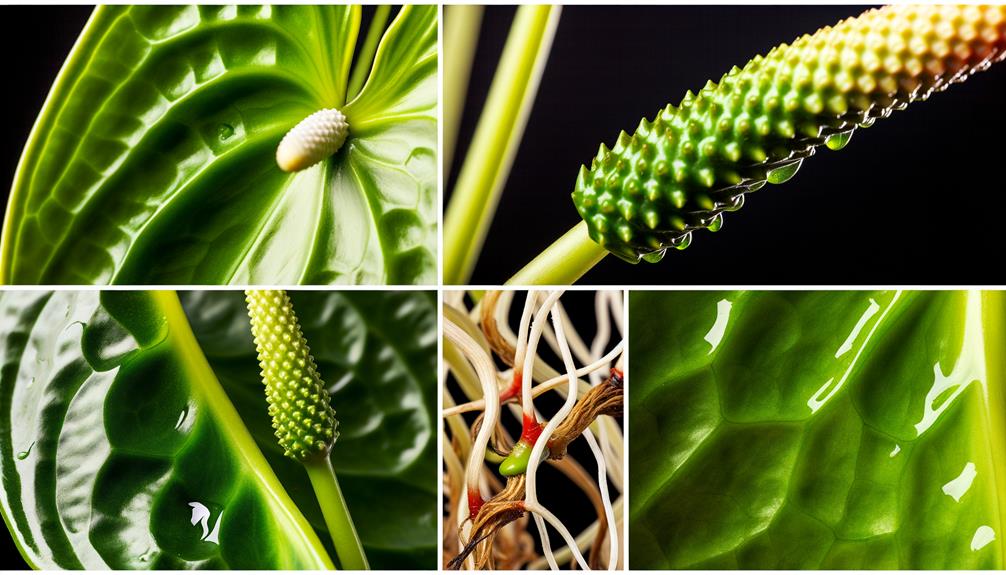
To guarantee your anthurium thrives, establish a regular watering schedule tailored to its needs while being vigilant about pest and disease management.
Pay close attention to light and temperature conditions, as these factors greatly impact the plant’s health.
Regularly inspect your plant for any signs of stress or infestation to address issues promptly.
Regular Watering Schedule
A consistent and well-monitored watering schedule is vital for the optimal growth and health of your Anthurium plant. Watering your Anthurium correctly guarantees that the roots stay hydrated without becoming waterlogged, which can lead to root rot.
Aim to water when the top inch of soil feels dry to the touch. Use filtered or distilled water to prevent mineral buildup. Employ a watering can with a fine spout to avoid soil displacement.
- Avoid overwatering: Root rot can devastate your plant.
- Use room-temperature water: Cold water can shock the roots.
- Improve drainage: Guarantee the pot has drainage holes.
- Observe leaf health: Yellowing leaves can indicate water issues.
Pest and Disease Management
Monitoring your Anthurium for pests and diseases is crucial to maintaining its health and promoting robust growth. Inspect leaves and stems regularly for signs of aphids, mealybugs, and spider mites. Use a magnifying glass to detect these pests early.
Apply insecticidal soap or neem oil if you notice an infestation. Check for fungal infections such as root rot or leaf blight by examining roots for decay and leaves for discolored spots. Ensure proper drainage and avoid excessive watering to prevent these issues.
Keep a clean environment by promptly removing dead leaves and debris. Regularly sterilize tools to prevent cross-contamination. By staying vigilant and proactive, you’ll cultivate a flourishing, healthy Anthurium that brings joy to those you care for.
Light and Temperature Control
Best light and temperature conditions play a critical role in the growth and health of your Anthurium plant. Place your Anthurium in bright, indirect light to mimic its natural habitat. Direct sunlight can scorch the leaves, causing irreversible damage. Maintain temperatures between 70-85°F (21-29°C) during the day and don’t let it drop below 60°F (15°C) at night.
Consistency is key to preventing stress on the plant. Monitor your Anthurium’s growth and health by observing its leaves and flowers.
- Vibrant foliage: Indicates ideal light conditions.
- Healthy blooms: Show appropriate temperature and care.
- Leaf burn: Signals excessive sunlight.
- Slow growth: Could mean insufficient light or incorrect temperature.
Your attention to these details ensures a flourishing Anthurium.
Conclusion
You’re now equipped with the ultimate secrets to anthurium propagation. By meticulously gathering supplies, selecting the perfect parent plant, and mastering both division and cutting methods, you’re not just growing plants; you’re creating a botanical masterpiece!
Your anthurium will thrive as if blessed by nature itself. With vigilant care and monitoring, you’ll witness growth so explosive, it’ll seem like magic.
Immerse yourself and transform your home into a lush, green paradise!


