7 Steps to Successful Anthurium Warocqueanum Propagation
Propagating Anthurium warocqueanum involves seven critical steps. First, choose a healthy stem cutting with at least two nodes and aerial roots.
Make sure tools are sterile to prevent disease. Make an angled cut just below a node for rooting.
Submerge the cut end in dechlorinated water, keeping the node above the waterline, and refresh water regularly. Once roots develop, transplant cuttings into a well-draining soil mix.
Provide bright, indirect light and maintain 70-90% humidity levels using humidifiers or misting. Following this meticulous process guarantees successful propagation and healthy growth.
Explore further to master each step with precision and care.

Key Takeaways
- Choose a healthy stem section with at least two nodes and aerial roots for the cutting.
- Make clean, angled cuts just below the node and use sterilized cutting tools.
- Place cuttings in dechlorinated water, ensuring nodes are above the waterline, and change water every 3-4 days.
- Provide bright, indirect light and maintain temperatures between 20-25°C (68-77°F) for root development.
- Transfer rooted cuttings to a well-draining soil mix, ensuring minimal root disturbance, and water lightly to settle the soil.
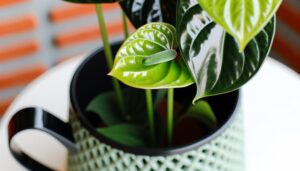
Selecting the Ideal Cutting
When choosing the best cutting for Anthurium warocqueanum propagation, it is crucial to select a healthy stem section, preferably with at least two nodes and a few aerial roots to secure optimal growth and development. A cutting with these characteristics guarantees proper nutrient transport and water absorption, which are crucial for strong root and shoot formation.
Inspect the stem for any signs of disease, like discoloration or tender spots, as these can hinder successful propagation. Choose a cutting from a mature, vigorously growing plant, as it will likely have higher hormone levels necessary for rooting. Additionally, confirm that the leaves are in good condition and free from pests.
This careful selection process establishes the groundwork for a flourishing Anthurium warocqueanum specimen.
Preparing Your Tools
When preparing for the propagation of Anthurium warocqueanum, it is crucial to utilize sharp, sterile cutting tools to achieve clean incisions and minimize plant tissue damage.
Disinfection and sterilization of tools, using solutions such as isopropyl alcohol or a bleach dilution, are critical steps to prevent the transmission of pathogens.
Proper preparation of tools not only promotes best plant health but also enhances the success rate of propagation efforts.
Necessary Cutting Tools
To guarantee a clean and successful propagation of Anthurium Warocqueanum, it is important to prepare and sterilize your cutting tools meticulously. High-quality, sharp instruments such as sterilized pruning shears and scalpel blades are vital to ensure precise cuts, minimizing plant tissue damage.
Dull or unclean tools can cause ragged cuts, leading to increased vulnerability to pathogens and reduced success rates. Utilize a fine-grit sharpening stone to maintain the cutting edge of your tools. Additionally, have a clean cutting mat to provide a sterile surface for handling plant material.
Employing proper cutting tools not only facilitates the propagation process but also enhances the overall health and vigor of the propagated specimens.
Disinfection and Sterilization
Proper disinfection and sterilization of cutting tools are essential steps in preventing the introduction of pathogens during the propagation of Anthurium Warocqueanum. This process guarantees a sterile environment, minimizing the risk of infections that can impair plant health.
Begin by thoroughly cleaning tools with soap and water to remove debris. Then, sterilize using a suitable method such as:
- Isopropyl Alcohol: Soak tools in 70-100% isopropyl alcohol for at least 30 seconds.
- Bleach Solution: Use a 10% bleach solution, soaking tools for 10 minutes.
- Flame Sterilization: Pass the cutting edges through a flame until red-hot.
- Hydrogen Peroxide: Submerge tools in 3% hydrogen peroxide for 30 seconds.
- Commercial Sterilizers: Follow manufacturer guidelines for effective sterilization.
Make sure tools are dried thoroughly before use to avoid chemical residues.
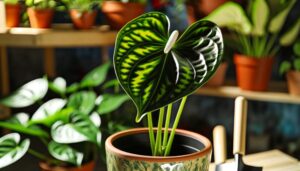
Cutting the Stem
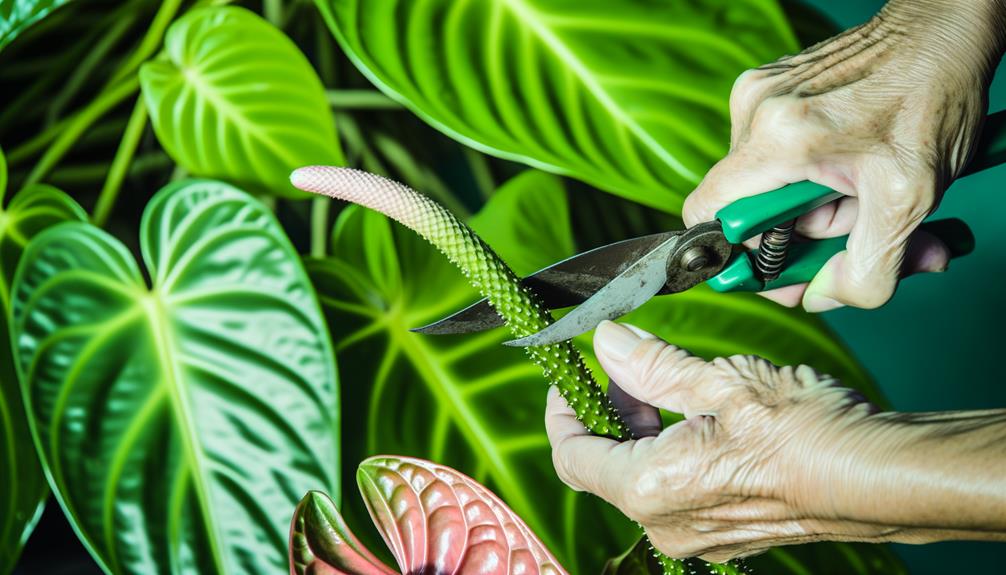
When cutting the stem of Anthurium Warocqueanum, it is important to select healthy nodes free from disease or damage to guarantee successful propagation.
Employ a proper cutting technique by making clean, angled cuts just below the node to maximize root development potential.
Additionally, always sterilize your cutting tools with isopropyl alcohol or a similar disinfectant to avoid the transmission of pathogens.
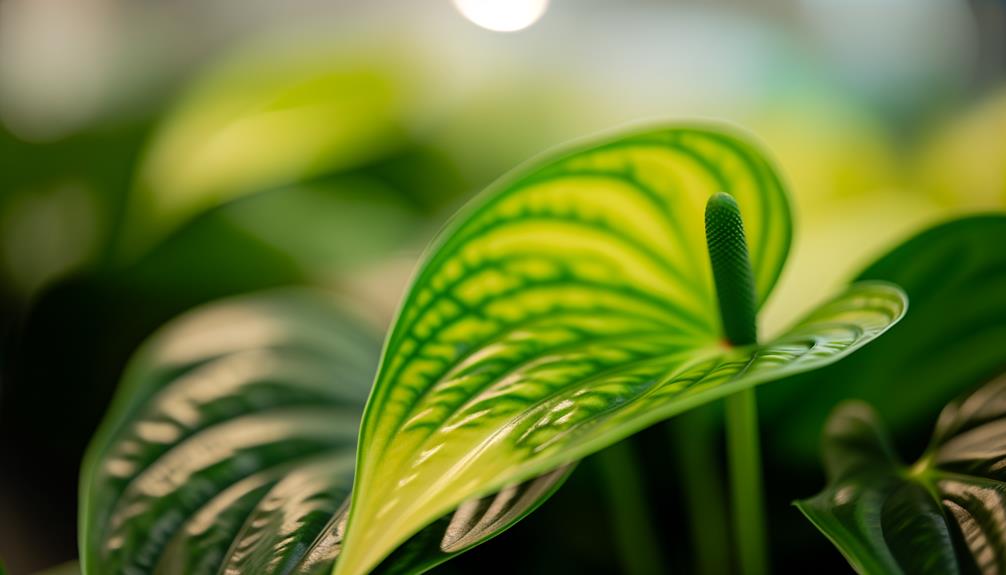
Selecting Healthy Nodes
Identifying and selecting healthy nodes is necessary for successful Anthurium warocqueanum propagation, as these nodes contain the meristematic tissue necessary for root and shoot development. To achieve the best propagation outcomes, it is important to choose nodes that exhibit certain characteristics indicative of health and vitality.
Key attributes of healthy nodes include:
- Presence of aerial roots: Nodes with visible aerial roots are more likely to establish successfully.
- Firm texture: Nodes should feel solid and not mushy, indicating they are not rotting.
- Green coloration: Nodes should show a vibrant green hue, signifying active growth.
- Absence of pests: Check nodes are free from pests or diseases.
- Optimal spacing: Select nodes spaced appropriately apart to avoid competition for resources.
Selecting nodes with these attributes enhances propagation success.
Proper Cutting Technique
Employing an accurate cutting technique is crucial for the successful propagation of Anthurium warocqueanum. This approach secures the integrity of the plant tissue and maximizes the chances of rooting.
To begin, identify a healthy stem with at least two nodes, as these are critical points for future root and shoot development. Position a sharp, clean blade just below the lowest node, guaranteeing a precise, diagonal cut to increase the surface area for rooting. This method reduces the risk of vascular damage and promotes efficient nutrient uptake.
Additionally, avoid crushing or tearing the stem tissue, as this can lead to infection and impede root formation. Following these guidelines secures a higher success rate in propagating this exquisite species.
Sterilizing Cutting Tools
Ensuring the sterility of cutting tools is paramount in preventing infections and promoting healthy propagation of Anthurium warocqueanum. Contaminated tools can introduce pathogens, jeopardizing plant health. Use sterilized, sharp instruments to make precise cuts.
For effective sterilization, consider:
- Alcohol Wipes: Clean blades thoroughly with isopropyl alcohol (70%).
- Bleach Solution: Soak tools in a 10% bleach solution for 10 minutes.
- Flame Sterilization: Pass metal parts through a flame briefly.
- Boiling Water: Submerge tools in boiling water for at least 5 minutes.
- Commercial Sterilants: Use specialized horticultural sterilants as per manufacturer instructions.
Ensuring that tools are properly sterilized minimizes the risk of disease transmission, thereby enhancing the success rate of propagation efforts.
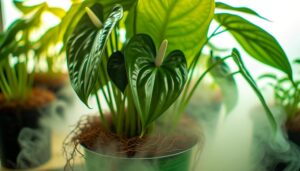
Rooting in Water
Rooting Anthurium Warocqueanum cuttings in water involves submerging the cut end in a clean, transparent vessel filled with dechlorinated water. Make sure the node remains above the waterline to prevent rot. This method facilitates oxygen exchange, which is essential for root development.
Employing dechlorinated water reduces the risk of chemical interference in root formation. Regularly change the water every 3-4 days to prevent bacterial growth.
Place the vessel in an area with bright, indirect light to replicate their natural habitat. Monitoring for root growth, which typically begins within 2-3 weeks, is necessary.
Maintain ambient temperatures between 20-25°C (68-77°F) to create ideal conditions for rooting. This careful approach enhances the likelihood of successful propagation.
Transplanting to Soil
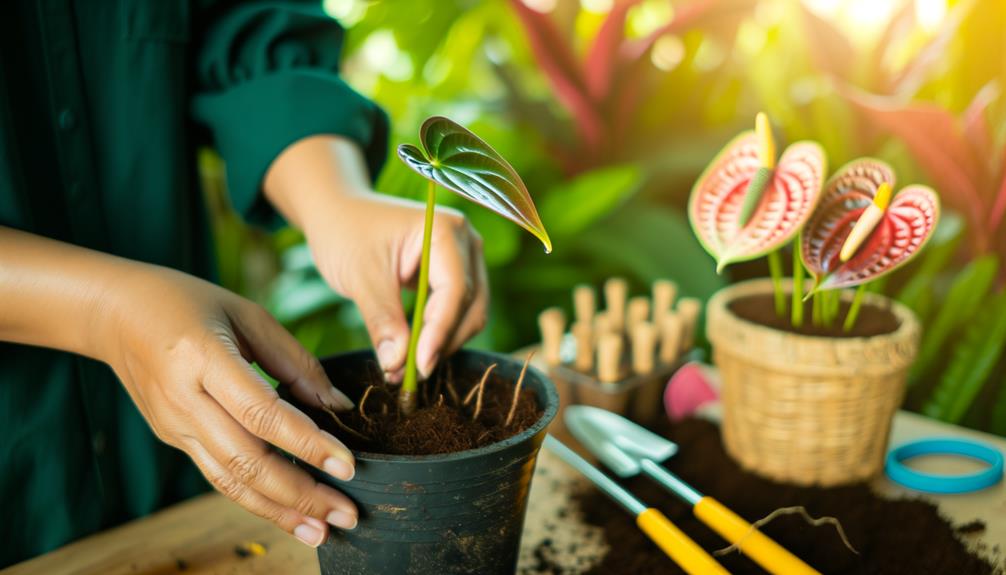
Once the cuttings have developed sufficient root systems in water, the next step involves carefully planting them into a well-draining soil medium to encourage further growth and establishment. This change is vital for acclimatizing the roots to a terrestrial environment.
When selecting soil, make sure it mimics the natural epiphytic habitat of Anthurium Warocqueanum by incorporating:
- Orchid bark for structure and aeration
- Perlite to improve drainage and avoid waterlogging
- Peat moss for moisture retention
- Charcoal to enhance soil structure and prevent root rot
- Organic compost to provide essential nutrients
Gently transfer the rooted cuttings, making sure there is minimal root disturbance. Water the soil lightly to settle it around the roots, maintaining consistent moisture without oversaturation. This careful process promotes strong growth and successful plant establishment.
Providing Proper Lighting
Providing sufficient lighting for Anthurium Warocqueanum is crucial, as this species flourishes in bright, indirect light that mirrors the dappled sunlight of its native tropical understory.
Direct sunlight can scorch the delicate foliage, causing irreversible harm. Utilize sheer curtains or position the plant near north or east-facing windows to optimize light conditions.
Artificial lighting with full-spectrum LED grow lights can supplement natural light, maintaining photoperiods of 12-14 hours daily. Monitor light intensity using a lux meter, aiming for 10,000-20,000 lux.
Gradual adaptation to new lighting conditions prevents stress. Adjust the distance and duration of light exposure based on observed plant responses, ensuring vigorous growth and successful propagation of Anthurium Warocqueanum.
Ensuring Optimal Humidity
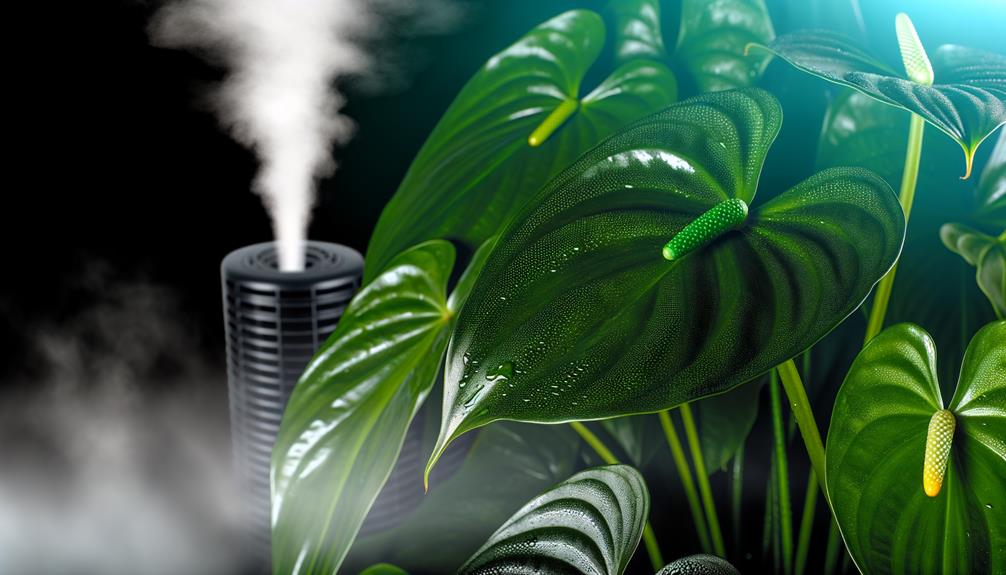
Maintaining ideal moisture levels, ideally between 70-90%, is essential for the health and propagation success of Anthurium Warocqueanum. High moisture facilitates cellular processes such as transpiration and nutrient absorption, which are critical for growth.
Here are practical approaches to ensure best moisture:
- Humidifiers: Utilize a high-quality humidifier to maintain consistent moisture levels.
- Misting: Regular misting with distilled water can help increase ambient dampness.
- Moisture Trays: Place trays filled with water and pebbles beneath the plant to create a damp microenvironment.
- Enclosures: Use terrariums or plastic covers to trap moisture around the plant.
- Hygrometers: Employ hygrometers to monitor and adjust moisture levels accurately.
Conclusion
To sum up, the propagation of Anthurium warocqueanum involves careful steps:
choosing a perfect cutting,
gathering tools,
trimming the stem,
rooting in water,
transferring to soil,
giving adequate lighting,
and maintaining ideal humidity.
Interestingly, each step is connected to the next, creating a smooth process that boosts success.
Focus on specifics and following scientific guidelines guarantee the flourishing growth of propagated plants, highlighting the significance of accuracy and attentiveness in botanical propagation methods.