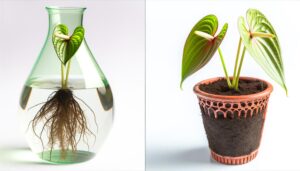
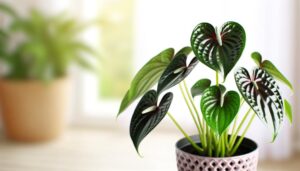
9 Simple Steps to Planting Anthurium Seeds
To plant anthurium seeds, start by gathering clean tools and containers with drainage holes. Choose fresh, healthy seeds from a reputable source.
Next, prepare well-draining, slightly acidic soil. Place the seeds on the soil’s surface and water gently to maintain consistent moisture.
Once the seeds germinate and develop true leaves, transplant the seedlings carefully. Guarantee they get bright, indirect light, and continue with regular watering.
Keep an eye out for pests and diseases and manage them early. Maintaining a balanced fertilizer routine and proper ventilation will keep your anthuriums thriving.
With these steps, you’re set for success. There’s more to learn about securing their growth.
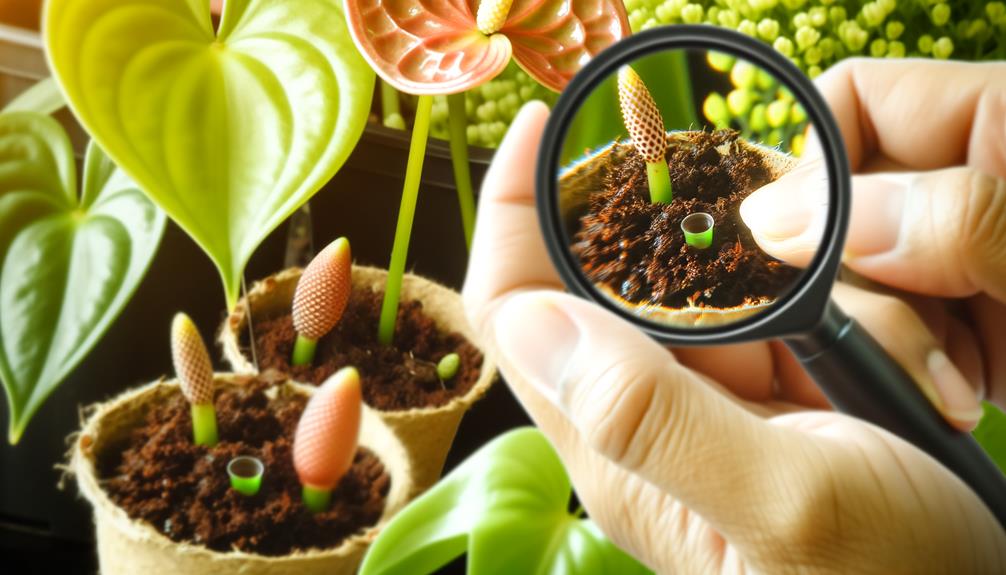
Key Takeaways
- Choose high-quality, fresh seeds from reputable suppliers with high germination rates.
- Fill seed trays with a well-draining potting mix and sterilize the soil before planting.
- Place seeds gently on the soil surface, maintain optimal humidity, and keep in a warm, bright location.
- Monitor soil moisture closely, ensuring it stays evenly moist but not waterlogged.
- Transplant seedlings into small pots with drainage holes once they develop true leaves.
Gather Your Supplies
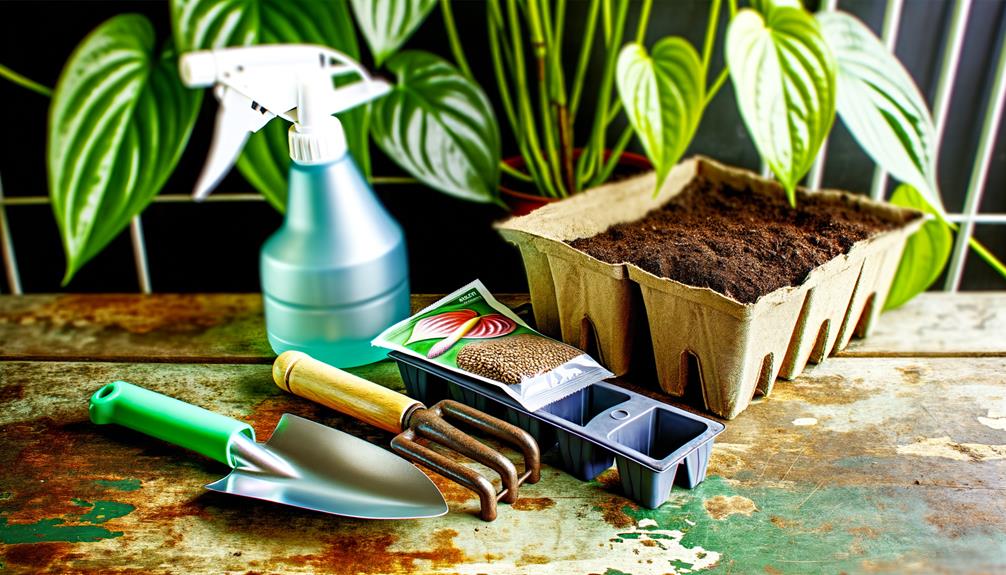
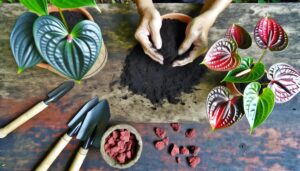
To start planting anthurium seeds, you’ll need to gather essential supplies such as seed trays, a high-quality potting mix, and a misting bottle.
First, confirm your seed trays have drainage holes to prevent waterlogging. Choose a potting mix specifically designed for anthuriums, as they thrive in well-draining, nutrient-rich soil.
The misting bottle is essential for maintaining the right humidity levels without overwatering, which can harm the seeds. Make sure you have clean tools to avoid introducing contaminants that could impact seed germination.
Organizing these supplies beforehand will streamline your planting process, allowing you to focus on nurturing the seeds. With these supplies, you’ll set the foundation for successfully growing healthy anthurium plants that can brighten any space.
Step 01: Choose the Right Seeds
Selecting high-quality seeds is crucial for guaranteeing the successful growth of your anthurium plants. Start by sourcing seeds from reputable suppliers known for their high germination rates.
Freshness matters—seeds should be no older than six months to ensure viability. Inspect the seeds closely; they should be plump and free from any signs of mold or damage.
Choose seeds from healthy parent plants that exhibit vibrant colors and strong growth patterns. Avoid seeds from plants that show signs of disease or pest infestation. If possible, opt for organically grown seeds to further secure their health and purity.
Step 02:Prepare the Soil
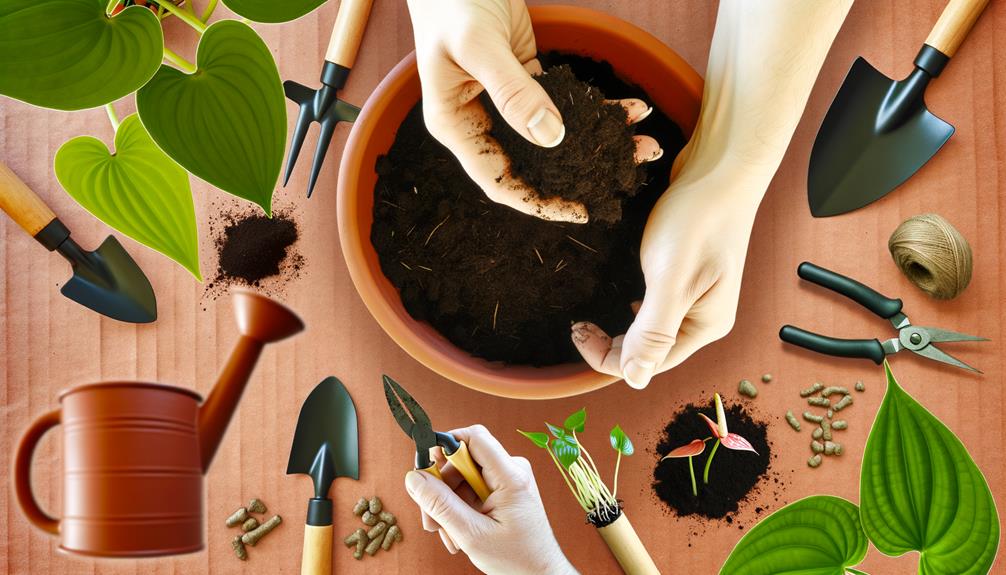
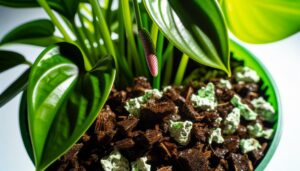
Preparing the soil correctly is essential for the healthy growth of your anthurium seeds. First, choose a well-draining potting mix. Anthuriums thrive in a blend of orchid bark, peat moss, and perlite.
You’ll need to confirm the soil has a slightly acidic pH, ideally between 5.5 and 6.5. Mix the components thoroughly to create an airy, moisture-retentive environment.
Next, sterilize the soil to eliminate any potential pathogens. You can do this by baking it at 180°F (82°C) for 30 minutes. Let it cool completely before use.
Fill your planting containers with the prepared soil, leaving some space at the top for watering. This careful preparation supports your anthurium seeds germinate and grow robustly.
Step 03: Sow the Seeds
To sow the anthurium seeds, start by preparing seedling trays filled with a best soil mix. Use a well-draining medium that retains moisture without becoming waterlogged.
Gently place the seeds on the soil surface and lightly press them in.
Prepare Seedling Trays
Begin by filling your seedling trays with a well-draining potting mix to create an ideal environment for the anthurium seeds. Make sure the mix is evenly spread and slightly moist, but not waterlogged. Use a fine spray to moisten the soil, if necessary.
Next, sow the anthurium seeds on the surface of the mix, spacing them out to avoid overcrowding. Gently press the seeds into the soil without burying them, as they need light to germinate.
Cover the trays with a clear plastic lid or plastic wrap to create a humid environment, essential for seed germination. Place the trays in a warm, bright location, but out of direct sunlight, to maintain optimal growing conditions.
Optimal Soil Mix
A well-balanced, well-draining soil mix guarantees your anthurium seeds receive the nutrients and aeration they need to thrive. Start by combining equal parts of orchid bark, perlite, and peat moss. This mix assures excellent drainage while retaining necessary moisture.
Sterilize the mix by baking it at 180°F for 30 minutes to kill any pathogens. Once cooled, fill your seedling trays with the prepared soil mix.
Gently press the seeds into the soil surface, spacing them about one inch apart. Lightly cover the seeds with a thin layer of the mix.
Mist the soil lightly with water to avoid disturbing the seeds. Keep the trays in a warm, humid environment to promote germination.
Step 04: Watering Techniques
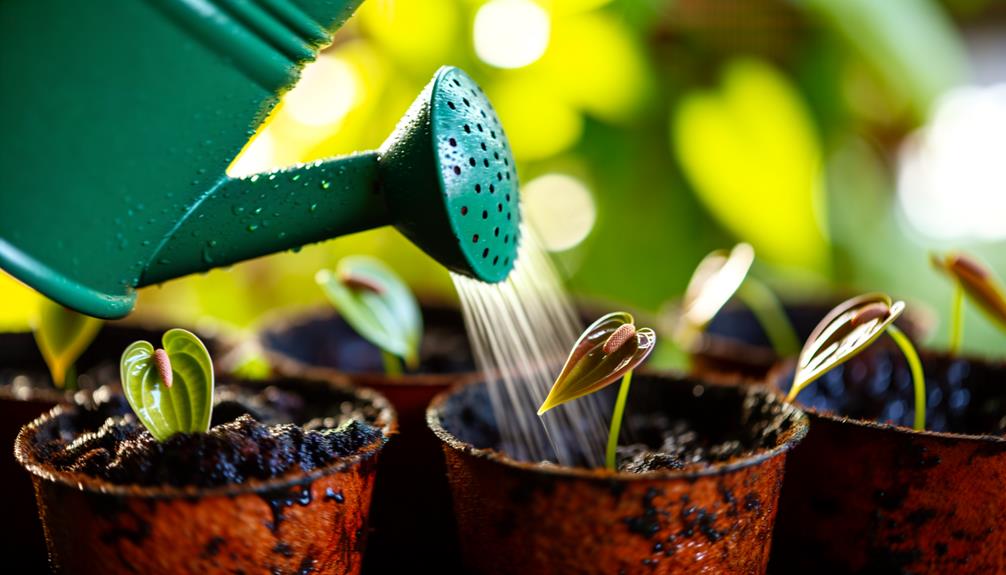
To maximize your anthurium seeds thrive, maintain ideal soil moisture levels by keeping the soil consistently damp but not waterlogged.
Watering practices like using a spray bottle can help you control the amount of moisture more precisely.
Optimal Soil Moisture Levels
Maintaining ideal soil moisture levels is essential for the successful germination and growth of anthurium seeds.
You’ll want to keep the soil evenly moist but not waterlogged. Too much water can lead to root rot, while too little can impede germination.
To achieve this balance, monitor the soil closely. A light, well-draining mix helps maintain the right moisture level. Stick your finger about an inch into the soil; it should feel damp, not soggy.
Use a spray bottle for gentle watering to avoid disturbing the seeds. Consistent moisture is key—dry periods can be detrimental.
Best Watering Practices
Ensuring your anthurium seeds receive the right amount of water involves mastering specific watering techniques that promote ideal growth and prevent issues like root rot. Start by using a spray bottle to mist the soil lightly, ensuring it remains moist but not waterlogged.
Mist daily, but reduce frequency if you notice excessive moisture. Position your seeds in a well-draining mix and use a pot with drainage holes to prevent standing water. Check the soil with your finger—if the top inch feels dry, it’s time to mist again.
Avoid overhead watering, as it can damage delicate seedlings. Consistent, gentle watering will support robust growth and help your anthurium seeds flourish beautifully, ensuring you meet the needs of those you serve.
Step 05: Light Requirements
Anthurium seeds need bright, indirect light to germinate and thrive. Position your seeds near a window that receives ample sunlight but avoid direct rays, which can scorch them. If natural light is insufficient, consider using grow lights.
Place the lights about 12 inches above the seeds to mimic indirect sunlight. Maintain a consistent light schedule, ideally 12 to 14 hours daily, to promote healthy growth.
Monitor the light exposure regularly, adjusting as necessary to make sure the seeds don’t get too much or too little light.
Proper light conditions are essential for the seeds’ development, so your attention to this detail will greatly improve their chances of maturing into robust Anthurium plants, ready to bring beauty and joy to others.
Step 06: Temperature Control
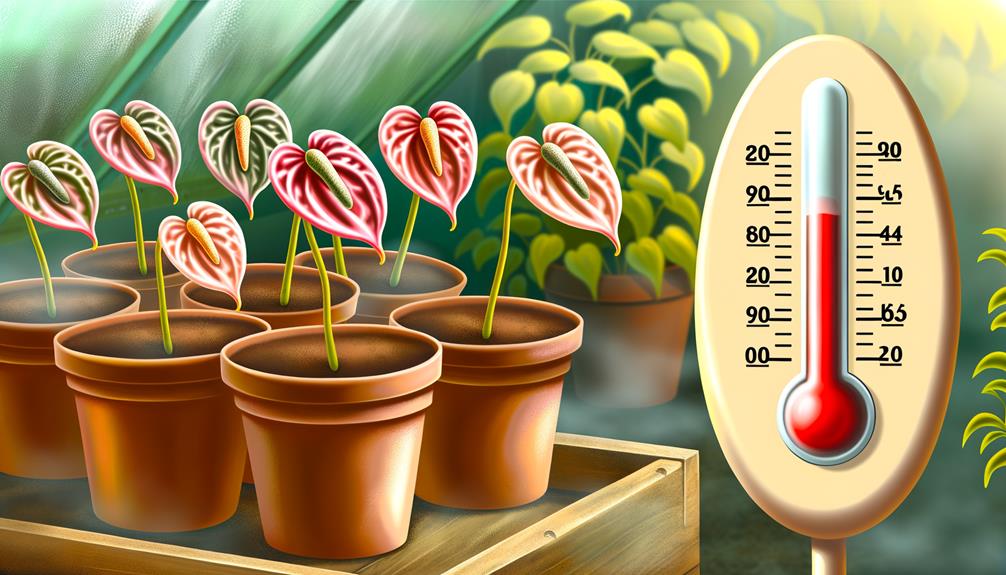
To successfully sprout and grow, Anthurium seeds need a stable temperature range between 70°F and 85°F. Maintaining this temperature is important for best growth.
You can use a thermostat-controlled heating mat to ensure consistent warmth. Place a thermometer near the seeds to monitor the environment closely.
| Temperature (°F) | Description | Action Required |
|---|---|---|
| Below 70°F | Too Cold | Increase heat source |
| 70°F – 75°F | Minimum Range | Maintain current settings |
| 76°F – 80°F | Ideal Range | Optimal, maintain settings |
| 81°F – 85°F | Maximum Range | Monitor for overheating |
| Above 85°F | Too Hot | Decrease heat source |
Step 07: Germination Timeline
During the germination timeline, you’ll typically see Anthurium seeds begin to sprout within two to three weeks under ideal conditions.
To ensure success, maintain a consistent temperature of 70-75°F and provide indirect sunlight. Keep the soil consistently moist but not waterlogged. Mist the surface lightly if it starts to dry out.
You’ll notice small green shoots emerging, signaling healthy growth. Patience is essential; resist the urge to disturb the seeds.
Use a transparent cover to create a humid environment, but allow occasional ventilation to prevent mold. Monitor the progress daily and adjust care as needed.
Your diligence during this critical period sets the foundation for robust Anthurium plants, ultimately enhancing the beauty and vitality of your garden.
Step 08: Transplanting Seedlings
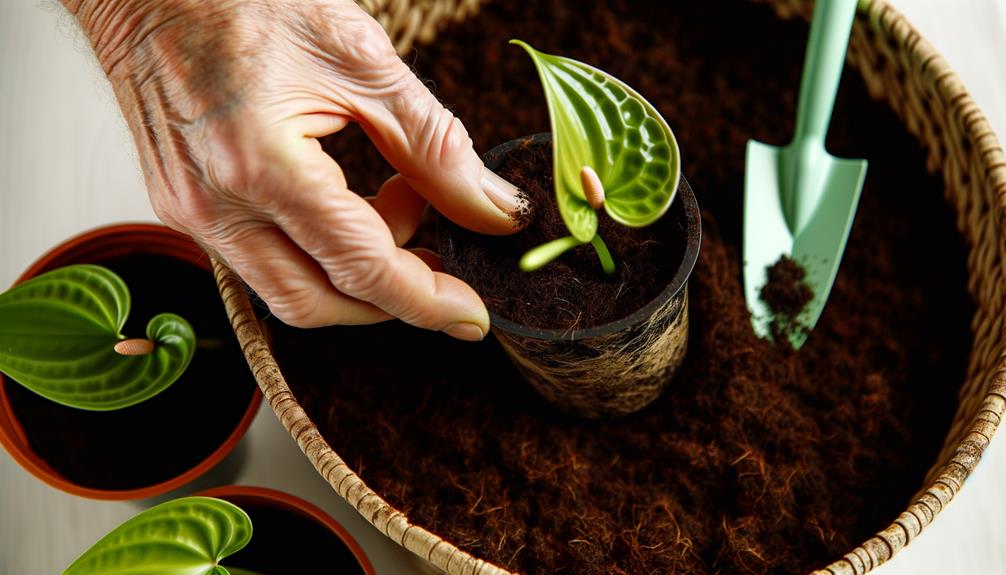
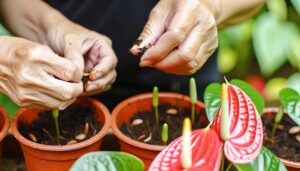
Once the seedlings have developed a few true leaves, it’s time to carefully transplant them into individual pots to promote maximum growth. Select small pots with drainage holes and fill them with a well-draining potting mix.
Gently lift each seedling using a small spoon or your fingers, being careful not to damage the roots.
Place each seedling into its new pot, ensuring the root ball is covered with soil. Lightly press the soil around the base to secure the plant.
Water the seedlings immediately after transplanting to help settle the soil and eliminate air pockets.
Position the pots in a warm, humid environment with indirect sunlight to support healthy growth. Your seedlings are now ready for their next growth phase!
Step 09: Ongoing Care
Maintaining the health of your anthurium seedlings involves regular watering, appropriate lighting, and consistent monitoring for pests and diseases. You’ll want to ensure your seedlings flourish, displaying their vibrant beauty.
Here are three essential steps:
- Water Regularly: Keep the soil moist but not saturated. Excessive watering can cause root rot, while insufficient watering can cause plant stress.
- Provide Sufficient Light: Position your seedlings in a location with bright, indirect light. Direct sunlight can damage the leaves, while inadequate light can hinder growth.
- Inspect for Pests and Diseases: Routinely check your plants for indications of pests like aphids or diseases like root rot. Early identification and treatment are vital for sustaining healthy plants.
What do anthurium seeds look like
Anthurium seeds are small, round, and typically enclosed within a berry-like fruit. The seeds themselves are usually white or pale and have a smooth texture.
These seeds are often surrounded by a gelatinous pulp within the fruit, which is often bright red, orange, or yellow.
To propagate Anthuriums from seeds, the seeds need to be cleaned of this pulp and then sown on a moist, well-draining medium in a warm and humid environment.
Conclusion
By following these simple steps, you’ll successfully grow beautiful anthuriums from seeds.
You might worry it’s too complicated, but with patience and our clear instructions, you’ve got this!
Remember, proper watering, temperature control, and ongoing care make all the difference. Soon, you’ll see those little seedlings sprout and thrive, rewarding your efforts. Trust the process and enjoy watching your anthuriums flourish.
Happy planting!

