Anthurium Propagation by Seed in 5 Easy Steps
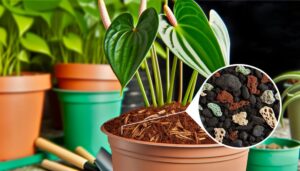
Start propagating your Anthurium by selecting plump, mature seeds. Prepare a sterile planting medium using equal parts peat moss, perlite, and orchid bark.
Evenly distribute the seeds on the medium, pressing them gently to about 1-2 millimeters depth, then mist with distilled water. Maintain 70-80% humidity and temperatures of 70-85°F (21-29°C) using humidity domes or plastic covers, along with bright, indirect light.
Guarantee the soil remains consistently damp and monitor for fungal infections or pests. Fertilize the seedlings with a balanced, water-soluble fertilizer.
Gain deeper insights into each step to ensure successful propagation.
Key Takeaways
- Choose plump, glossy, and fully mature seeds from reputable suppliers.
- Prepare a sterile planting medium with equal parts peat moss, perlite, and orchid bark.
- Evenly distribute seeds on the medium surface and press them gently at 1-2 millimeters depth.
- Maintain humidity at 70-80% and temperature between 70-85°F with bright, indirect light.
- Keep soil damp, monitor for pests, and fertilize seedlings with balanced, water-soluble fertilizer.
Select High-Quality Seeds
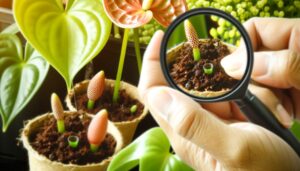
To guarantee successful anthurium propagation, begin by selecting seeds that are visibly plump, fully mature, and free from any signs of damage or disease. When inspecting seeds, look for a uniform size and a glossy surface. Avoid seeds that appear shriveled or have discolorations, as these may indicate poor viability.
It’s essential to source seeds from a reputable supplier to secure genetic quality and germination success. Anthurium seeds should be fresh, as older seeds lose viability rapidly. You can test seed viability by placing them in water; viable seeds will sink while non-viable ones will float.
Prepare the Planting Medium
Begin by selecting a sterile, well-draining planting medium, such as a mix of peat moss, perlite, and orchid bark, to guarantee optimal conditions for anthurium seed germination. Sterility is essential to prevent fungal infections. Make sure that the medium retains moisture without becoming waterlogged.
Here’s a breakdown of the components:
| Component | Purpose |
|---|---|
| Peat Moss | Retains moisture, provides acidity |
| Perlite | Enhances drainage, aeration |
| Orchid Bark | Improves texture, adds structure |
| Sterility | Prevents disease, promotes health |
Combine these materials in equal parts to create a balanced substrate. Thoroughly mix the components to ensure uniform distribution. Before using, moisten the medium lightly to activate its properties. This careful preparation sets the stage for successful anthurium seed germination.
Sow the Seeds
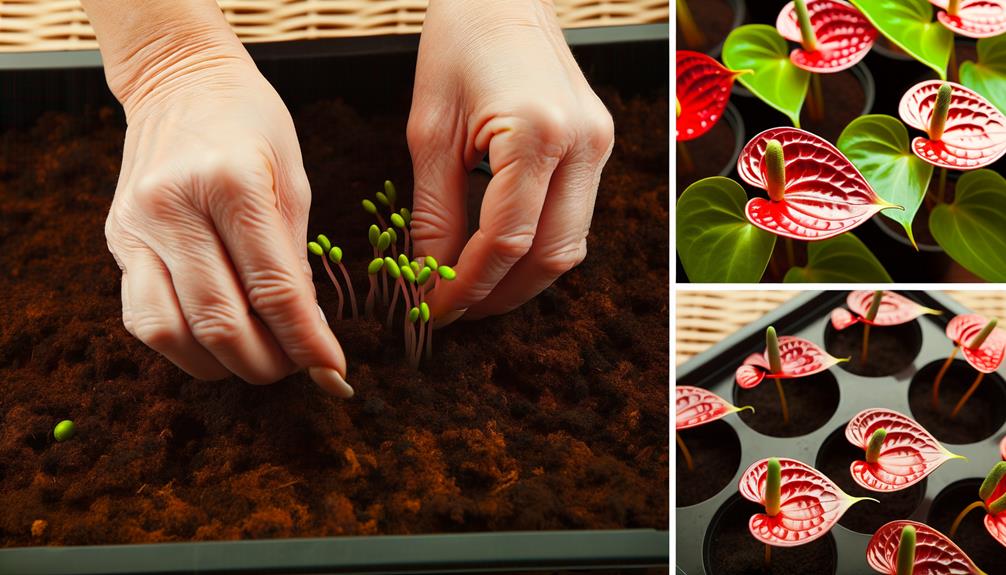
Carefully distribute the anthurium seeds evenly across the surface of the prepared planting medium, making sure they don’t overlap. Use a pair of tweezers or a small tool for precision.
Gently press each seed into the medium, allowing for contact without burying them. Aim for a depth of no more than 1-2 millimeters. This guarantees the seeds receive adequate light and air circulation, essential for germination.
Once positioned, lightly mist the surface with distilled water to maintain moisture. Avoid overwatering, as this can lead to fungal growth.
Label your container with the date of sowing and the seed variety. This step guarantees you can track germination progress accurately.
Provide Optimal Conditions
Maintaining a perfect environment is crucial for the successful germination and growth of your anthurium seeds. Make sure you provide the following ideal conditions:
- Humidity: Keep moisture levels between 70-80%. Utilize a humidity dome or a plastic cover to retain dampness.
- Temperature: Sustain a consistent temperature between 70-85°F (21-29°C). Utilize a heat mat if needed to keep the soil cozy.
- Light: Supply bright, indirect light. Position the seed trays near a window with filtered sunlight or use a grow light to imitate natural light conditions.
Care for Seedlings
Once your anthurium seeds have sprouted, make certain the seedlings receive proper care by monitoring moisture levels and avoiding waterlogged conditions. Keep the soil consistently damp but not waterlogged. Utilize a well-draining potting mix to facilitate sufficient aeration.
Position the seedlings in an area with indirect, bright light, maintaining a temperature between 70-85°F (21-29°C). Regularly check for signs of fungal infections or pests, and promptly remove any affected leaves.
Fertilize with a balanced, water-soluble fertilizer at quarter strength every four to six weeks to support healthy growth. As seedlings develop, gradually increase ventilation to acclimate them to surrounding conditions. Properly spaced seedlings will guarantee ideal air circulation, reducing the risk of disease.
Conclusion
You’ve now learned how to propagate anthurium by seed in five easy steps. Some might argue it’s too complex, but with the right high-quality seeds, a well-prepared planting medium, and best growing conditions, you’ll successfully nurture vibrant seedlings.
Remember, each step is essential for healthy growth. Don’t be discouraged if it takes time; scientific accuracy guarantees the finest outcomes.
Follow these detailed instructions, and you’ll enjoy thriving anthuriums in your collection.

