Birds Nest Anthurium Propagation in 7 Easy Steps to Success
To propagate your Birds Nest Anthurium in seven easy steps, first gather a sharp, sterilized knife, potting mix, a clean pot with drainage holes, and rooting hormone. Choose a mature, healthy plant and inspect for well-developed leaves.
Prepare the soil with peat, perlite, and orchid bark. Divide the plant carefully, ensuring each section has roots.
Plant the divisions in the soil, pressing gently to secure. Water every 1-2 weeks, maintain humidity at 60-80%, and provide bright, indirect light.
Fertilize every 6-8 weeks and monitor for pests and diseases. There's more to master for thriving plants.
Key Takeaways
- Select a healthy, mature Birds Nest Anthurium with vibrant leaves and a robust root system.
- Prepare a high-quality potting mix combining perlite, orchid bark, and fertilizer.
- Use sharp, sterilized tools to divide the plant into sections.
- Replant each division into containers with proper drainage and well-draining soil mix.
- Ensure bright, indirect light, maintain 60-80% humidity, and water every 1-2 weeks.
Gather Your Materials
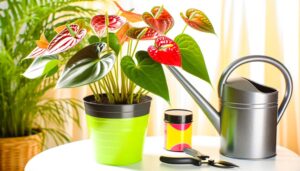
To begin propagating your Birds Nest Anthurium, you'll need to gather a few essential materials. Start with a sharp, sterilized knife or scissors to ensure clean cuts and prevent disease.
You'll also need a potting mix rich in organic matter; a blend of peat, perlite, and orchid bark works well.
Prepare a clean, small pot with drainage holes to accommodate the new plant. Have rooting hormone on hand to encourage root development.
Lastly, gather a spray bottle filled with water to keep the soil moist but not waterlogged. By having these materials ready, you'll set the stage for a successful propagation process. Proper preparation guarantees your Birds Nest Anthurium has everything it needs to thrive from the very beginning.
Choose a Healthy Plant
When choosing a healthy Birds Nest Anthurium for propagation, start by inspecting the leaf condition for any signs of disease or damage.
Next, check the root health to confirm they're white and firm, not brown or mushy.
Inspect Leaf Condition
Examine the leaves for vibrant color, firm texture, and absence of blemishes to guarantee you're selecting a healthy Birds Nest Anthurium for propagation. Healthy leaves should display a deep green hue, indicating proper chlorophyll levels. Avoid plants with yellowing or browning leaves, as these are signs of nutrient deficiencies or disease. Gently touch the leaves to verify they are firm and not limp, which reflects adequate hydration and overall plant vigor. Inspect the foliage closely for any spots or lesions, which may suggest pest infestations or fungal issues.
| Leaf Attribute | Desired Condition |
|---|---|
| Color | Deep green |
| Texture | Firm |
| Blemishes | Absence of spots/lesions |
Check Root Health
Healthy roots are essential for successful propagation, so make sure the plant's root system is strong and free from rot or pests.
Inspecting the root health involves several key steps:
- Unpot the Plant: Carefully remove the plant from its pot to expose the roots.
- Examine Roots: Look for firm, white or light tan roots. They should be healthy and robust.
- Check for Rot: Identify any mushy, dark, or foul-smelling roots, which indicate rot. Trim these away with sterilized scissors.
- Inspect for Pests: Look closely for signs of pests like root aphids or nematodes. Treat any infestations before proceeding.
Assess Plant Age
To guarantee successful propagation, select a mature Birds Nest Anthurium with well-developed leaves and a robust stem structure. A mature plant typically shows larger, glossy leaves and a sturdy, thick stem. Younger plants lack the established root system and foliage necessary for effective propagation.
Check for uniform leaf coloration and absence of pests or diseases. A healthy plant should have vibrant green leaves without yellowing or spotting. Inspect the stem for firmness; it shouldn't be soft or wilted. Assess the root system by gently removing the plant from its pot—look for white, healthy roots. Avoid plants with brown, mushy, or sparse roots.
Prioritize plants showing vigorous growth as they're better suited for propagation efforts.
Prepare the Soil
A well-draining, nutrient-rich soil blend is indispensable for successful Birds Nest Anthurium propagation. You'll want to replicate their natural tropical surroundings to guarantee healthy growth.
Follow these steps to prepare the ideal soil:
- Select a base: Use a high-quality potting blend as your base. Look for one that includes peat moss, as it holds moisture without becoming waterlogged.
- Incorporate perlite: Blend in perlite, around 20-30%, to enhance aeration and drainage.
- Integrate orchid bark: Include orchid bark, about 10-20%, to mimic the plant's natural epiphytic conditions.
- Fertilize: Add a slow-release, balanced fertilizer to supply essential nutrients.
Assure the blend is loose and airy, allowing roots to breathe and preventing root rot.
Divide the Plant
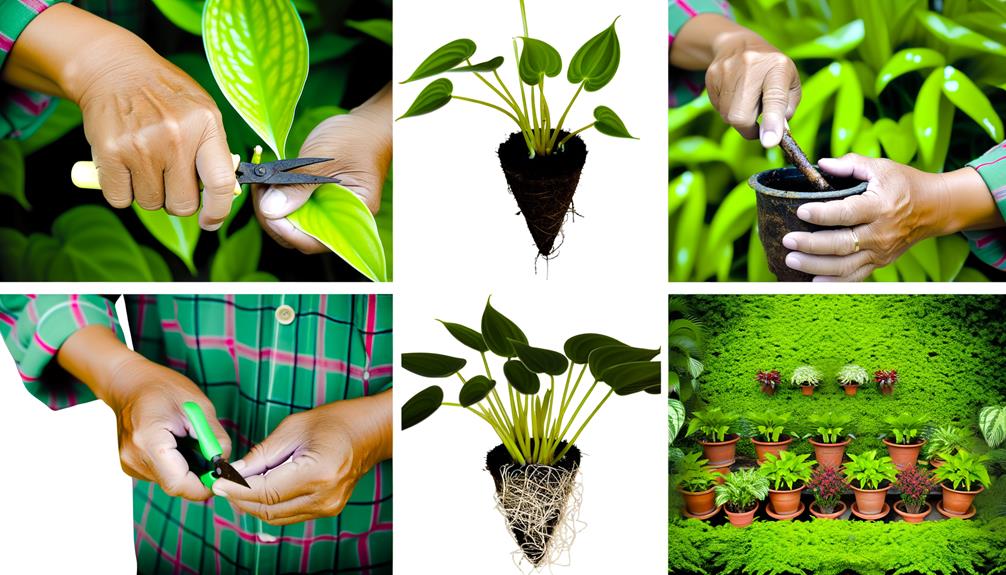
To effectively divide your Birds Nest Anthurium, start by selecting sharp, sterilized tools to make clean cuts.
Identify healthy plant sections with strong roots and leaves for best growth.
After division, replant each section in prepared soil to guarantee successful propagation.
Choosing Ideal Tools
Choosing the appropriate tools for dividing your Birds Nest Anthurium guarantees a clean cut and minimizes plant stress. To guarantee a successful propagation process, gather the following tools:
- Sharp Knife or Pruning Shears: Use a sterilized, sharp knife or pruning shears to make precise cuts. This reduces the risk of infection and ensures a clean separation.
- Disinfectant Solution: Clean your tools with a disinfectant solution before and after use to prevent the spread of diseases.
- Gloves: Wear gloves to protect your hands from potential irritants in the plant sap and to uphold hygiene.
- Plastic or Newspaper: Lay down plastic or newspaper to catch soil and debris, maintaining your workspace clean and organized.
These tools will help you achieve a smooth and effective division process.
Identifying Healthy Sections
Before dividing your Birds Nest Anthurium, closely inspect the plant to identify healthy, robust sections that will thrive independently. Look for areas with strong, green leaves and firm stems. Verify each section has a good root system; roots should be white or light tan, indicating health.
Avoid sections with yellowing leaves, mushy stems, or dark, brittle roots, as these signs point to disease or poor health. Use a clean, sharp knife to carefully separate these healthy sections. Each divided piece should have at least a few leaves and a solid root base.
This careful selection guarantees the separated plants will establish themselves quickly and grow vigorously, increasing your chances of successful propagation.
Replanting Divided Pieces
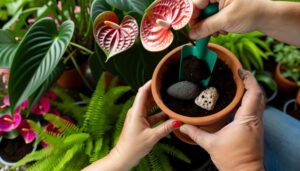
Plant the divided pieces into individual pots filled with a well-draining potting mix designed for epiphytes. This type of mix guarantees proper aeration and moisture control. Follow these steps to secure successful replanting:
- Place the divided root section into the pot, making sure the roots are spread out.
- Fill the pot with the potting mix, covering the roots while leaving the crown exposed.
- Firmly press the soil around the base to stabilize the plant.
- Water lightly to moisten the soil without oversaturating.
Maintain a humid environment to promote root growth. Position the pots in indirect light to prevent stress. Monitor the soil moisture and avoid overwatering. Your newly potted Birds Nest Anthurium should show growth within a few weeks.
Plant the Divisions
To ensure successful growth, carefully place each anthurium division into its new pot filled with well-draining soil. Position the root ball in the center, ensuring roots spread naturally. Cover them with additional soil, leaving space at the top for watering. Gently press the soil to secure the plant.
Here's a quick reference to help you:
| Step | Action | Tips |
|---|---|---|
| 1 | Choose the right pot | Use a container with drainage holes |
| 2 | Fill with well-draining soil | Mix perlite, peat moss, and orchid bark |
| 3 | Place the division | Center the root ball, cover with soil |
Ensure each pot has proper drainage to prevent waterlogging, which anthuriums dislike. This step is vital for healthy root development and overall plant well-being.
Water and Care
Once your anthurium divisions are potted, it's time to focus on proper watering and ongoing care to safeguard their healthy development. Keep the soil moist but not waterlogged.
Follow these steps:
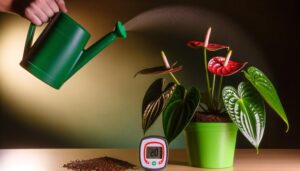
- Watering Frequency: Water your anthurium every 1-2 weeks. Adjust based on humidity and temperature.
- Humidity: Maintain a humidity level of 60-80%. Use a humidifier or place a tray of water near the plant.
- Light Requirements: Provide bright, indirect light. Avoid direct sunlight as it can scorch the leaves.
- Fertilizing: Use a balanced, water-soluble fertilizer every 6-8 weeks during the growing season.
Monitor Growth
Regularly monitoring your anthurium's growth promotes early detection of potential issues and supports ideal development. Inspect the plant for signs of pests, discoloration, or abnormal leaf shapes.
Check the soil moisture to confirm it's consistently damp but not waterlogged. Observe the roots for signs of rot or overcrowding, as these can impede growth. Measure new leaf development and overall height to track progress.
Adjust light exposure if leaves appear pale or leggy, indicating insufficient light. Ensure the plant receives balanced nutrients by evaluating leaf color and vigor. Regularly rotating the pot ensures even light distribution, promoting symmetrical growth.
Documenting these observations helps you make informed adjustments, nurturing a healthy and thriving Birds Nest Anthurium.
Conclusion
You've now got the blueprint to propagate your Bird's Nest Anthurium. With all the steps laid out, you're ready to embark on this botanical adventure. Just like a maestro guiding an orchestra, your careful attention will guarantee each division flourishes.
Keep an eye on water and light, and soon, you'll see new growth unfurling like a symphony of green. Follow these steps, and you'll transform a single plant into a thriving collection, enriching your indoor garden oasis.

