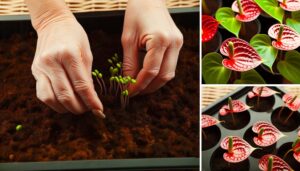
Comprehensive Guide to Anthurium Arrow Care
For best Anthurium Arrow care, place it in bright, indirect light and avoid direct sun. Water when the top inch of soil dries, using a well-aerated mix of orchid bark, perlite, and peat moss with a pH of 5.5 to 6.5.
Keep temperatures between 65-80°F and maintain high humidity levels, ideally 70%-80%. Fertilize with a 20-20-20 balanced liquid fertilizer every 6-8 weeks at half strength during the growing season.
Regularly inspect for pests like aphids and spider mites, and ensure proper drainage to prevent diseases like root rot. To explore detailed care steps and advanced propagation methods, continue below.
Key Takeaways
- Place Anthurium Arrow in bright, indirect light to prevent leaf damage.
- Water only when the top inch of soil is dry and ensure proper drainage.
- Maintain temperatures between 65°F and 80°F with high humidity levels around 70%-80%.
- Use a well-aerated soil mix with orchid bark, perlite, and peat moss.
- Fertilize with a balanced 20-20-20 liquid fertilizer every 6-8 weeks during the growing season.
Ideal Light Conditions
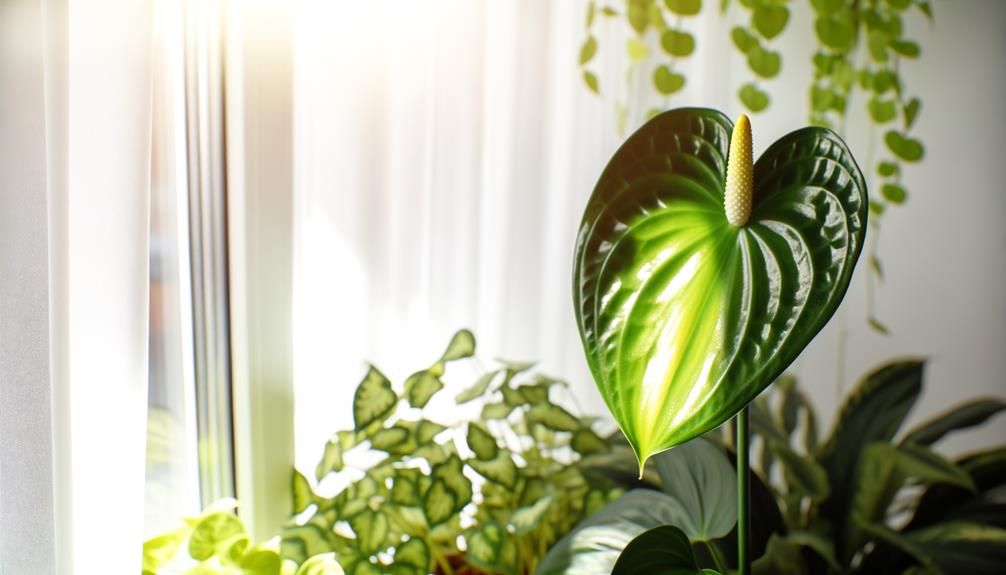
For best development, make certain your Anthurium Arrow receives bright, indirect light to replicate its natural tropical habitat.
Position it near an east- or north-facing window, making sure it gets ample light without direct sunlight, which can damage its leaves.
If natural light is insufficient, consider using a full-spectrum grow light. Maintain a consistent light source for about 10-12 hours daily. Avoid placing your plant in low-light conditions, as this can lead to leggy growth and reduced flowering.
Regularly rotate the plant to ensure uniform light exposure on all sides. By providing ideal light conditions, you’ll help your Anthurium Arrow thrive, displaying its vibrant foliage and contributing to a healthy, aesthetically pleasing environment for those you serve.
Watering Schedule
Consistently monitor the moisture level of the soil to determine when your Anthurium Arrow needs watering, ensuring the top inch is dry before providing water. Use a moisture meter for accuracy or insert your finger to check dryness.
Water thoroughly until you see excess drain from the bottom, preventing root rot by ensuring proper drainage. During warmer months, you’ll likely need to water more frequently—about once a week. In cooler months, reduce watering to every two to three weeks.
Avoid letting the plant sit in water; empty the saucer beneath the pot after watering. By maintaining this regimen, you’ll promote healthy growth, prevent over- or under-watering, and serve your Anthurium Arrow’s hydration needs effectively.
Soil Preferences
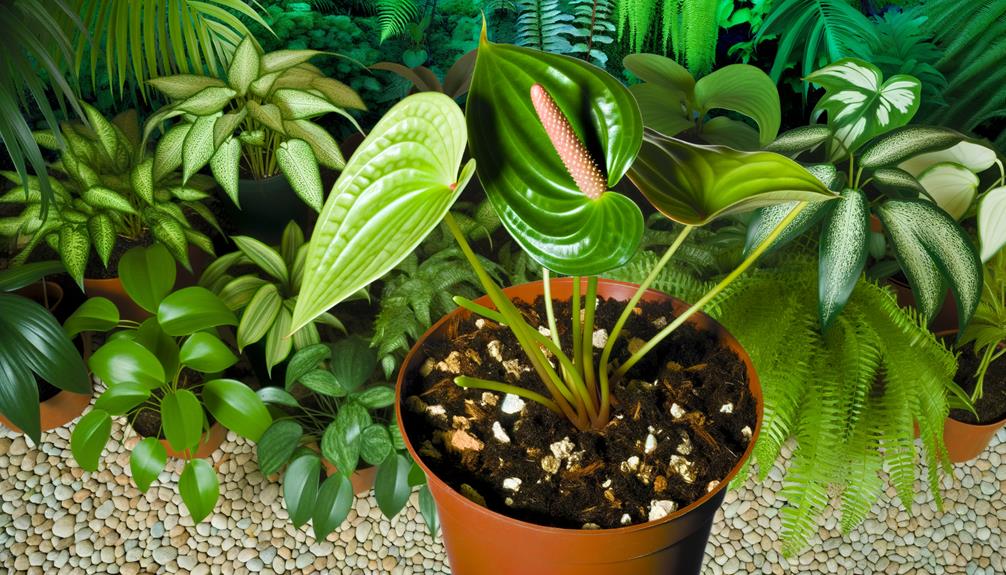
For best growth, your Anthurium Arrow requires a well-aerated soil mix rich in organic matter. Aim for a potting mix that includes peat moss, pine bark, and perlite to guarantee proper drainage and root health.
Avoid heavy, clay-based soils, as they can result in root rot and other issues.
Ideal Soil Composition
To cultivate Anthurium Arrow successfully, you’ll need a well-draining soil mix rich in organic matter to guarantee proper aeration and moisture retention. The ideal composition includes a blend of orchid bark, perlite, and peat moss.
Orchid bark ensures strong drainage, preventing root rot, while perlite adds aeration, essential for root health. Peat moss retains moisture without waterlogging the roots, maintaining a balanced environment.
Additionally, incorporating charcoal enhances drainage and prevents fungal growth. Aim for a pH level between 5.5 and 6.5 to optimize nutrient absorption. A coarse, chunky texture mimics the plant’s natural epiphytic habitat, promoting vigorous growth.
By meticulously crafting this soil mix, you’ll provide the Anthurium Arrow with the foundation it needs to thrive.
Potting Mix Tips
Crafting the ideal potting mix for your Anthurium Arrow involves balancing aeration, moisture retention, and nutrient availability to replicate its natural habitat.
Start with a base of high-quality orchid bark to guarantee adequate drainage and aeration. Add peat moss or coco coir for moisture retention; these materials also provide slight acidity, mimicking the plant’s native environment.
Incorporate perlite or pumice to further improve drainage and prevent root rot. To enhance nutrient content, mix in a small amount of worm castings or a balanced slow-release fertilizer.
Temperature and Humidity
Maintaining ideal temperature and humidity levels is crucial for the health and growth of your Anthurium Arrow. Aim to keep the temperature between 65°F and 80°F, avoiding any sudden fluctuations.
Anthuriums thrive in high humidity, ideally between 70% and 80%. If your environment is dry, consider using a humidifier or placing a tray of water near the plant to increase humidity. Regular misting can also help, but avoid overdoing it to prevent fungal issues.
Monitor the humidity with a hygrometer for precision. Ensure the plant isn’t near drafts or heating vents, which can cause stress.
Fertilizing Tips
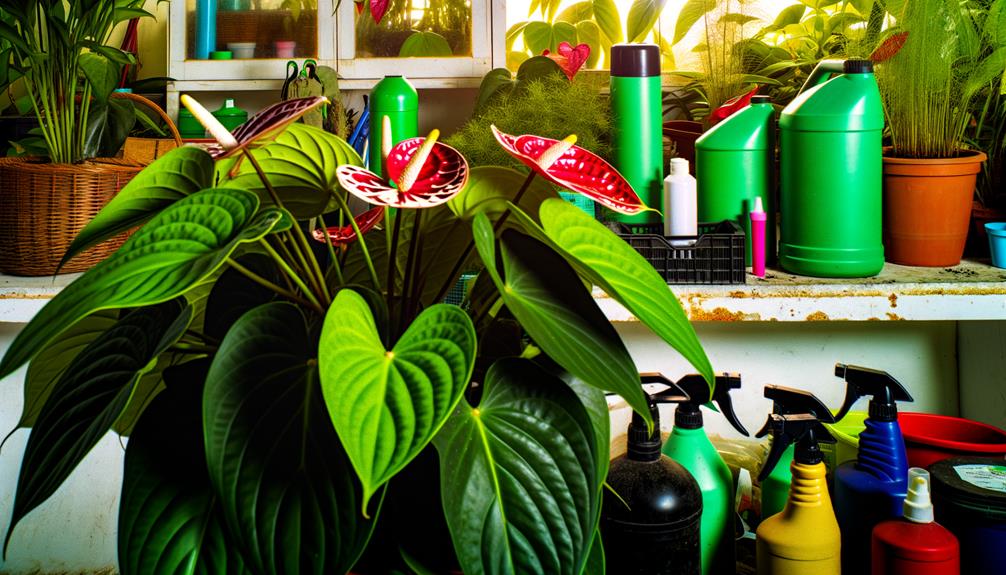
To maximize your Anthurium Arrow’s growth, you’ll need to focus on using balanced liquid fertilizers, ideally with a 20-20-20 NPK ratio. Feed the plant every six to eight weeks during its growing season, reducing frequency in the winter.
Adjust your fertilizing routine based on seasonal changes to prevent nutrient burn and promote peak growth.
Ideal Fertilizer Types
Choosing the ideal fertilizer is crucial for guaranteeing that your Anthurium Arrow thrives, as it provides the essential nutrients for robust growth and vibrant blooms.
Opt for a balanced, water-soluble fertilizer with an NPK ratio of 20-20-20 or 10-10-10. These ratios guarantee a harmonious supply of nitrogen, phosphorus, and potassium—key elements for leaf development, root strength, and flower production.
Additionally, incorporating micronutrients like magnesium and calcium can further enhance plant health. To avoid nutrient burn, dilute the fertilizer to half-strength before application.
Organic alternatives like fish emulsion or seaweed extract can also be beneficial, offering a gentler nutrient release.
Always choose high-quality products to guarantee your Anthurium Arrow receives the best care possible.
Feeding Frequency Guidelines
For best growth, fertilize your Anthurium Arrow every six to eight weeks during its active growing season, typically spring through early autumn.
Use a balanced, water-soluble fertilizer diluted to half strength to guarantee the plant receives essential nutrients without risking root burn.
Monitor the plant’s response; if you notice vigorous growth and healthy foliage, your feeding schedule is effective.
Always water the plant thoroughly before applying fertilizer to help distribute nutrients evenly and prevent concentration build-up.
Avoid over-fertilization, as it can lead to salt accumulation, which harms the roots.
Consistent feeding, combined with proper watering, guarantees your Anthurium Arrow thrives and maintains its vibrant appearance, allowing you to serve others by sharing its beauty and health.
Seasonal Fertilizing Tips
Adapting your fertilizing routine to the changing seasons secures your Anthurium Arrow receives ideal nutrients for its growth cycles.
In spring and summer, when growth is most vigorous, apply a balanced liquid fertilizer every two weeks. Opt for a 20-20-20 NPK formula to guarantee an even supply of nitrogen, phosphorus, and potassium.
As fall approaches, reduce the frequency to once a month, using a diluted solution to prevent over-fertilization.
During winter, your Anthurium Arrow enters a dormant phase; fertilize sparingly, if at all, with a half-strength solution every six to eight weeks.
Always water before fertilizing to minimize root burn.
Tailoring your fertilizing approach seasonally supports robust growth and vibrant blooms, enhancing your Anthurium Arrow’s health and beauty.
Pruning and Maintenance
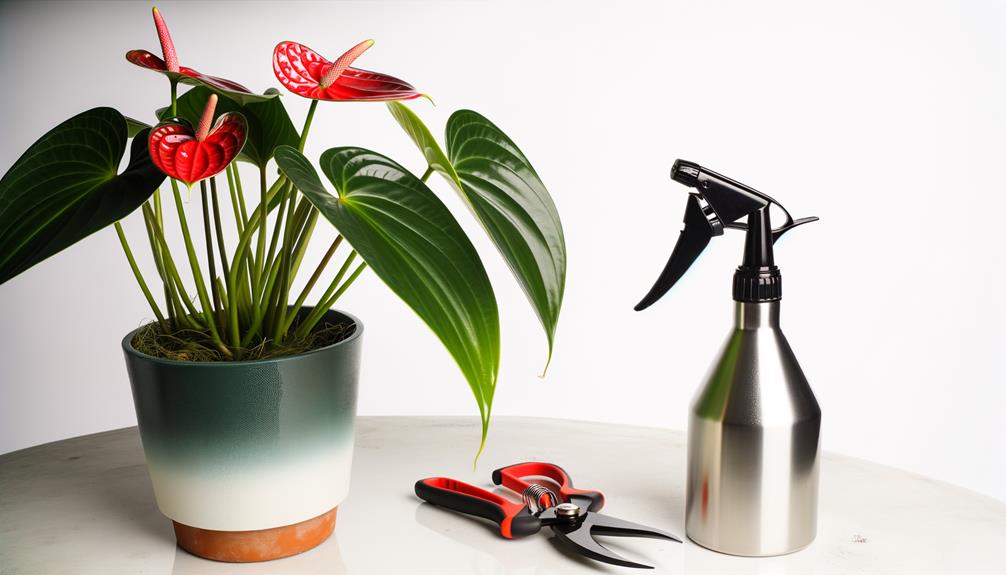
Proper pruning and maintenance of your Anthurium Arrow are vital to guarantee optimal growth and vibrant foliage. Start by using sterilized pruning shears to trim dead or yellowing leaves.
This prevents disease spread and promotes new growth. Regularly inspect the plant for any damaged parts and remove them promptly.
Here’s a quick guide:
| Task | Frequency | Tools Required |
|---|---|---|
| Remove Dead Leaves | Monthly | Sterilized Pruning Shears |
| Trim Yellowed Foliage | Bi-weekly | Sanitized Scissors |
| Inspect for Damage | Weekly | Hands, Magnifying Glass |
Always cut at a 45-degree angle to minimize stress. Make sure your workspace is clean, and dispose of plant debris properly to maintain a healthy environment. Regular maintenance will keep your Anthurium Arrow thriving.
Common Pests and Diseases
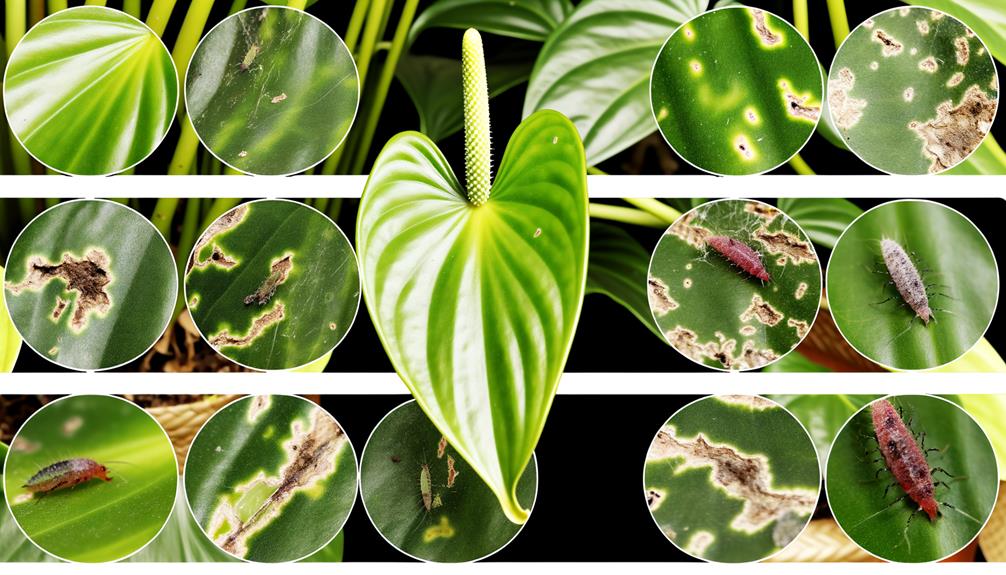
Anthurium Arrow plants are prone to a variety of common pests and diseases, which can greatly impact their health if not promptly addressed.
You’ll often come across pests like aphids, mealybugs, and spider mites. To combat these, regularly inspect leaves and stems. Use insecticidal soap or neem oil as a treatment.
Diseases such as root rot and bacterial blight are also widespread. Ensure proper drainage and avoid overwatering to prevent root rot.
For bacterial blight, remove infected leaves immediately and apply a copper-based fungicide. Always sterilize pruning tools to avoid spreading pathogens.
Propagation Methods
When propagating Anthurium Arrow plants, start by selecting a healthy parent plant with robust growth and no signs of pests or diseases.
Utilize division or stem cuttings for propagation. Confirm each division has at least one healthy root.
For stem cuttings, use sterilized scissors to cut below a node and remove any lower leaves. Place the cuttings in water until roots form, then transfer to soil.
| Method | Steps | Timeframe |
|---|---|---|
| Division | Separate clumps with roots intact, replant in fresh soil. | Immediate |
| Stem Cuttings | Cut below node, root in water, then plant in soil. | 2-3 weeks |
| Layering | Bend a stem to soil, cover with soil, cut after rooting. | 4-6 weeks |
| Seed | Plant seeds in moist soil, maintain humidity until germination. | 4-8 weeks |
| Tissue Culture | Use a sterile lab environment to grow from tissue samples. | Several months |
Use these methods to propagate efficiently and secure the health of new plants.
Conclusion
Caring for your Anthurium Arrow is like fine-tuning a musical instrument; each element must be in harmony. Just as a violinist adjusts strings for the perfect note, you’ll need to balance light, water, and nutrients for your plant to thrive.
Remember, 70% of successful plant care is about maintaining consistency. Like that violinist, your dedication and attention to detail will produce a vibrant, flourishing plant that rewards your efforts with its stunning beauty.

