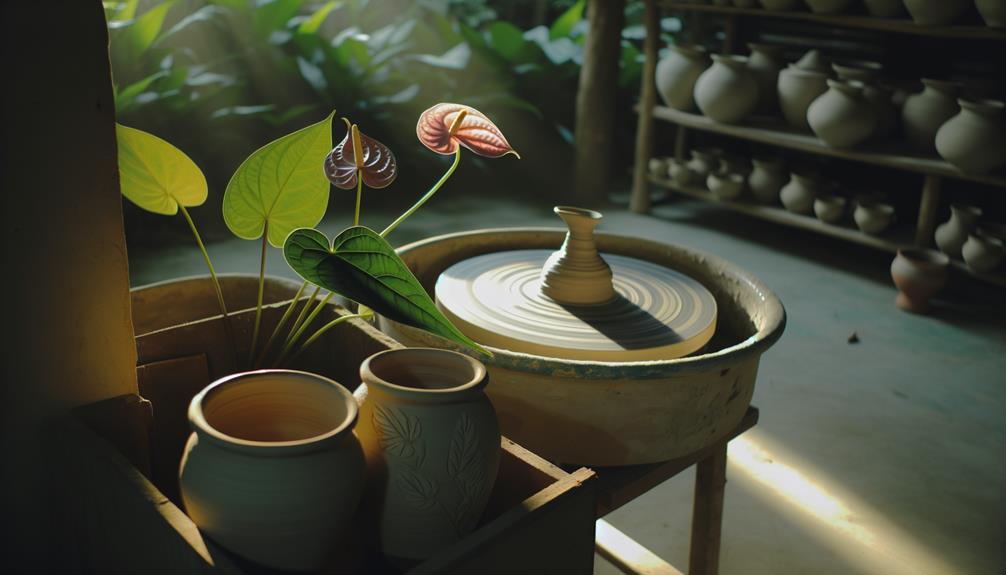
Creating Pottery Using Anthurium Flower Impressions
Creating pottery with Anthurium flower impressions starts with high-quality clay, fresh Anthurium flowers, and essential tools like rolling pins and cutting tools. Knead and roll your clay to the desired thickness, then press the fresh flowers into the clay using even pressure to capture intricate details.
Allow the clay to dry properly to prevent cracks, then carefully trim and apply glazes for a polished look. Fire the pottery in a kiln set to the appropriate cone level, ensuring a controlled cooling process.
This method brings out vibrant, detailed floral impressions and offers a rewarding artistic experience. Curious to know more?
Key Takeaways
- Select fresh Anthurium flowers to ensure detailed and vibrant impressions on the clay.
- Knead and shape high-quality clay before pressing flowers evenly to create impressions.
- Allow the clay to dry thoroughly to avoid cracks and preserve intricate details.
- Carefully trim edges after drying, ensuring the impressions remain intact.
- Apply and layer glazes skillfully before firing, enhancing the visual appeal of the flower impressions.
Gathering Materials
To begin creating pottery with Anthurium flower impressions, gather essential materials such as clay, rolling pins, cutting tools, and fresh Anthurium flowers.
Choose a high-quality clay that suits your project, whether it's earthenware or stoneware. Rolling pins help you achieve an even thickness, important for consistent impressions. Precise cutting tools allow for clean edges and refined shapes.
Opt for fresh Anthurium flowers; their unique, heart-shaped petals create striking, detailed patterns on the clay surface.
Get inspired by nature's intricate designs, and let the vibrant, tropical essence of Anthurium guide your artistic vision. Make sure your workspace is organized, with all materials within reach. This preparation not only streamlines your process but also enhances your creative flow.
Preparing the Clay
Before you start shaping your pottery, knead the clay thoroughly to eliminate any air bubbles and secure a smooth, workable texture. Use your palms to press and fold the clay, ensuring even consistency. Continue kneading until the clay feels pliable and soft. This process is essential for avoiding cracks and securing your pottery's durability.
Here's a quick guide to help you prepare your clay:
| Step | Technique | Purpose |
|---|---|---|
| 1 | Wedging | Remove air bubbles |
| 2 | Rolling | Achieve uniform thickness |
| 3 | Moistening | Maintain pliability |
| 4 | Smoothing | Ensure even texture |
| 5 | Resting | Allow clay to settle |
These steps lay the groundwork for creating beautiful, intricate pottery with Anthurium flower impressions.
Selecting Anthurium Flowers
When selecting Anthurium flowers for your pottery, start by choosing the freshest blooms to guarantee crisp impressions.
Evaluate the sizes of the flowers, as varying dimensions can add dynamic visual interest to your pieces.
Don't forget to identify the most vivid colors, which will inspire the overall aesthetic and vibrancy of your pottery design.
Choosing Fresh Anthuriums
Choosing the freshest anthuriums guarantees that the intricate textures and natural beauty of the flowers are perfectly imprinted onto your pottery. Start by examining the petals for vibrant color and firmness. Look for leaves that are glossy and free of blemishes or spots. Fresh anthuriums should have a firm spadix—the central spike—indicating the flower's vitality.
Pick flowers early in the morning when they're at their most hydrated. Handle them gently to avoid bruising, as any damage will show in your clay impressions. By selecting the freshest blooms, you ensure that your pottery captures the anthurium's unique patterns and lifelike detail, making each piece a stunning work of art. Keep them cool until you're ready to use them.
Evaluating Flower Sizes
With your fresh anthuriums in hand, now focus on evaluating the flower sizes to make sure they complement your pottery design.
Start by comparing the flowers to your pottery piece. Larger flowers work well on wide, expansive surfaces, creating bold, eye-catching impressions. Smaller flowers add delicate, intricate details to compact areas.
Experiment by placing the anthuriums on your clay to visualize their impact. Consider the flower's shape—spade-shaped blooms provide distinct, recognizable prints, while more elongated ones offer elegant, flowing lines.
Balance is key; mix different sizes to create dynamic, harmonious compositions. Don't hesitate to trim stems to fit your design better.
Identifying Vivid Colors
A vibrant array of anthurium colors can significantly enhance the visual appeal of your pottery, so focus on selecting blooms that boast rich, vivid hues. Start with deep reds and purples for a bold impression. These colors will stand out beautifully against neutral clay tones.
Explore bright pinks and oranges to create a lively, energetic feel. Don't overlook the glossy, heart-shaped leaves; their green can provide a stunning contrast. When choosing flowers, make sure they're fresh and vibrant, as faded blooms won't transfer well.
Test different combinations to see how colors interact once pressed into the clay. This attention to detail guarantees your pottery not only captures the beauty of the anthuriums but also exudes a unique, handcrafted charm.
Making Flower Impressions
To create stunning flower impressions, start by selecting fresh Anthurium flowers with distinct shapes and textures.
Gently press the flowers onto the clay surface, ensuring you capture every intricate detail.
Use a rolling pin or your fingers to apply even pressure, revealing the natural beauty of the blooms in your pottery.
Choosing Fresh Anthurium Flowers
Choosing the freshest Anthurium flowers guarantees that your pottery captures every intricate detail of their unique texture and shape. Start by selecting blooms that are vibrant and free from blemishes. The petals should feel firm and slightly waxy, indicating they're in prime condition. Avoid flowers with any signs of wilting or discoloration, as these imperfections can transfer to your clay.
Inspect the spadix, the central spike, ensuring it's intact and robust. This part often holds the most interesting textures. When harvesting, use clean, sharp scissors to cut the stems at an angle, allowing the flowers to absorb water until you're ready to use them. Keeping them hydrated maintains their freshness, which is vital for achieving well-defined impressions.
Pressing Techniques for Impressions
With your fresh Anthurium flowers ready, gently press them into the clay surface to capture their exquisite textures and shapes. Use a rolling pin or your fingertips to apply even pressure. Remove the flowers carefully to reveal intricate patterns. Here's a quick guide:
| Technique | Details |
|---|---|
| Rolling Pin | Maintains uniform pressure across the surface |
| Fingertips | Offers control for delicate details |
| Flower Removal | Lift slowly to prevent clay distortion |
Experiment with different flower parts—petals, leaves, and stems—to create varied impressions. Moisture levels in the clay are essential; too wet and the details blur, too dry and the clay cracks. Your patience and precision will transform simple clay into stunning, nature-inspired pottery.
Drying and Trimming
After shaping your pottery and pressing the delicate anthurium impressions, allow the piece to dry slowly and evenly to prevent cracking. Place it in a cool, shaded area, covering it lightly with plastic to retain moisture. This gradual drying process guarantees the clay doesn't become brittle or warp.
Once leather-hard, carefully trim the edges and refine the form using a loop tool or a ribbon tool. Pay close attention to the anthurium impressions, making sure you don't damage their intricate details. This is your chance to smooth out any rough areas and achieve a polished look.
Bisque Firing
Bisque firing is an essential step in pottery making. It is the first firing that transforms the clay from a fragile, leather-hard state to a sturdy, ceramic form ready for glazing.
Start by ensuring your piece is thoroughly dry to avoid cracks. Place your pottery in the kiln, making sure pieces don't touch to prevent fusing. Set the kiln to reach about 1730°F (945°C), a typical bisque firing temperature.
This process burns out organic materials and solidifies any anthurium flower impressions you may have made. Monitor the kiln's temperature rise steadily to avoid thermal shock.
The result of bisque firing is a porous ceramic piece, perfect for absorbing glaze. Remember, patience and precision during bisque firing pave the way for stunning, durable pottery.
Glazing and Final Firing
Consistently achieving breathtaking pottery requires mastering the art of glazing and the meticulous process of final firing.
Begin by selecting a glaze that complements your Anthurium flower impressions. Mix it thoroughly to avoid inconsistencies. Using a brush, apply the glaze evenly, ensuring it doesn't pool in the delicate flower impressions. Consider layering different glazes for a more dynamic finish. Allow your piece to dry completely before loading it into the kiln.
For the final firing, set your kiln to the appropriate cone level for your glaze type. This step locks in the glaze, creating a durable, glass-like surface. Control the cooling process to prevent thermal shock. Once cooled, your pottery will reveal vibrant, intricate details, preserving the Anthurium's beauty.
Conclusion
You've now navigated the nuances of nurturing your pottery passion with anthurium flower impressions. By blending botanical beauty with clay craftsmanship, you've created enchanting ceramics.
From gathering your gear to glazing with gusto, each step showcases your skill and creativity. Let your artistic inspiration flow freely, and remember—every petal print perfects your piece.
Happy creating, and may your pottery journey continue to flourish with floral finesse!