Dry Your Anthurium Flower in 3 Easy Steps
To dry your anthurium flower, start by gathering silica gel, an airtight container, and pruning shears. First, make sure the flower is free from damage or disease, trimming away any compromised parts.
Next, gently bury the flower in silica gel within the container, ensuring even coverage to prevent moisture retention. Finally, seal the container to maintain an airtight environment, enabling the gel to absorb moisture uniformly.
Leave it undisturbed for several weeks, allowing for thorough desiccation. If you're interested in mastering this technique and achieving vibrant, long-lasting results, there's more you can discover.
Key Takeaways
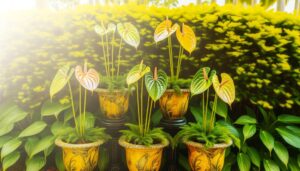
- Select and prepare the healthiest anthurium flowers by trimming compromised parts and removing excess foliage.
- Choose a drying method: air drying, silica gel desiccation, microwave drying, pressing, or glycerin solution.
- For air drying, hang flowers upside down in a dark, ventilated space for 2-3 weeks to preserve their shape.
- For silica gel desiccation, bury flowers in silica gel inside an airtight container to maintain vibrant colors, requiring several weeks for drying.
- Ensure your workspace is clean and free of contaminants to prevent damage or disease during the drying process.
Gather Your Supplies
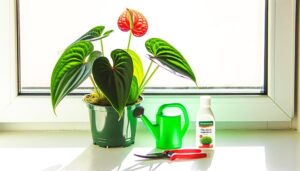
To begin the process of drying anthurium flowers, you'll need to gather a few vital supplies. This includes silica gel, airtight containers, and a pair of pruning shears. Silica gel is a desiccant that effectively absorbs moisture, ensuring the flowers dry evenly and maintain their vibrant colors.
Airtight containers are essential as they create a controlled environment, preventing external humidity from interfering with the drying process. Pruning shears are necessary to trim the flowers precisely, minimizing damage to their delicate structures.
Prepare the Flower
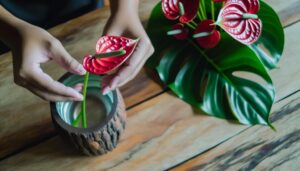
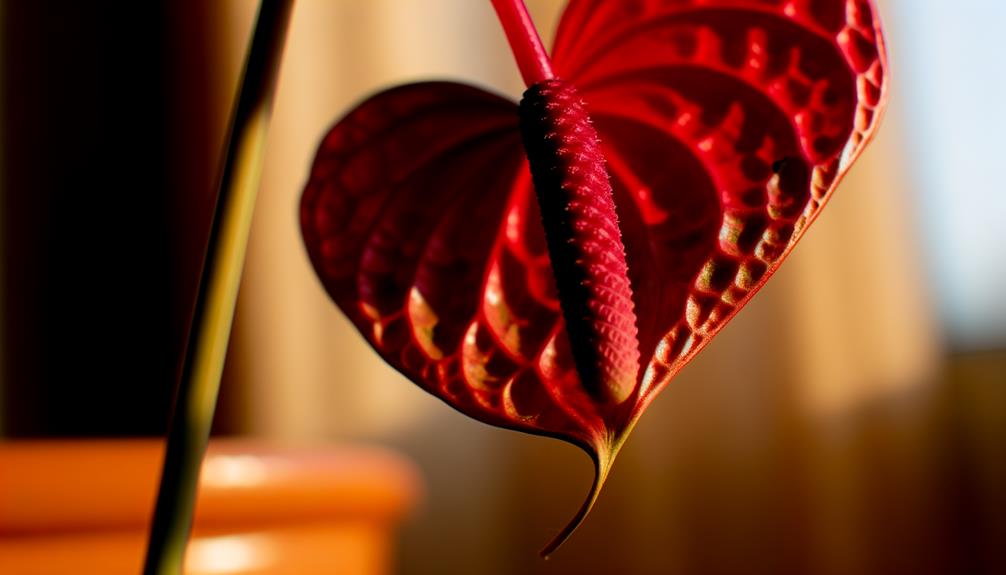
Begin by examining each anthurium flower for any signs of damage or disease, making sure you only choose the healthiest specimens for the drying process. Inspect the spathe and spadix closely, searching for discoloration, wilting, or fungal growth. Use sterilized scissors to trim any compromised parts, as this will prevent deterioration during drying.
Next, carefully remove excess foliage from the stem to minimize moisture. This step is essential because leaves retain more water, which can impede the drying process. Ensure your workspace is clean and free from contaminants to preserve the integrity of the flowers.
Dry and Preserve
Once you've prepared the anthurium flowers, initiate the drying process by selecting the most suitable method based on your resources and desired outcome. You can opt for air drying, silica gel desiccation, or microwave drying. Each method requires specific conditions to ensure ideal preservation.
| Drying Method | Description |
|---|---|
| Air Drying | Hang flowers upside down in a dark, ventilated space for 2-3 weeks. |
| Silica Gel | Bury flowers in silica gel crystals, sealing them in an airtight container. |
| Microwave Drying | Layer flowers with silica gel in a microwave-safe container, heat gently. |
| Pressing | Place flowers between heavy books or in a flower press for flat drying. |
| Glycerin Solution | Submerge stems in a glycerin-water solution to maintain flexibility. |
Choose the method that aligns with your available tools and desired preservation quality.
Conclusion
And there you have it! By gathering your supplies, preparing your anthurium flower, and carefully drying and preserving it, you've turned a fresh bloom into a lasting keepsake.
With these steps under your belt, you're ready to dry flowers like a pro. Remember, practice makes perfect, and with a bit of patience, you'll have dried flowers that are the pick of the bunch every time.
Happy preserving!