5 Steps to Germinate Anthurium Clarinervium Seeds Successfully
To successfully germinate Anthurium clarinervium seeds, start by gathering sterile supplies, including a sphagnum moss and perlite mix, seed trays, humidity domes, and reliable grow lights. Prepare the seeds by sanitizing them with a 10% bleach solution and rinsing thoroughly.
Create the ideal environment with 70-80% humidity, indirect bright light, and stable temperatures of 75-85°F. Monitor daily, misting to maintain humidity and removing any seeds showing mold.
Once germinated, transplant seedlings into pots with a peat, perlite, and orchid bark mix, ensuring proper drainage and watering cautiously. For a thorough understanding, continue further.
Key Takeaways
- Rinse and sanitize fresh, disease-free seeds in distilled water and a 10% bleach solution.
- Dry the sanitized seeds on a sterile paper towel before sowing in a sterile planting medium.
- Use a mix of sphagnum moss and perlite in shallow, well-draining seed trays.
- Maintain humidity levels between 70-80% and provide indirect, bright light.
- Keep the temperature stable between 75-85°F (24-29°C) and monitor for mold or decay.
Step 01: Gather Your Supplies
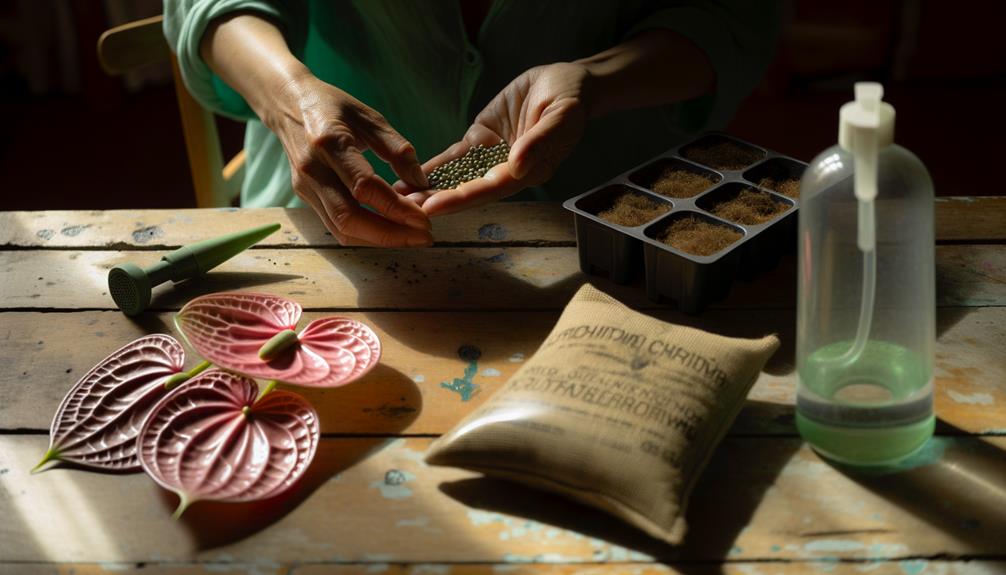
To successfully sprout Anthurium clarinervium seeds, you will need to gather essential supplies. These include a sterile planting medium, seed trays, humidity domes, and a dependable light source.
The sterile planting medium should ideally be a mix of sphagnum moss and perlite, which guarantees proper drainage and aeration. Seed trays must be shallow and well-draining to prevent waterlogging.
Humidity domes are essential to maintain the high humidity levels required for seed germination. A dependable light source, such as fluorescent or LED grow lights, ensures that the seedlings receive adequate light for best growth. It is advisable to use a timer to regulate light exposure, simulating a natural day-night cycle.
Properly assembling these supplies is vital to the sprouting process.
Step 02: Prepare the Seeds
Before sowing, make certain the Anthurium clarinervium seeds are fresh and free from any signs of disease or damage.
Begin by rinsing the seeds in distilled water to remove any residual pulp, which can harbor pathogens. Utilize a fine mesh strainer to guarantee thorough cleaning.
Following this, sanitize the seeds by soaking them in a 10% bleach solution for 5 minutes, then rinse them thoroughly with distilled water to eliminate any bleach residue. This step is essential to prevent fungal infections.
Once cleaned and sanitized, place the seeds on a sterile paper towel and allow them to dry for a few hours. This brief drying period helps facilitate easier handling during the sowing process, enhancing germination success.
Step 03: Create the Perfect Environment
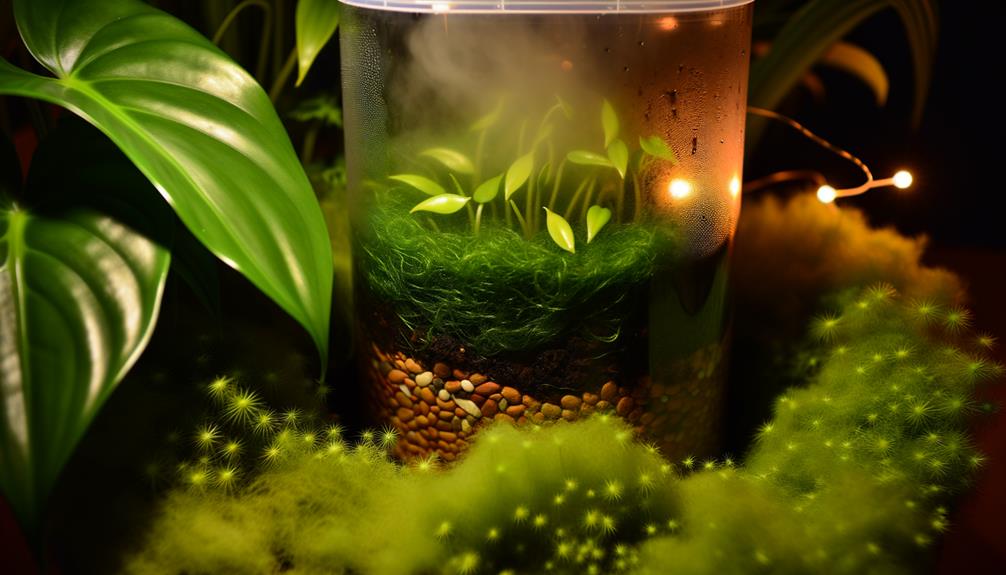
Creating the most suitable environment for germinating Anthurium clarinervium seeds involves maintaining consistent humidity levels, adequate lighting, and appropriate soil conditions.
Ideal humidity levels should be between 70-80%, achievable through the use of humidity domes or misting systems.
Lighting should be bright yet indirect, ideally mimicking the dappled sunlight of their native habitats, using grow lights if necessary.
Soil should be a well-draining, sterile mix, such as a blend of sphagnum moss and perlite, preventing fungal growth and promoting aeration.
The temperature must remain stable, ideally between 75-85°F (24-29°C). Maintaining these conditions is critical to creating an environment conducive to successful seed germination, ensuring robust seedling development and minimizing potential complications.
Step 04: Monitor Germination Progress
Consistently monitoring the germination progress of Anthurium clarinervium seeds is important for identifying any emerging issues and ensuring best growth conditions are maintained.
Begin by inspecting the seeds daily for signs of germination, such as radicle emergence or seed coat splitting. Use a magnifying glass for a detailed examination.
Maintain ideal humidity by regularly misting the growing medium, ensuring it remains moist but not waterlogged.
Check the temperature of the growing environment, aiming for a stable range of 70-85°F (21-29°C).
Assess light exposure; indirect light is preferable to avoid scorching delicate seedlings.
Remove any seeds showing signs of mold or decay immediately to prevent contamination.
Document observations meticulously to track progress and make necessary adjustments.
Step 05: Transplant Seedlings
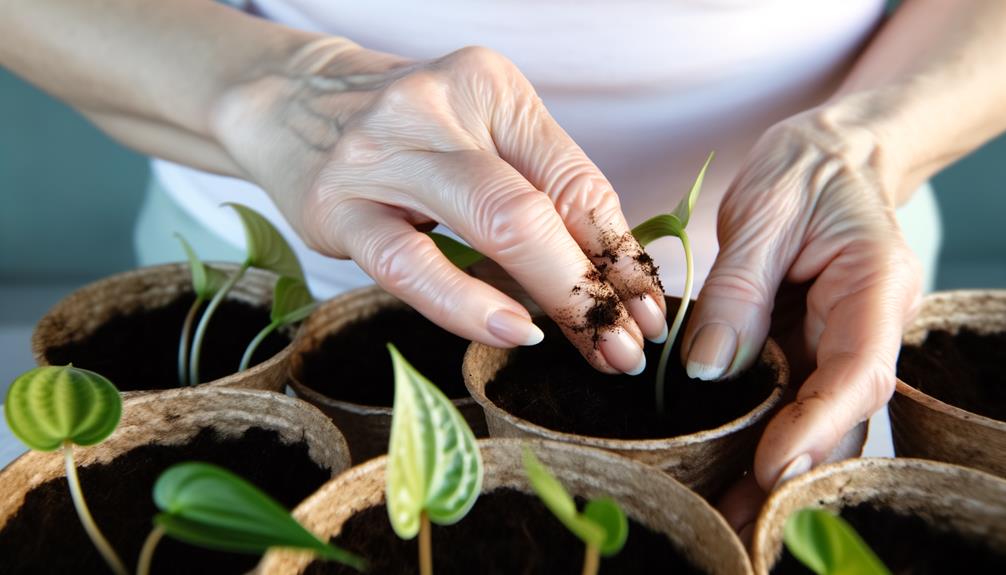
Once the seedlings have developed a few true leaves and a stable root system, they are ready to be carefully transplanted into individual pots.
The process involves selecting pots with adequate drainage, filling them with a well-draining substrate, and making sure the seedlings are planted at the correct depth to support continued growth. Handle the seedlings gently to prevent root damage.
| Step | Description | Tips |
|---|---|---|
| 1. Select Pots | Use 3-4 inch pots with drainage holes | Ensure pots are clean and sterile |
| 2. Prepare Soil | Fill with a mix of peat, perlite, and orchid bark | Maintain soil moisture, avoid soggy |
| 3. Remove Seedlings | Gently lift seedlings from the germination tray | Use tweezers for delicate handling |
| 4. Plant Seedlings | Place seedlings in pots, covering roots completely | Press soil lightly to stabilize |
| 5. Watering | Water thoroughly but avoid waterlogging | Use room temperature water |
Precise transplantation minimizes stress and promotes robust growth.
Conclusion
In the intricate ballet of botanical growth, mastering the germination of Anthurium clarinervium seeds mirrors the careful orchestration of a symphony.
By diligently following the organized steps—collecting supplies, prepping seeds, creating an ideal environment, monitoring progress, and transplanting seedlings—one secures the flourishing of these delicate plants.
Just as a conductor leads an orchestra to harmonious peak, so too does the horticulturist steer seeds to lush maturity, a proof of the effectiveness of detailed methodology.

