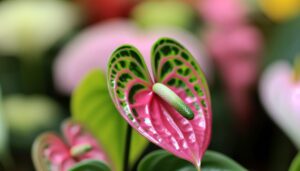
How to Photograph Anthuriums Against a Black Background
To photograph anthuriums against a black background, you’ll need a camera with manual settings and a macro lens for detailed shots. Use a sturdy tripod and softboxes or diffused natural light.
Select healthy, vibrant anthuriums and position them against a matte, wrinkle-free black fabric. Light your subject from the side, using reflectors and softbox light to prevent harsh shadows.
Set your camera’s ISO, aperture, and shutter speed to highlight the flower’s texture. In post-processing, adjust exposure and enhance colors for maximum impact.
Avoid dust specks by cleaning your lens. There’s more to explore in perfecting your anthurium photography.
Key Takeaways
- Use a velvet or matte black fabric background to ensure a non-reflective, wrinkle-free surface.
- Opt for diffused natural light or softboxes to achieve even illumination without harsh shadows.
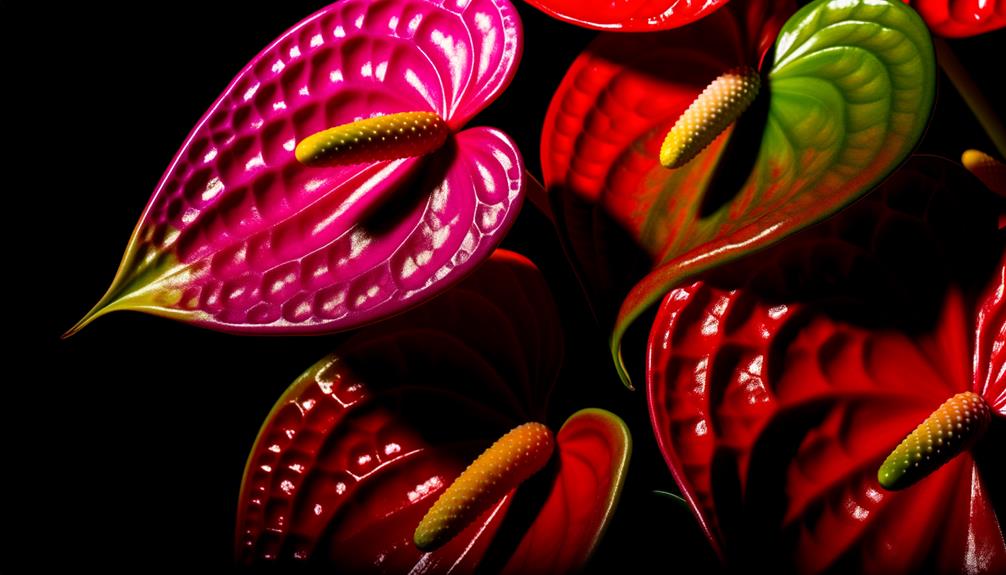
- Position the anthurium carefully to highlight vibrant colors and uniform petals against the black backdrop.
- Utilize a macro lens to capture detailed textures and fine features of the anthurium.
- Adjust camera settings like ISO, aperture, and white balance for optimal exposure and color accuracy.
Step 01: Choosing the Right Equipment
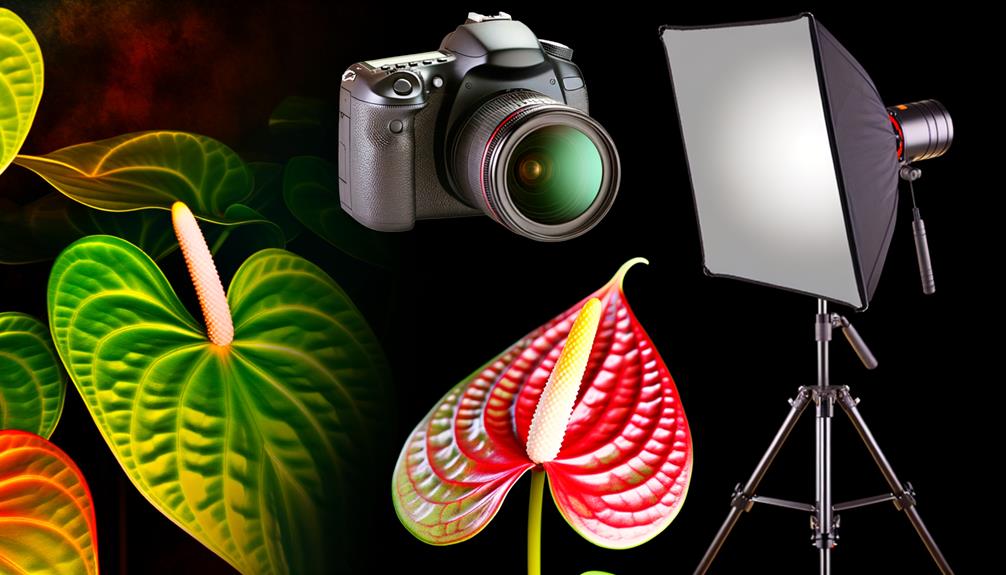
When photographing anthuriums against a black background, you’ll need to select a camera with manual settings to precisely control exposure and focus. Start by choosing a DSLR or mirrorless camera that allows you to adjust shutter speed, aperture, and ISO.
A macro lens will help you capture the intricate details of the anthurium’s petals and spadix. Use a sturdy tripod to keep your camera stable, ensuring sharp images.
For lighting, opt for softboxes or diffused natural light to avoid harsh shadows and highlights. Don’t forget a remote shutter release to minimize camera shake.
These tools will enable you to create images that showcase the anthurium’s natural beauty in stunning clarity against the dark background.
Step 02: Selecting the Perfect Anthurium
When selecting the perfect anthurium, focus on its color and health. You’ll want vibrant colors without blemishes. Also, pay attention to the size and shape – aim for uniformity and an aesthetically pleasing shape.
Ensure that the bloom is at the right stage for capturing its full beauty against a black background.
Color and Health
Choosing the perfect anthurium for your photography requires a sharp eye for vibrant color and peak plant health to ensure the most striking and crucial images. Focus on selecting flowers with rich, uniform hues—reds, pinks, and whites that stand out against a black background.
Examine the foliage closely; leaves should be glossy, free from blemishes or discoloration. Healthy anthuriums often have firm, upright stems and intact spathes with no signs of wilting or damage. Remember, a healthy plant not only looks better but also holds up longer under studio lights.
Prioritize specimens that exude vitality, as they’ll bring depth and intensity to your compositions, transforming each shot into a masterpiece. Your attention to detail will elevate your work from ordinary to extraordinary.
Size and Shape
Selecting the perfect anthurium involves a keen eye for size and shape, ensuring the flower’s dimensions and contours harmonize with your artistic vision.
Focus on uniform petals and leaves; asymmetry can disrupt visual balance. Opt for larger blooms if you want to emphasize grandeur, or smaller ones for a delicate, intricate composition.
Examine the curves and angles—smooth, flowing lines create a sense of grace, while sharper angles add drama. Pay attention to proportion; the flower should neither overwhelm nor be overshadowed by its surroundings.
Holding the anthurium at various angles helps you understand how light and shadow play off its form, enhancing its natural allure against the black background.
Precision in selection is key to capturing its essence.
Bloom Stage
To achieve the most vibrant and enchanting images, focus on anthuriums at their peak bloom stage, where the petals display maximum color intensity and structure. Choose blooms that exhibit rich, saturated hues and a flawless surface texture.
Avoid buds that are just starting to open or flowers that are past their prime, as they lack the visual impact necessary for striking photography.
Inspect each anthurium closely. Look for full, symmetrical petals and a healthy, unblemished spadix. The anthurium’s spathe should be firm, not wilting, and its gloss should reflect light beautifully under your camera’s lens.
Step 03: Setting Up Your Black Background
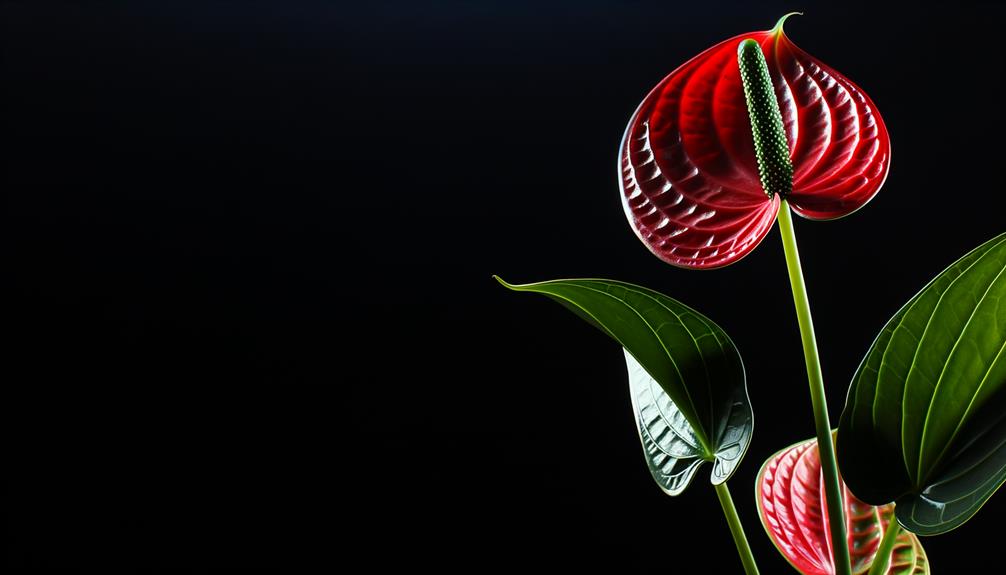
To achieve a striking black background for your anthurium photos, start by selecting a non-reflective material like velvet or matte paper.
Position your lighting to eliminate any unwanted shadows and guarantee even illumination.
Use clamps or stands to secure the background material tightly, creating a seamless backdrop.
Choosing Background Material
When setting up your black background, consider using materials like velvet or matte black fabric to minimize light reflection and enhance the anthurium’s vibrant colors. Velvet absorbs light, creating a deep, rich black that contrasts beautifully with the flower’s striking hues.
Matte fabrics, on the other hand, reduce glare and provide a clean, uniform backdrop. For ease of use, secure your chosen material on a sturdy frame or clamp it to a support stand. Confirm the background is wrinkle-free to avoid distracting shadows.
Adjusting Lighting Setup
Adjusting your lighting setup is essential to showcase the anthurium’s vibrant colors and intricate textures against the black background. Use soft, diffused light to avoid harsh shadows and highlight the flower’s natural beauty.
Position your key light at a 45-degree angle to the anthurium to emphasize depth and form. A fill light on the opposite side will soften shadows, creating a balanced look. Consider a backlight to separate the anthurium from the background, adding a subtle allure.
| Lighting Component | Purpose |
|---|---|
| Key Light | Highlights depth |
| Fill Light | Softens shadows |
| Backlight | Adds separation/glow |
Fine-tune these elements to achieve a photograph that’s both technically accurate and artistically enticing.
Step 04: Lighting Techniques
Mastering the interplay between light and shadow is essential for capturing the intricate beauty of anthuriums against a black background.
Position your light source to emphasize the natural curves and textures of the petals and leaves. Use a combination of diffused and direct lighting to create depth and drama.
- Softbox: Softens shadows and highlights delicate details.
- Reflector: Bounces light to eliminate harsh shadows.
- Backlighting: Adds a subtle glow, separating the flower from the background.
- Side lighting: Highlights the flower’s texture and structure.
- Spotlight: Focuses on specific areas, adding contrast and intensity.
Adjust your lighting angles meticulously, ensuring that you accentuate the vivid colors and striking shapes of the anthurium without washing out its natural allure.
Step 05: Camera Settings
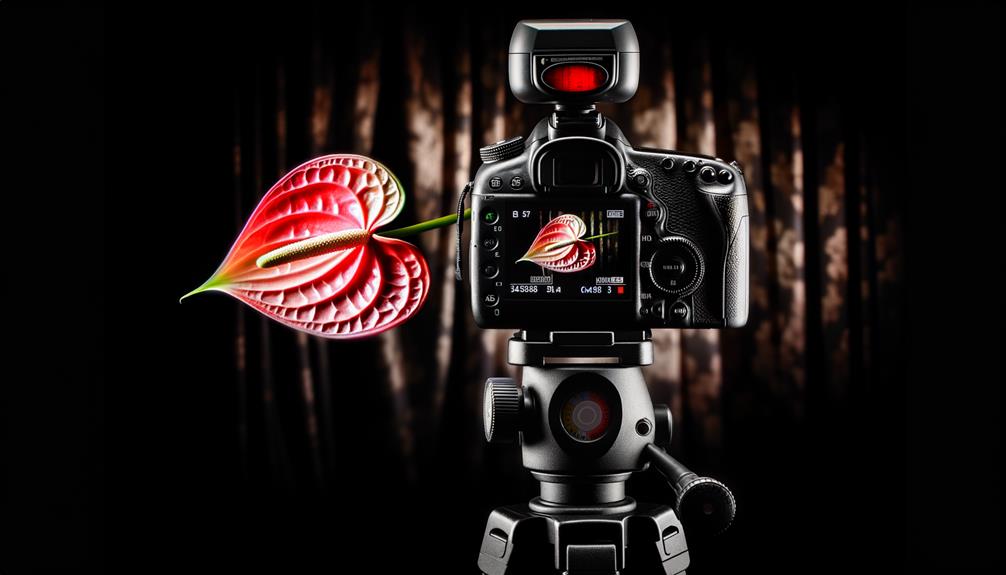
Selecting the right camera settings is crucial for capturing the vibrant hues and intricate details of anthuriums against a black background.
Start by setting your ISO to a lower value, around ISO 100 or 200, to minimize noise and guarantee crispness.
Use a small aperture, such as f/11 or f/16, to maximize depth of field and keep the entire flower in sharp focus.
Adjust your shutter speed to achieve proper exposure, typically around 1/125 or faster if you’re using additional lighting.
Don’t forget to set your white balance to a preset that complements the anthurium’s colors, like ‘Daylight’ or ‘Flash.’
Step 06: Composing Your Shot
With your camera settings optimized, focus on composing your shot to highlight the anthurium’s unique structure and vibrant colors against the stark black background.
Position the flower to capture its elegance and natural curves. Experiment with angles and framings to evoke emotion and depth.
- Side profile: Accentuate the anthurium’s silhouette and textures.
- Top-down view: Showcase the heart-shaped leaf and central spadix.
- Diagonal tilt: Add dynamic tension and movement.
- Close-up: Emphasize intricate details and rich hues.
- Negative space: Create a minimalist composition that draws attention to the flower.
Consider the interplay of light and shadow to enhance contrast. Use a tripod for stability and precision. Through careful composition, you’ll reveal the anthurium’s inherent beauty with artistic flair.
Step 07: Focusing on Details
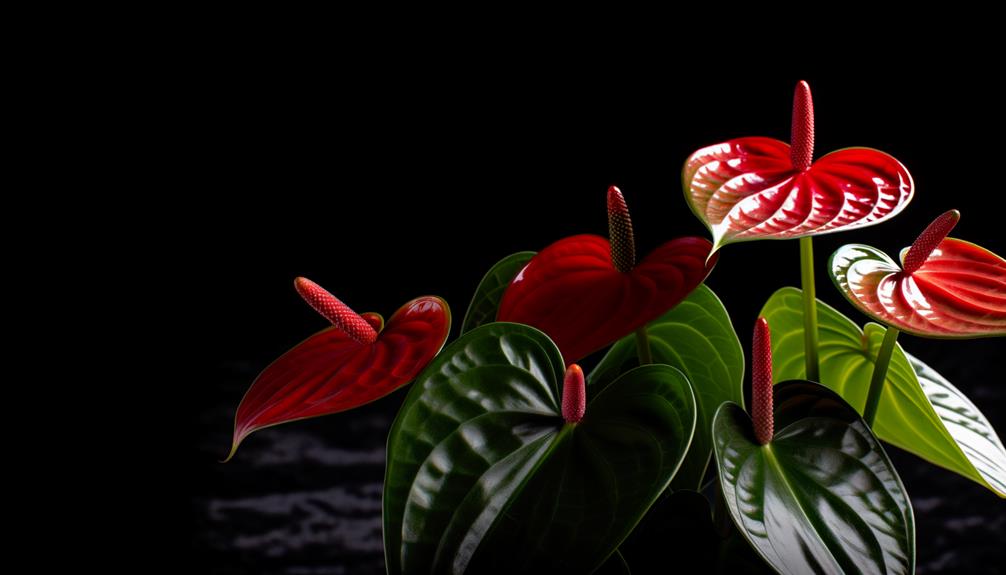
To capture the anthurium’s finest details, zoom in closely to highlight the textures and color gradients that make each flower unique.
Use a macro lens to bring the intricate veins and glossy surfaces into sharp focus. Adjust your aperture to a smaller f-stop to increase depth of field, ensuring every minute detail is crisp.
Pay attention to the lighting; a soft, diffused light will reveal the delicate nuances without harsh shadows. Steady your camera with a tripod to avoid any blur caused by movement.
Compose your shot carefully, ensuring the background remains pitch black to contrast sharply with the vivid hues of the anthurium.
This meticulous approach will showcase the anthurium’s elegance and complexity, capturing its essence beautifully.
Post-Processing Tips
Post-processing anthurium photographs requires a keen eye for enhancing details while preserving the natural beauty of the flower.
Start by adjusting the exposure to guarantee your anthurium is vibrant against the black background.
Next, refine colors to accentuate the rich reds and greens without oversaturation.
Use selective sharpening to emphasize the flower’s delicate veins and textures.
Adjust exposure: Guarantee vibrant, balanced lighting.
Refine colors: Boost reds and greens subtly.
Selective sharpening: Highlight delicate veins.
Remove noise: Clean up any grainy areas.
Contrast enhancement: Deepen blacks, make the anthurium pop.
With these techniques, you’ll transform your photos into stunning works of art, each detail meticulously highlighted, bringing the anthurium’s elegance to life.
Common Mistakes to Avoid
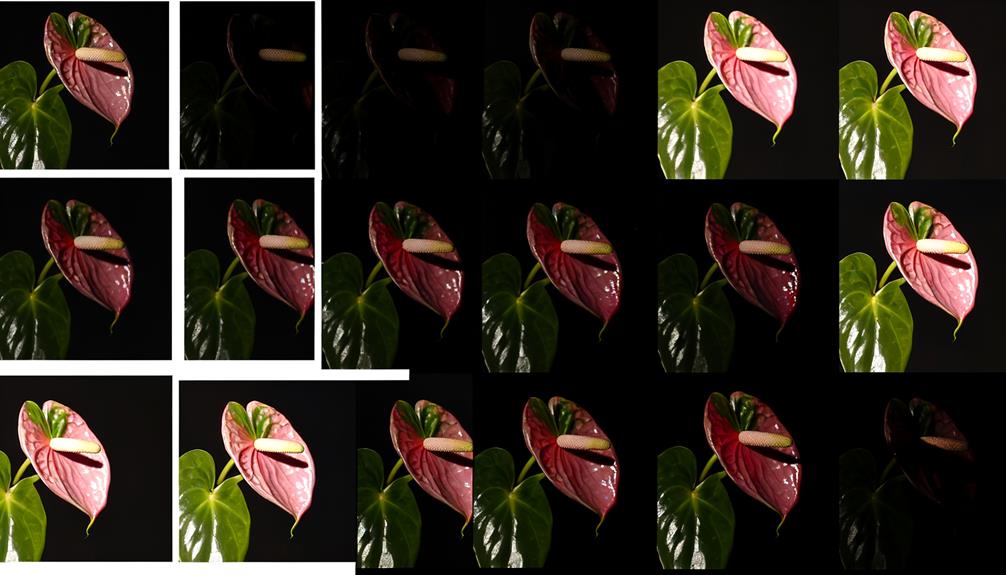
While photographing anthuriums, many photographers overlook the importance of balanced lighting, leading to either overexposed or underexposed images. Make certain you use diffused light to avoid harsh shadows and highlights.
Another common mistake is neglecting the background itself; verify it’s uniformly black without any light leaks that could distract from your subject. Don’t overlook to clean your lens and sensor meticulously—dust specks are glaring on dark backgrounds.
Also, pay attention to the anthurium’s position; a slight tilt can completely alter the composition.
Conclusion
By juxtaposing technical expertise with artistic vision, you’ve transformed the ordinary into the magnificent. Exact lighting and camera configurations showcase the anthurium’s vivid shades against the stark black background.
You’ve carefully arranged each shot, concentrating on delicate details, capturing the essence of the anthurium. Post-editing enhances your work, adding refinement. Steering clear of typical traps guarantees your photos radiate professionalism.
Your anthurium isn’t simply a flower; it’s a work of art framed in darkness, illuminated by your skill.

