7 Steps to Propagate Anthurium From Flowers Successfully
To propagate anthurium from flowers, first, select mature, healthy, blemish-free blooms. Gather sterilized cutting tools, rooting hormone, and a well-draining growing medium like orchid bark, perlite, and peat moss.
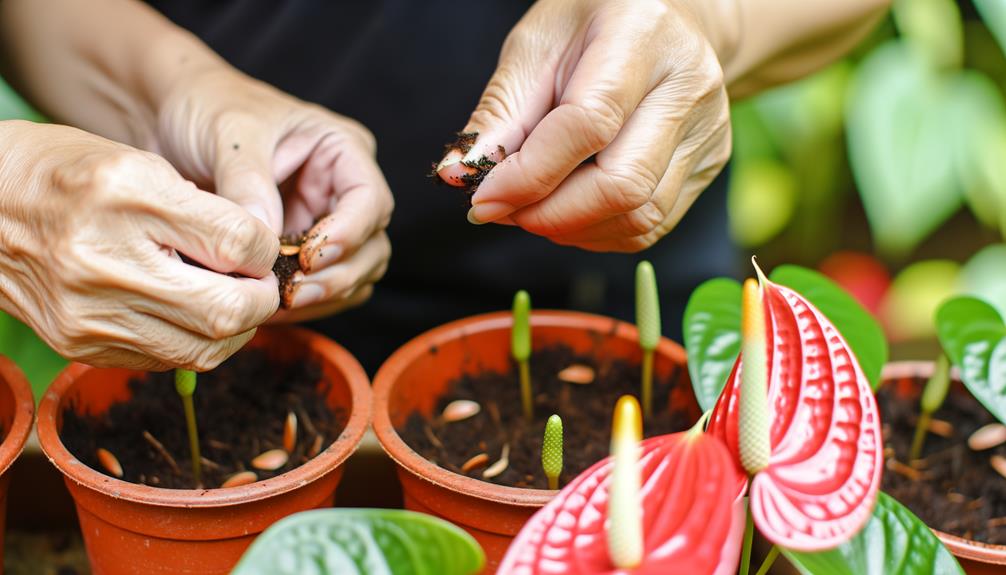
Extract seeds by gently squeezing the spadix, then rinse and dry them. Sow seeds evenly on a sterile, moist seed-starting mix.
Lightly press them into the mix and mist with water. Maintain ideal conditions with high humidity, indirect light, and temperatures between 70-85°F.
Monitor closely for growth. Each step is essential for successful propagation, ensuring vibrant and healthy anthuriums.
Key Takeaways
- Select fully mature and vibrant flowers, free from disease or damage.
- Use sterilized cutting tools and high-quality rooting hormone for clean cuts.
- Prepare a well-draining growing medium using orchid bark, perlite, and peat moss.
- Extract seeds carefully using clean tweezers and rinse with lukewarm water.
- Sow seeds evenly in a sterile seed-starting mix and mist the surface gently.
Step 01: Choose the Right Flowers
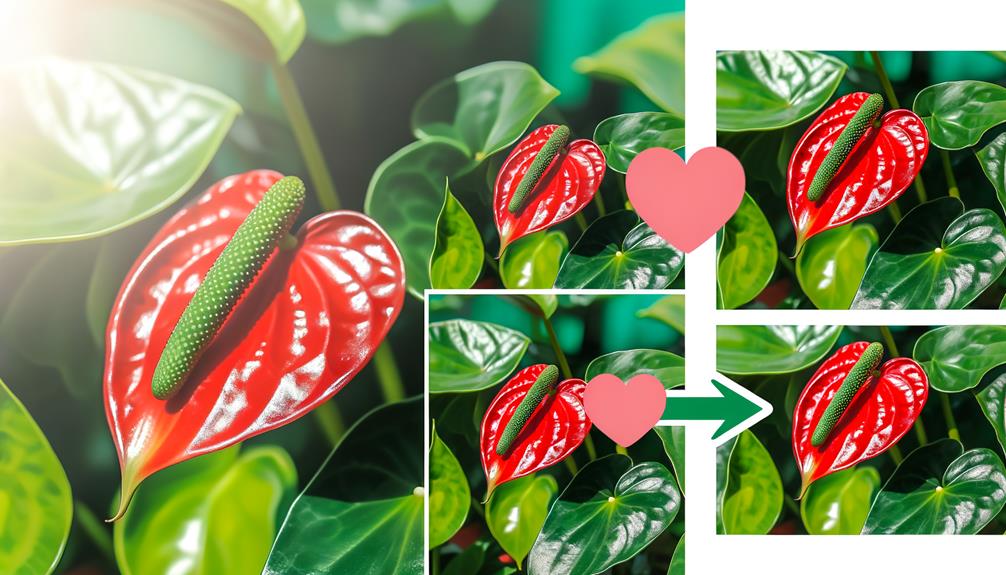
When selecting flowers for propagating Anthurium, make sure they’re fully mature and free from any signs of disease or damage.
You should examine each flower closely for blemishes, discoloration, or wilted parts, as these can hinder successful propagation.
Look for vibrant, healthy flowers with firm petals and stems. The ideal Anthurium flower will have a smooth spadix and evenly-colored spathe. If you notice any spots, molds, or pests, discard that flower to prevent contamination.
Step 02: Gather Necessary Supplies
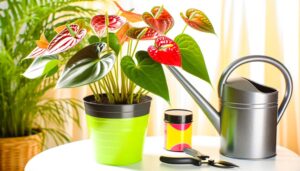
To start propagating Anthurium from flowers, gather all necessary supplies, including sterilized cutting tools, rooting hormone, and a suitable growing medium.
First, make sure your cutting tools, such as scissors or a sharp knife, are sterilized to prevent infections. Use a diluted bleach solution or rubbing alcohol for sterilization.
Next, acquire a high-quality rooting hormone to encourage root development. This hormone can be found in powder, gel, or liquid form.
Finally, select a suitable growing medium. While the specifics of preparing the medium will be discussed later, ensure you have components like peat moss, perlite, or sphagnum moss on hand.
Having these supplies ready guarantees a smooth propagation process, leading to healthy Anthurium plants.
Step 03: Prepare the Planting Medium
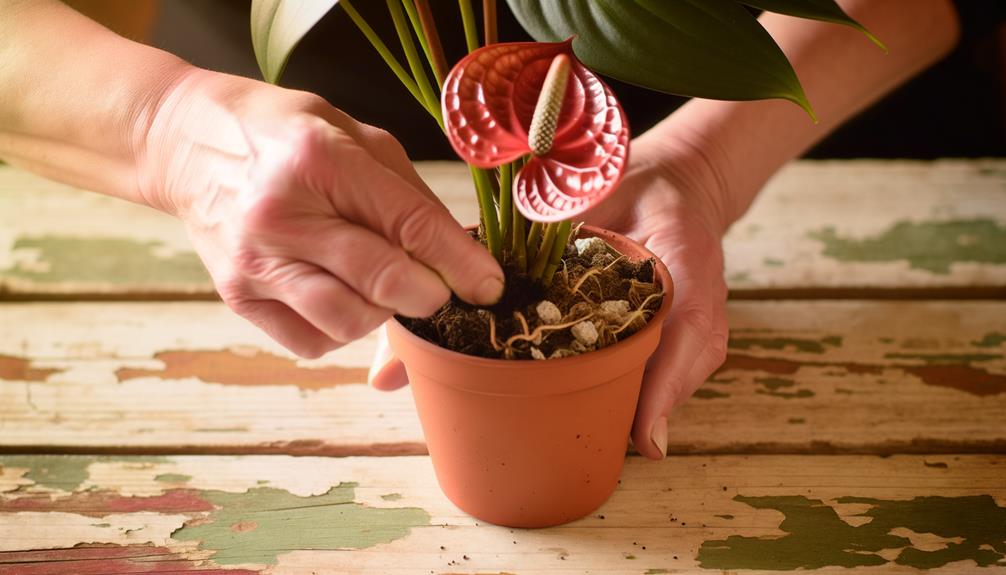
Having gathered all necessary supplies, it’s now time to focus on preparing the planting medium to create ideal conditions for root development.
Start with a well-draining mix, ideally combining equal parts of orchid bark, perlite, and peat moss. This blend offers aeration and moisture retention, vital for young anthurium roots.
Sterilize the medium by baking it at 180°F for 30 minutes to eliminate pathogens. Once cooled, moisten it slightly with distilled water until it’s damp but not soggy.
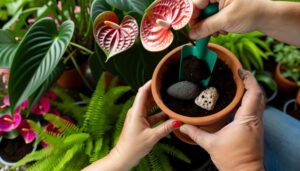
Fill your clean pots or seed trays with this medium, ensuring they have drainage holes to prevent waterlogging.
Step 04: Extract Seeds Carefully
Gently squeeze the anthurium flower’s spadix to release the seeds, making sure you don’t damage the delicate structures. Use a soft, pinching motion, starting from the base and moving upwards.
Collect the tiny seeds on a clean, smooth surface like a piece of paper or a shallow dish. Handle each seed with clean tweezers to avoid contamination.
Inspect the seeds closely; they should be plump and healthy. Discard any that appear shriveled or discolored.
Rinse the viable seeds with lukewarm water to remove any pulp residue. Pat them dry using a lint-free cloth or paper towel.
This meticulous extraction guarantees you’ve gathered the best seeds, setting the stage for successful anthurium propagation.
Step 05: Sow the Seeds Correctly
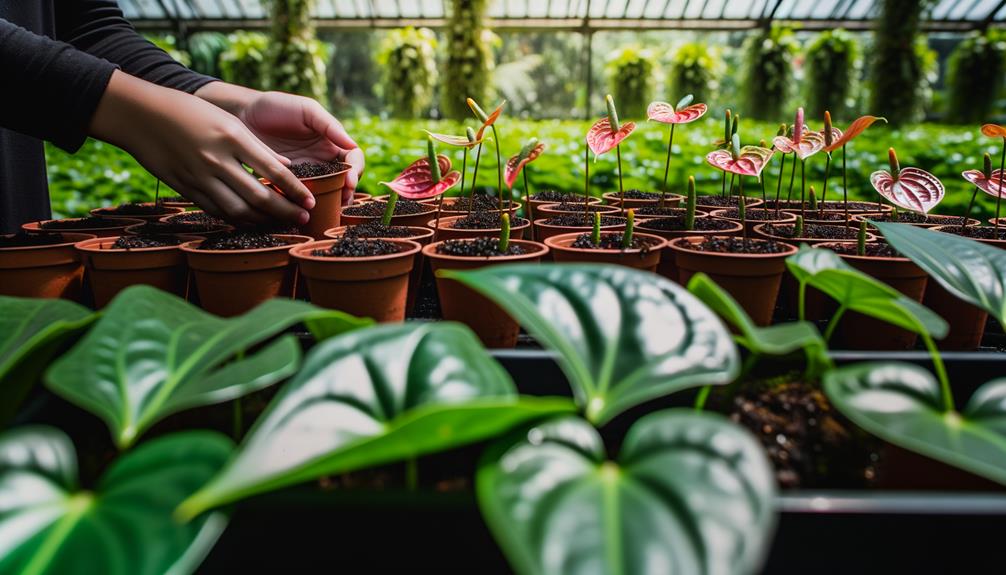
Start by preparing a sterile, well-draining seed-starting mix to secure ideal germination conditions for your anthurium seeds.
Place the seeds on the surface of the mix, making certain they’re spaced evenly to prevent overcrowding. Lightly press the seeds into the mix without burying them, as they need light to germinate.
Mist the surface with water to keep it moist but not waterlogged.
- Use a seed-starting tray with drainage holes.
- Cover the tray with a clear plastic lid to maintain humidity.
- Place the tray in a location with bright, indirect light.
- Monitor regularly to secure the mix stays moist.
Step 06: Maintain Optimal Conditions
To promote successful propagation, you must maintain ideal temperature and humidity levels, ideally between 70-85°F and 80% humidity.
Provide bright, indirect light and keep the soil consistently moist but not waterlogged.
Monitor these conditions closely to promote healthy growth and development of your Anthurium plants.
Temperature and Humidity Control
Maintaining ideal temperature and humidity is essential for successful Anthurium propagation from flowers. Keep the temperature between 70-85°F (21-29°C) to promote optimal growth. Too much fluctuation can impede root development.
Humidity levels should remain around 70-80%; low humidity can cause dehydration, while excessive moisture leads to fungal issues. Consider using a hygrometer and a thermostat for precise control.
- Temperature Range: Maintain 70-85°F (21-29°C)
- Humidity Level: Keep around 70-80%
- Monitoring Tools: Use a hygrometer and thermostat
- Ventilation: Ensure sufficient airflow to prevent mold
Light and Watering Needs
Proper lighting and precise watering schedules are critical for the successful propagation of Anthurium from flowers.
Place your Anthurium in bright, indirect light. Direct sunlight can scorch the leaves, while low light will hinder growth. Guarantee the plant receives 10-12 hours of light daily.
For watering, keep the soil consistently moist but not waterlogged. Use a well-draining potting mix to prevent root rot. Water when the top inch of soil feels dry, typically every 5-7 days. Mist the leaves regularly to maintain humidity levels. Avoid overwatering, as it can lead to fungal issues.
Maintain these conditions meticulously to support the healthy development of your propagated Anthurium, ensuring vibrant and thriving plants for those you serve.
Step 07: Monitor Growth Progress
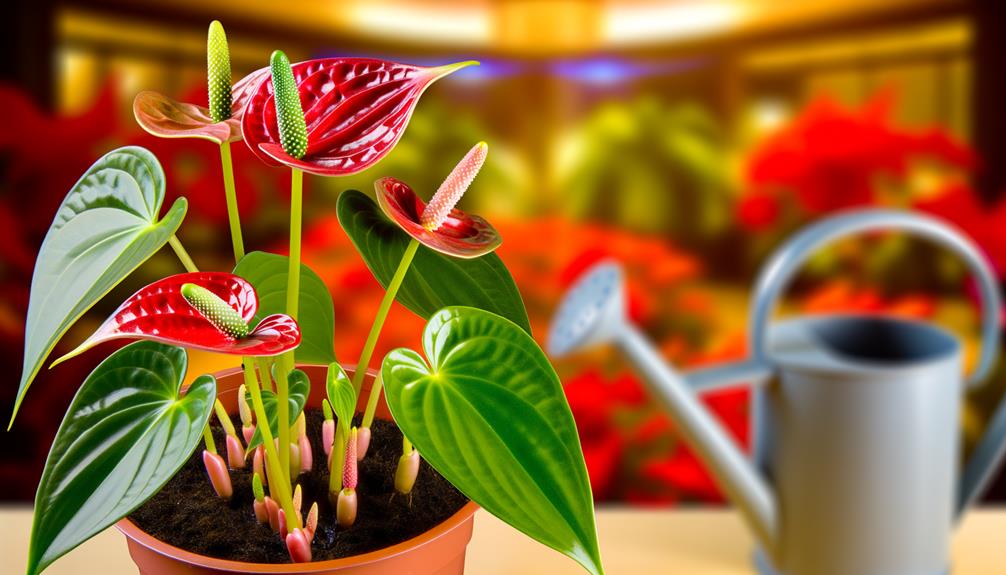
Regularly observe the anthurium’s growth by checking for new leaves and root development, maintaining ideal conditions. Consistent monitoring helps you identify and address issues promptly, enhancing the plant’s health.
Inspect leaves: Look for new growth and guarantee they remain vibrant and free from pests or diseases.
Check root health: Gently lift the pot to view root development, ensuring they’re white and firm, not mushy.
Monitor moisture levels: Keep the soil consistently moist but not waterlogged to prevent root rot.
Adjust conditions: Modify light, temperature, or humidity as needed based on seasonal changes.
Conclusion
Just like the myth of Prometheus bringing fire to humanity, you’ve now discovered the secrets of propagating anthurium from flowers.
With precision and care, you’ve gathered your supplies, prepared your medium, and sown your seeds.
By maintaining best conditions and monitoring growth, you’re set to nurture these plants into stunning floral displays.
Remember, success lies in the details—each step is vital.
You’ve started on a horticultural journey that’s as rewarding as it’s meticulous.

