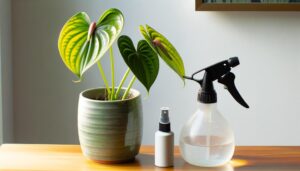
Queen Anthurium Care Guide: A Complete How-To
To care for your Queen Anthurium, make sure it gets bright, indirect light to prevent leaf scorch. Water when the top 1-2 inches of soil are dry using filtered water, and use a well-draining soil mix like orchid bark, perlite, and peat moss.
Maintain humidity between 60-80% by grouping plants or using a water tray with pebbles. Keep temperatures between 65°F to 80°F without sudden drops.
Monitor light intensity, moisture levels, and avoid drafts. You’ll also need to watch for issues like leaf browning from temperature stress.
Continue for detailed techniques and troubleshooting tips.
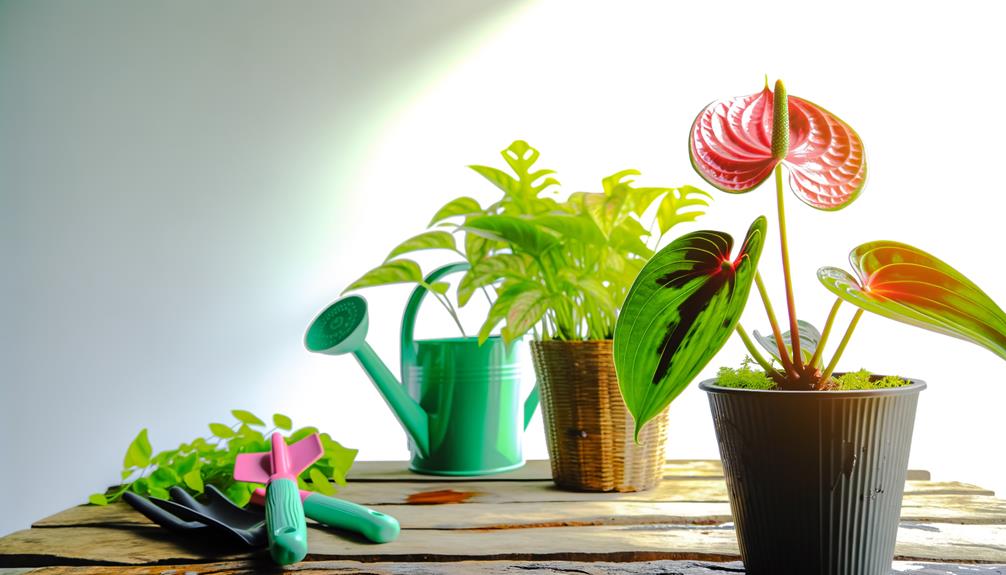
Key Takeaways
- Position Queen Anthurium in bright, indirect light near east or north-facing windows, avoiding direct sunlight to prevent leaf scorch.
- Water when the top 1-2 inches of soil dry out, using filtered or distilled water at room temperature.
- Maintain high humidity levels between 60-80%, using a water tray with pebbles to increase humidity if needed.
- Use a well-draining soil mix of orchid bark, perlite, and peat moss, incorporating charcoal for freshness and drainage.
- Keep temperatures between 65°F to 80°F, avoiding sudden temperature drops and drafts to prevent stress.
Light Requirements
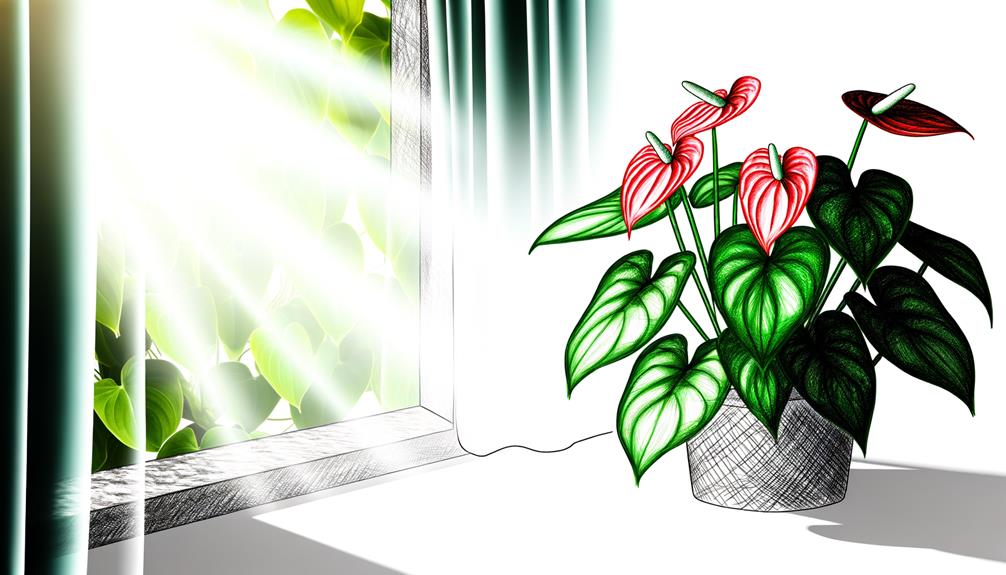
Queen Anthurium thrives most in bright, indirect light, ensuring peak growth and vibrant foliage. Position your plant near an east or north-facing window. Avoid direct sunlight, as it can scorch the delicate leaves.
If natural light is insufficient, use a grow light with a full-spectrum bulb. Maintain a distance of about 12-18 inches from the light source to prevent leaf burn. Rotate the plant weekly to guarantee even light exposure, promoting symmetrical growth.
Monitor the light intensity with a light meter, aiming for 10,000-20,000 lux. Remember, consistent lighting is essential; abrupt changes can stress the plant.
By meticulously managing light conditions, you’ll support the Queen Anthurium’s health, enhancing its vibrant, lush appearance for those you serve.
Watering Guidelines
After establishing the ideal lighting conditions, you should focus on maintaining a consistent watering schedule to prevent root rot and support healthy growth. Use filtered or distilled water, ensuring it’s at room temperature.
Water the Queen Anthurium when the top 1-2 inches of soil feel dry to the touch. Avoid waterlogging by allowing excess water to drain completely. Select a well-draining soil mix to facilitate aeration and prevent water retention.
During the growing season, typically spring through early autumn, increase watering frequency, while reducing it in the dormant winter months. Employ a moisture meter for precise soil moisture assessment.
Humidity Needs
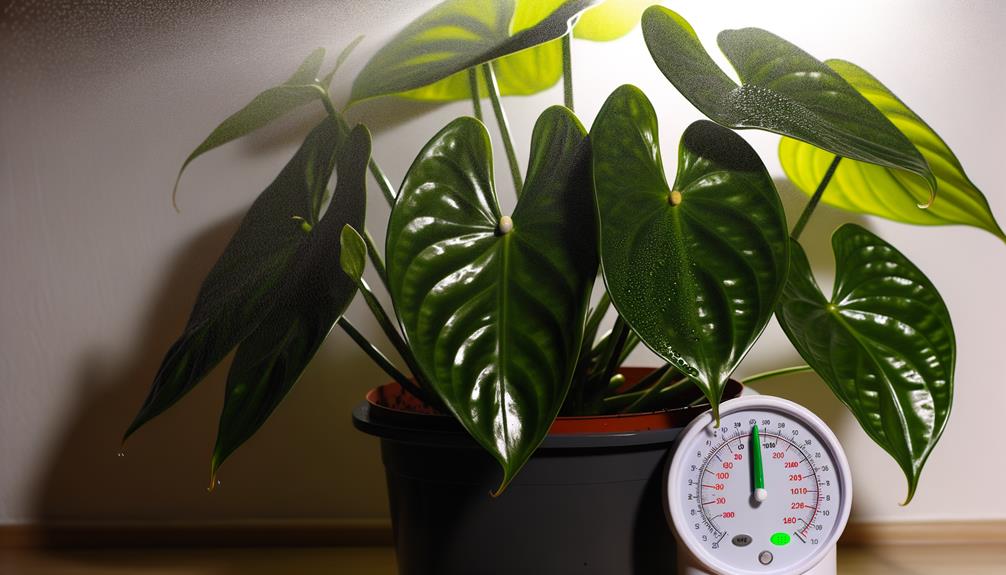
Maintaining high humidity levels, ideally between 60-80%, is important for supporting the Queen Anthurium’s tropical origins and ensuring best growth. You should monitor humidity using a hygrometer and employ a humidifier if necessary.
Grouping plants can also create a micro-humid environment. Misting the foliage can be beneficial, but avoid overdoing it to prevent fungal issues.
Placing a water tray with pebbles beneath the pot allows the water to evaporate, increasing humidity around the plant without waterlogging the roots. Avoid placing your Queen Anthurium near air vents or drafts, as these can reduce humidity.
Consistent humidity levels will help maintain vibrant foliage and prevent browning leaf edges, ensuring your plant thrives in its home environment.
Soil Composition
Proper soil composition is crucial to supporting the moisture and nutrient needs of your Queen Anthurium, ensuring it thrives in its environment. Start with a well-draining, aerated mix. Combine equal parts orchid bark, perlite, and peat moss to create an ideal medium.
Orchid bark enhances aeration, preventing root rot, while perlite improves drainage. Peat moss retains necessary moisture and provides a slightly acidic pH, essential for nutrient uptake.
Incorporate charcoal to maintain freshness and enhance drainage further. Avoid compacted soils which can suffocate roots and retain excess water. Regularly check the soil’s condition, ensuring it remains loose and airy.
Temperature Preferences
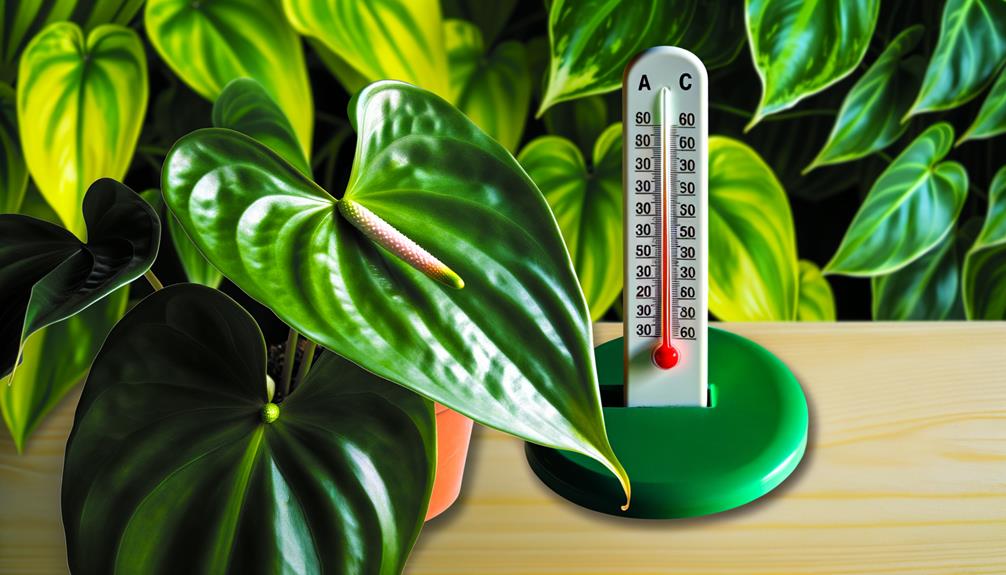
To maximize the health of your Queen Anthurium, maintain an ideal temperature range between 65°F and 80°F.
Be mindful of seasonal temperature changes, as fluctuations can impact plant health.
Watch for temperature stress signs such as leaf browning or wilting and adjust conditions promptly.
Optimal Temperature Range
For best growth, Queen Anthuriums thrive in temperatures ranging from 65°F to 80°F, maintaining a stable environment that mimics their native tropical habitats. Preserving this range is essential for peak photosynthesis and nutrient absorption.
Monitor the ambient temperature closely using a reliable thermometer. Avoid placing your plant near drafts, air vents, or heating elements, as fluctuations can stress the plant. If necessary, employ a room heater or air conditioner to maintain consistency. It’s also advisable to promote good air circulation without exposing the plant to direct airflow.
Seasonal Temperature Changes
While maintaining a stable temperature is critical year-round, Queen Anthuriums also have specific preferences for seasonal temperature changes to promote their peak health and growth. Understanding these nuances guarantees your plant flourishes.
In spring and summer, aim for a temperature range of 70-85°F (21-29°C). During fall and winter, adjust temperatures to 65-75°F (18-24°C).
Here are key pointers to follow:
- Avoid sudden temperature drops: Drastic changes can shock the plant.
- Monitor nighttime temperatures: Keep them above 60°F (16°C).
- Use a thermostat: Regulate indoor climates effectively.
- Consider humidity levels: Higher temperatures necessitate increased humidity.
- Protect from drafts: Prevent exposure to cold or hot drafts.
Temperature Stress Signs
Recognizing temperature stress signs in Queen Anthuriums is important for maintaining their best health and preventing irreversible damage.
These tropical beauties thrive in temperatures between 65°F and 80°F. If exposed to temperatures outside this range, you’ll notice yellowing leaves, wilting, or slowed growth.
Consistently low temperatures can cause leaf browning and root damage, while excessive heat leads to leaf scorching and dehydration.
To mitigate these issues, place your Queen Anthurium in a stable environment away from drafts, radiators, or direct sunlight. Use a digital thermometer to monitor room conditions closely.
If you detect temperature fluctuations, consider using a space heater or humidifier to stabilize the environment. Ensuring ideal temperatures will keep your Queen Anthuriums lush and vibrant.
Common Issues
One of the most common issues with Queen Anthurium care is root rot, often caused by overwatering or poor drainage. To prevent this, make sure your plant’s pot has adequate drainage holes and use a well-aerated, chunky soil mix.
Additionally, watch out for:
- Yellowing leaves: Usually a sign of nutrient deficiency or overwatering.
- Pest infestations: Spider mites and aphids can be managed using neem oil or insecticidal soap.
- Brown leaf tips: Often indicate low humidity; mist your plant or use a humidifier.
- Leggy growth: Due to insufficient light; relocate your plant to a brighter location.
- Leaf spots: Could be fungal infections; trim affected leaves and improve air circulation.
Black Queen Anthurium Care
Caring for a Black Queen Anthurium, a hybrid known for its dark, velvety leaves, involves specific attention to its needs:
- Light: Provide bright, indirect light. Avoid direct sunlight, which can scorch the leaves.
- Watering: Keep the soil consistently moist but not waterlogged. Allow the top inch of soil to dry out between waterings.
- Humidity: Maintain high humidity levels (60-80%). Use a humidifier or place the plant on a humidity tray if needed.
- Temperature: Keep in a warm environment between 65-80°F (18-27°C). Avoid cold drafts and sudden temperature changes.
- Soil: Use well-draining, airy soil, such as a mix of orchid bark, perlite, and peat moss.
- Fertilizing: Feed with a balanced, water-soluble fertilizer every 4-6 weeks during the growing season (spring and summer).
- Repotting: Repot every 1-2 years or when the plant outgrows its pot, using fresh soil mix.
With these care guidelines, your Black Queen Anthurium should thrive and display its striking foliage.
Conclusion
Imagine your Queen Anthurium thriving in a well-lit corner, its glossy leaves shimmering with health. By providing consistent watering, maintaining high humidity, and using a rich, well-draining soil mix, you’re ensuring it flourishes.
Keep temperatures steady, and be vigilant for common issues like root rot or pests. With your expert care, your Queen Anthurium will be a stunning focal point in your indoor garden, showcasing its regal beauty and enchanting presence.


