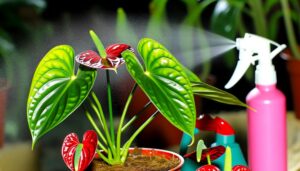
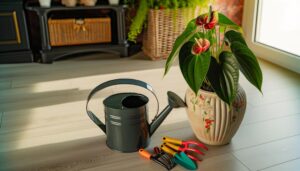
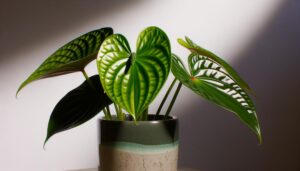
5 Steps to Successful Stem Cutting Anthurium Propagation
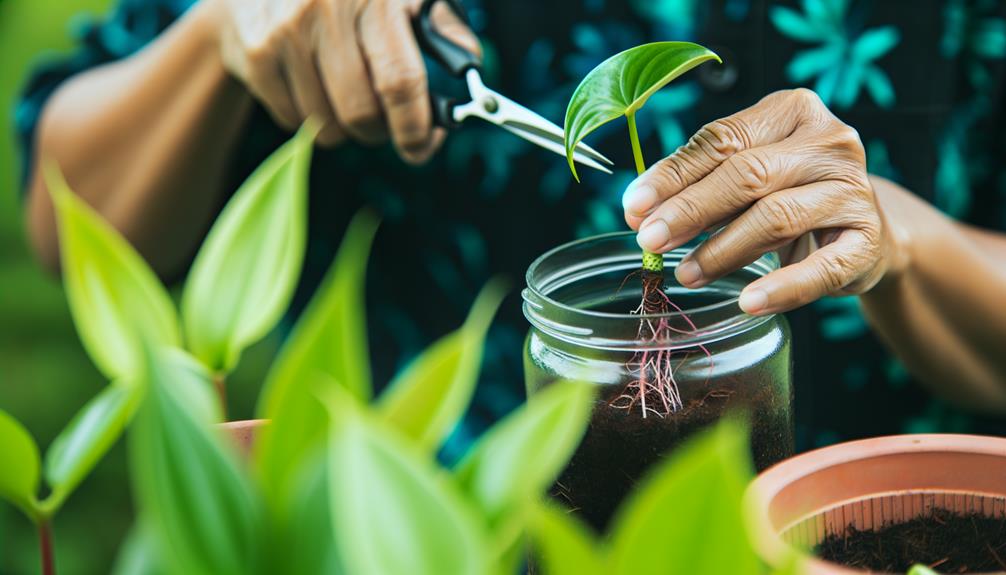
To propagate Anthurium via stem cuttings, start by selecting a vigorous, pest-free parent plant with vibrant foliage. Sterilize pruning shears or a razor blade in a 10% bleach solution, then rinse and sharpen them.
Cut a healthy stem with 2-3 nodes, ensuring it’s 4-6 inches long. Insert the cutting into well-draining potting mix, burying at least one node.
Maintain high humidity, stable temperatures of 70-85°F, and bright, indirect light. Regularly check soil moisture and fertilize monthly with a diluted, balanced fertilizer.
Implement these steps meticulously, and your propagation efforts will yield thriving new plants, continuing to cultivate your Anthurium knowledge further.
Key Takeaways
- Select a healthy, pest-free parent Anthurium plant with vibrant foliage.
- Sterilize and sharpen cutting tools to ensure clean cuts and prevent disease.
- Make stem cuttings with at least two nodes and remove any damaged leaves.
- Plant cuttings in well-draining potting mix, keeping one node buried.
- Provide bright, indirect light, maintain high humidity, and monitor soil moisture.
Step 01: Select Healthy Parent Plant
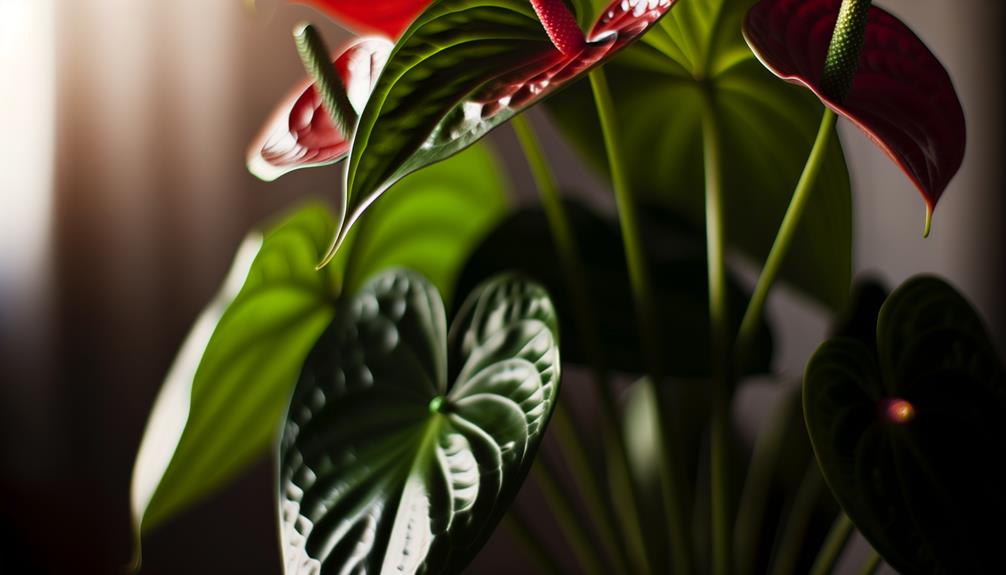
To secure successful propagation, choose a vigorous and pest-free Anthurium plant that shows strong growth and vibrant foliage. Confirm the parent plant has no signs of disease or nutrient deficiency, as these elements can affect the health of your cuttings.
Search for firm, green stems and leaves that are clear of yellowing or browning. Examine the underside of the leaves for pests like aphids or spider mites, which can impede propagation success.
Step 02: Prepare Cutting Tools
Ensuring your cutting tools are sterilized and sharp is essential for preventing disease transmission and making clean cuts. First, select high-quality pruning shears or a sterilized razor blade.
Immerse the tool in a 10% bleach solution for 5-10 minutes to eradicate pathogens. Rinse the tool thoroughly with sterile water to remove any residual bleach, which can be harmful to the plant tissue.
Sharpen the cutting edge using a whetstone or sharpening tool, ensuring a fine, clean edge to minimize tissue damage. Properly maintained tools not only facilitate precise cuts but also enhance the overall success rate of your anthurium propagation efforts.
Step 03: Make the Stem Cuttings
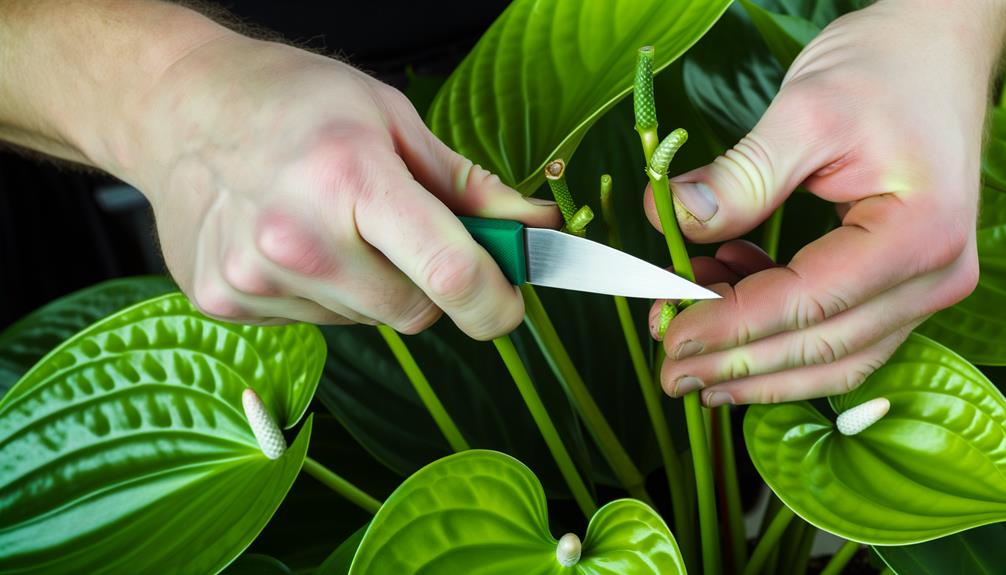
Begin by selecting a healthy, mature anthurium stem with at least two or three nodes and a few leaves. Using sterilized pruning shears, make a clean cut just below a node. Verify the cuttings are 4-6 inches long. Remove any damaged or yellowing leaves to reduce stress on the cutting.
| Step | Description |
|---|---|
| 1. Identify | Choose a healthy stem |
| 2. Cut | Use sterilized shears |
| 3. Measure | Confirm 4-6 inch length |
| 4. Remove Leaves | Discard damaged foliage |
| 5. Prepare | Ready cuttings for planting |
Place the cuttings in a clean, damp paper towel to maintain hydration. Keep them out of direct sunlight until you’re set to plant.
Step 04: Plant the Cuttings
Carefully insert each prepared cutting into a well-draining potting mix, ensuring that at least one node is buried. This step is essential for successful root development. Position the cuttings upright and firm the soil around them to remove air pockets.
To optimize growth, follow these steps:
- Select the Right Container: Use small pots with drainage holes to prevent waterlogging.
- Maintain Humidity: Place the pots in a humidity dome or plastic bag to maintain high humidity levels.
- Provide Indirect Light: Position the cuttings in a location with bright, indirect light.
- Monitor Soil Moisture: Keep the soil consistently moist but not soggy to encourage root formation.
Step 05: Care for New Plants
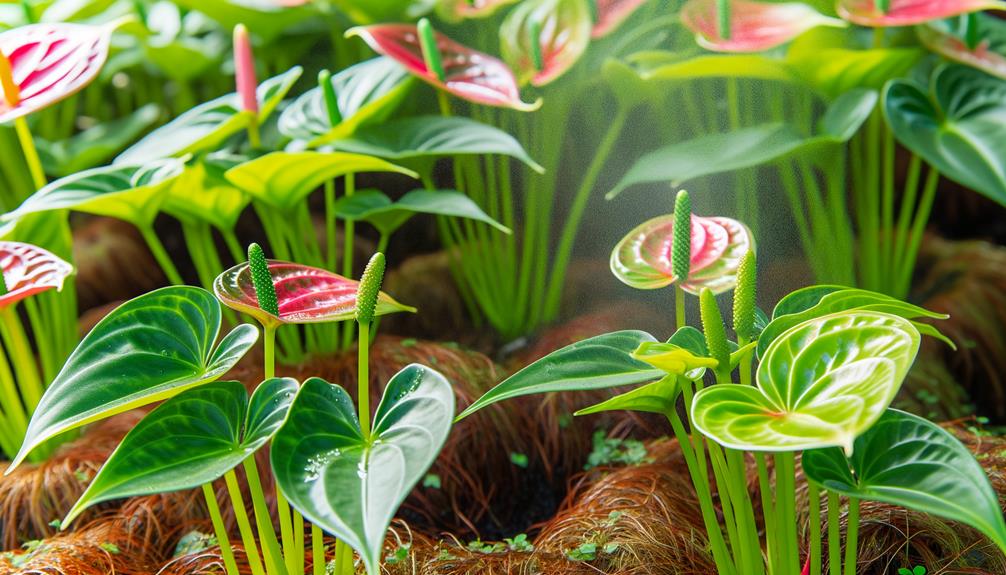
Regular monitoring and adjustment of environmental conditions are crucial to support the healthy growth of your newly propagated anthurium plants. Maintain a stable temperature between 70-85°F, and guarantee high humidity levels around 80%.
Use a humidity tray or mist the plants daily. Position them in bright, indirect light to prevent leaf scorching. Check soil moisture regularly; keep it moist but not waterlogged to avoid root rot.
Fertilize monthly with a balanced, water-soluble fertilizer diluted to half strength. Inspect for pests like aphids and mites, treating with insecticidal soap if necessary. Prune any yellowing or dead leaves to encourage new growth.
How to Propagate American Anthurium
Propagating American Anthurium, commonly known as Anthurium andreanum, can be done through division or stem cuttings.
Here’s a step-by-step guide for both methods:
Propagating via Division:
- Remove the Plant: Carefully take the Anthurium out of its pot.
- Divide the Roots: Gently separate the root ball, ensuring each division has at least one stem with leaves and a healthy portion of roots.
- Replant the Divisions: Plant each division in its own pot with a well-draining potting mix suitable for Anthuriums, such as a mix of orchid bark, perlite, and peat moss.
- Water and Care: Water the new plants thoroughly and place them in a location with bright, indirect light. Maintain high humidity.
Propagating via Stem Cuttings:
- Select a Healthy Stem: Choose a healthy stem with a few leaves.
- Cut the Stem: Using sterilized scissors or pruning shears, cut the stem just below a node (where leaves attach).
- Remove Lower Leaves: Remove any leaves near the base of the cutting to expose the nodes.
- Prepare the Cutting: Allow the cutting to dry for a few hours to callous over.
- Rooting Medium: Plant the cutting in a well-draining potting mix, such as a mix of perlite, peat moss, and orchid bark.
- Water and Humidity: Water the cutting well and cover it with a plastic bag to maintain high humidity, ensuring the bag doesn’t touch the leaves.
- Light and Temperature: Place the cutting in a warm area with bright, indirect light.
- Monitor for Roots: Roots should start to develop in a few weeks. Check for resistance when gently tugging the cutting to see if roots have formed.
Both methods can successfully propagate American Anthurium when done with care and attention to the plant’s needs.
Conclusion
By following these five steps, you’ll begin on a propagation journey akin to a gardener’s alchemy.
Selecting a healthy parent plant, preparing your cutting tools, making precise stem cuttings, planting them correctly, and providing diligent care will transform your efforts into thriving anthuriums.
Patience and attention are your allies, just as they were for Mendel in his meticulous plant experiments.
Embrace this process, and you’ll witness the magic of life unfolding in your own home.

