Trim Your Anthurium Plant in 3 Easy Steps
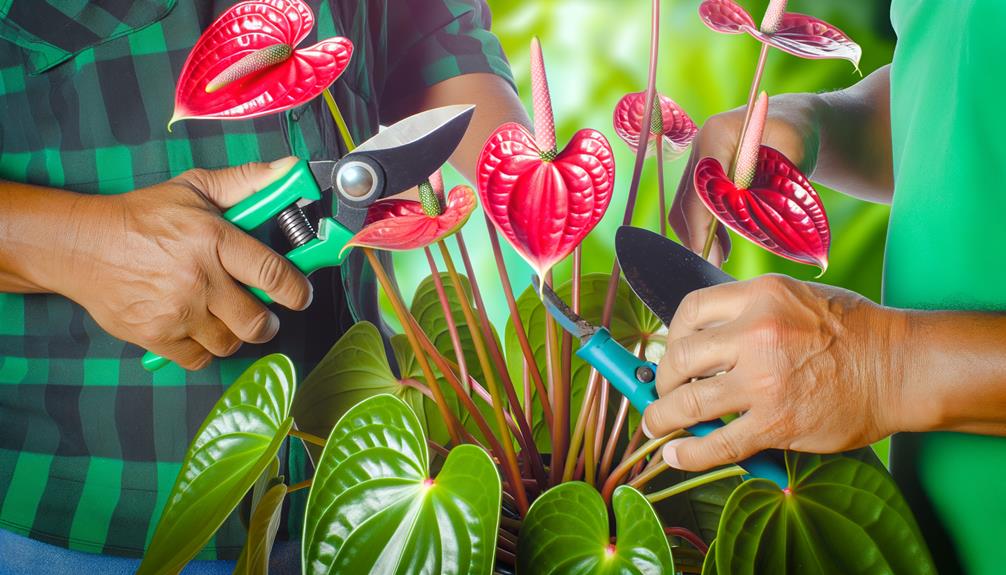
To efficiently trim your Anthurium plant in three easy steps, start by gathering sterilized pruning shears, rubbing alcohol, and gloves. Clean your tools with rubbing alcohol to make sure they’re sterile.
Next, identify and cut any dead, discolored, or wilted leaves using your shears to promote healthy growth and prevent pest infestations.
Finally, prune for shape and growth by cutting back leggy stems and thinning crowded areas, making clean cuts above nodes or leaf junctions.
Remember to remove no more than 20% of foliage to avoid stressing the plant. By following these steps, you can maintain a vigorous, aesthetically pleasing Anthurium.
Key Takeaways
- Use sterilized pruning shears and gloves to ensure clean cuts and protect your hands.
- Identify and cut away discolored or wilted leaves to improve plant appearance and health.
- Trim back leggy stems above a node to promote robust growth and better shape.
- Remove no more than 20% of foliage during pruning to prevent plant stress.
- Perform pruning in early spring or summer for optimal plant response and health.
Step 01: Gather Your Tools
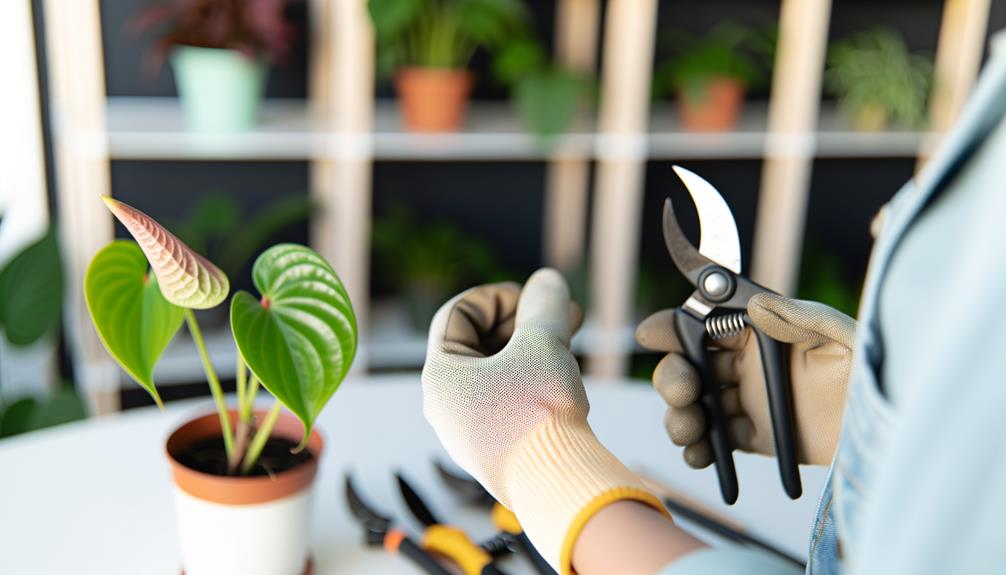
To efficiently trim your Anthurium plant, make certain you’ve gathered essential tools like sterilized pruning shears, rubbing alcohol, and a pair of gloves. Start by cleaning your tools with rubbing alcohol to prevent disease transmission.
Sterilized pruning shears guarantee you make clean cuts without damaging the plant tissues. After cleaning, store your tools in a dry, proper storage area to maintain their condition. This prevents rust and keeps them sharp for future use.
Wearing gloves protects your hands from potential irritants in the plant sap. By using clean tools and guaranteeing their proper storage, you’re setting the stage for effective and healthy trimming, which promotes your Anthurium plant’s overall health and growth.
Step 02: Identify and Cut Dead Leaves
With your tools ready, begin by examining your Anthurium for any discolored, wilted, or dried leaves that indicate they’re dead or dying. These leaves not only detract from the plant’s appearance but can also harbor pests.
Using sharp, sterilized pruning shears, make a clean cut at the base of the stem where the leaf attaches.
This minimizes damage and reduces the risk of infection. Properly disposing of these leaves is pivotal for effective pest control strategies, ensuring pests don’t spread.
Regularly removing dead leaves can also improve air circulation, which is beneficial for the plant’s overall health.
Understanding these steps will complement various propagation methods, ensuring your Anthurium thrives and remains vibrant.
Step 03: Prune for Shape and Growth
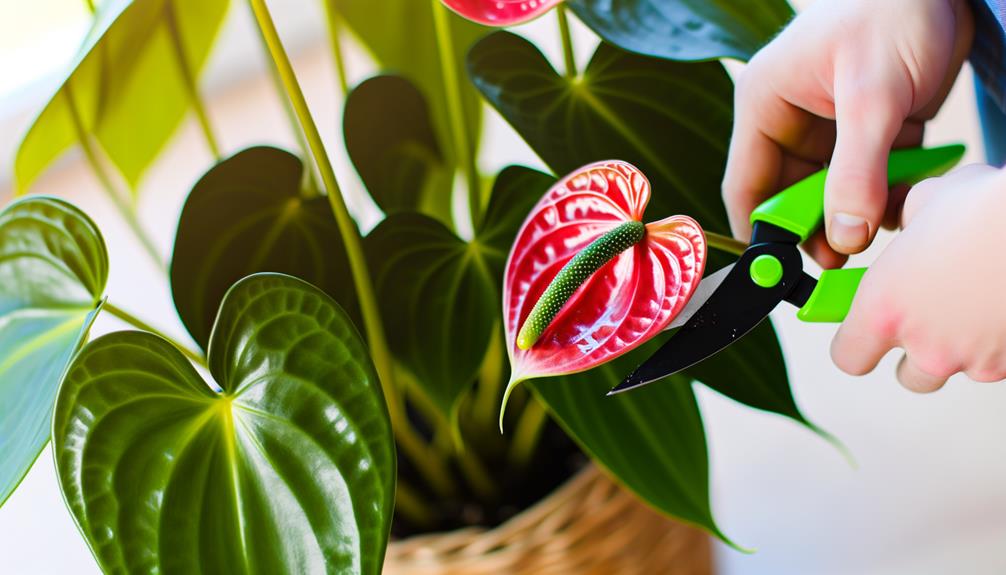
When you prune your Anthurium for shape and growth, focus on cutting back leggy stems and selectively thinning out crowded areas to promote robust development and an aesthetically pleasing form. Use sterilized pruning shears to make clean cuts just above a node or leaf junction.
This will encourage new growth and help maintain plant health. Be methodical—remove no more than 20% of the plant’s foliage at a time to prevent stress.
| Task | Tools Needed | Best Time to Prune |
|---|---|---|
| Cut back leggy stems | Sterilized pruning shears | Early spring or summer |
| Thin out crowded areas | Sharp, clean scissors | During active growth |
| Remove no more than 20% foliage | Clean hands/pruners | Throughout growing season |
Avoid excessive pruning to guarantee the plant remains vigorous.
Conclusion
Now that you’ve trimmed your anthurium plant, you’ll see it flourish. Worried about harming your plant? Don’t be. By removing dead leaves and shaping it properly, you’re actually promoting healthier growth.
Remember to sterilize your tools to prevent disease, and always make clean cuts. With these steps, your anthurium will thrive and add vibrant beauty to your space.
Happy pruning!

