7 Easy Steps to Repot Your Anthurium Plant
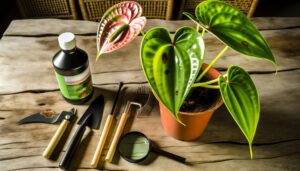
Repotting your Anthurium is straightforward. First, gather supplies: potting mix, new pot, pruning shears, and gloves.
Second, choose a pot slightly larger with drainage holes and terracotta for breathability. Prepare fresh soil using orchid bark, peat moss, and perlite.
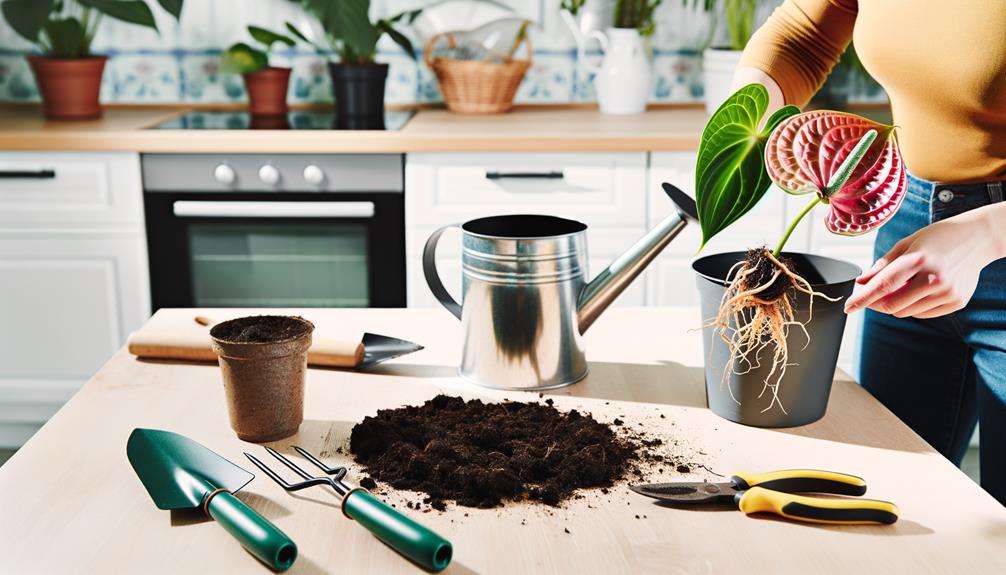
Carefully remove the Anthurium from its old pot, making sure to trim and inspect the roots. Position the plant in its new pot, ensuring it’s upright.
Fill around the roots with the fresh soil mix and lightly firm it. Finally, water thoroughly until it drains, ensuring the soil settles around the roots.
Continue learning to perfect your repotting skills.
Key Takeaways
- Choose a slightly larger pot with ample drainage holes and add a layer of small stones at the bottom.
- Mix orchid bark, peat moss, and perlite for a well-draining potting mix.
- Place the Anthurium in the new pot, gently filling in the mix around the roots and firming lightly.
- Water thoroughly until excess moisture drains, then let the soil dry slightly between waterings.
- Position the pot in a well-lit area with bright, indirect light.
Step 01: Gather Your Supplies
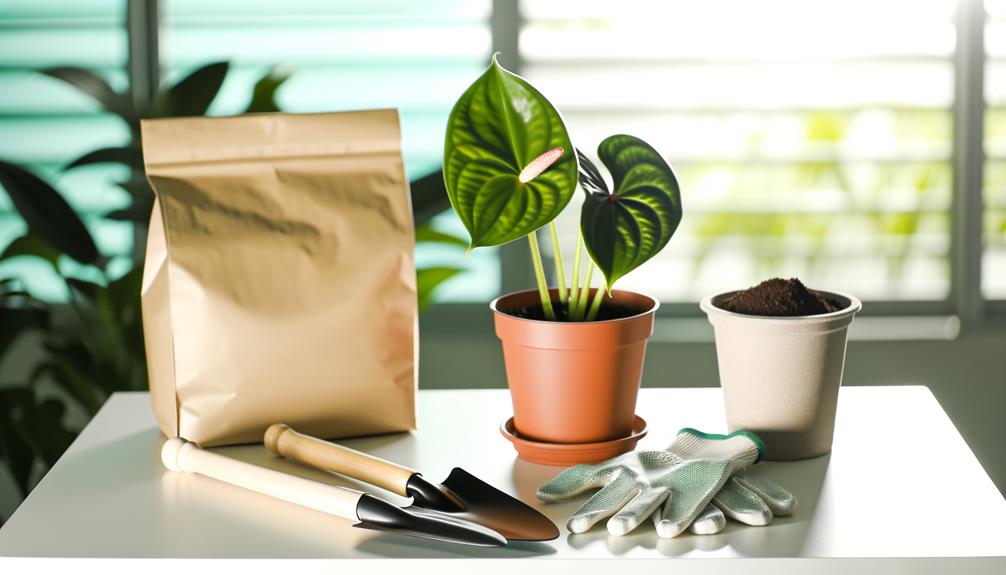
To repot your Anthurium plant, first gather essential supplies: a new pot, fresh potting mix, pruning shears, and gloves.
Choose a potting mix that ensures ideal plant health. Recommended options include a blend of orchid bark, peat moss, and perlite. This mixture provides excellent aeration and drainage, essential for root health.
When selecting a location to repot, consider placement considerations and lighting needs. Anthuriums thrive in bright, indirect light, so choose a well-lit area that avoids direct sunlight, which can scorch the leaves.
Wear gloves to protect your hands and use pruning shears to trim any dead or damaged roots. Following these steps accurately will promote a healthy environment for your Anthurium to flourish.
Step 02: Choose the Right Pot
When selecting a pot for your Anthurium, make sure it’s only slightly larger than the current one to prevent root rot.
Prioritize containers with ample drainage holes to facilitate proper water flow. Additionally, opt for a material like terracotta that promotes breathability and moisture regulation.
Pot Size Matters
Choosing the right pot size for your Anthurium is crucial to guarantee optimal root development and overall plant well-being. Opt for a pot that’s 1-2 inches larger in diameter than the current one. This allows ample space for root health without overwhelming the plant.
During transplanting, gentle techniques help minimize root damage, promoting strong growth. Avoid common potting mistakes like selecting a too-large pot, which can retain excess moisture and lead to root rot. Conversely, a pot that’s too small limits root expansion, hindering plant growth.
Drainage Is Crucial
Ensuring your Anthurium’s pot has proper drainage is equally important as selecting the correct size, as it prevents waterlogged roots and promotes healthy growth.
Start by checking that your chosen pot has multiple drainage holes. These holes allow excess water to escape, preventing root rot.
Before filling the pot, place a layer of small stones or broken pottery at the bottom to enhance drainage.
Next, check soil moisture levels frequently and make sure the potting mix is well-draining. You may need to adjust drainage by incorporating perlite, orchid bark, or coarse sand into the soil mix to improve aeration.
Always water your Anthurium thoroughly but let the soil dry out slightly between waterings to maintain the best root health.
Material Considerations
Selecting the right pot material for your Anthurium is crucial for regulating moisture levels and promoting robust plant health.
Choose a pot that provides excellent drainage to prevent waterlogging, which can compromise root health.
Terracotta pots are ideal due to their porous nature, promoting air circulation and moisture evaporation.
Plastic pots retain moisture longer, which can be beneficial if your potting mix drains quickly. Make sure the pot has ample drainage holes to facilitate excess water runoff.
When selecting the size, opt for a pot slightly larger than the current one to allow growth without overwhelming the root system. Always use a high-quality potting mix tailored for Anthuriums, rich in organic matter, to support peak root health and nutrient uptake.
Step 03: Prepare Fresh Soil
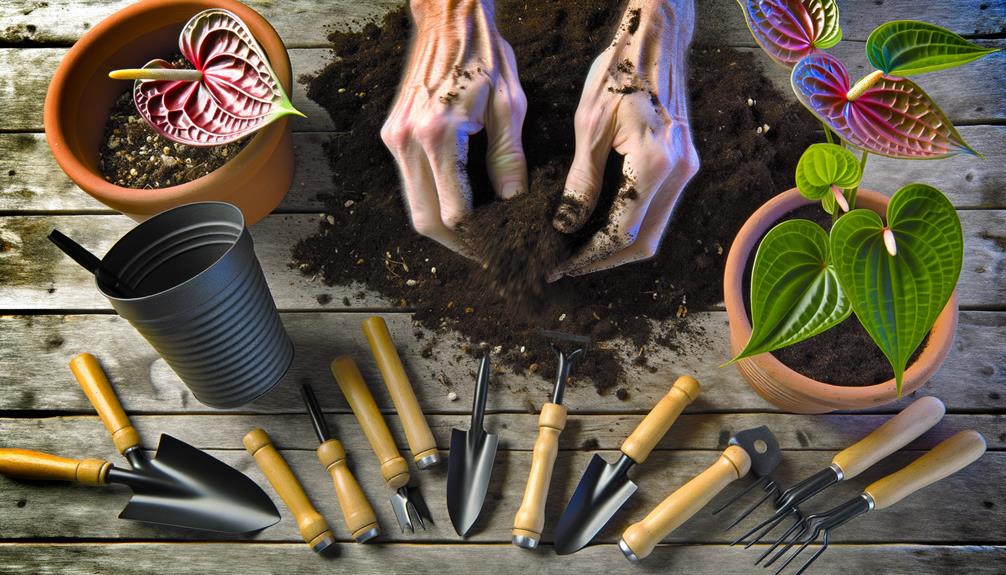
To prepare fresh soil for your Anthurium, start by selecting a nutrient-rich potting mix that’s high in organic matter.
Confirm the mix has excellent drainage capabilities to prevent waterlogging and root rot. Additionally, maintain a balanced pH level around 5.5 to 6.5 to optimize nutrient uptake.
Choose Nutrient-Rich Mix
When repotting your Anthurium, opt for a nutrient-rich combination that’s well-draining and specifically designed for tropical plants. The ideal soil composition includes a mix of orchid bark, peat moss, and perlite.
This blend guarantees proper aeration and moisture retention, essential for your Anthurium’s root health. Adjust your watering frequency accordingly; the soil should remain moist but not waterlogged.
Anthuriums thrive under bright, indirect light exposure and prefer temperatures between 65°F and 80°F. Ensure the soil mix supports these conditions by promoting healthy root development and nutrient uptake. Avoid using standard potting soil, as it may retain excessive water, leading to root rot. By providing the right mix, you’ll create an ideal environment for your Anthurium to flourish.
Ensure Proper Drainage
Ensuring appropriate drainage is crucial for repotting your Anthurium, as it prevents water accumulation that can lead to root rot.
Start by selecting a well-draining potting mix, ideally one formulated for epiphytes. Combine equal parts of orchid bark, peat moss, and perlite. This mix balances moisture retention and aeration, reducing the need for frequent watering.
Next, choose a pot with drainage holes to allow excess water to escape. Position your Anthurium where it receives indirect light exposure and maintain temperature requirements around 70-85°F. These conditions help in regulating watering frequency and prevent over-saturation.
Balance Ph Levels
Balancing the pH levels of your soil is crucial for the optimal growth of your Anthurium plant. Begin by testing the soil to determine its current pH level.
Anthuriums flourish in slightly acidic soil with a pH of 5.5 to 6.5. If your soil is outside this range, you’ll need to add amendments.
For acidic soil, incorporate lime to raise the pH. For alkaline soil, add sulfur or peat moss to lower it. Here’s a quick guide:
| Soil Condition | pH Range | Amendment Needed |
|---|---|---|
| Too Acidic | < 5.5 | Lime |
| Ideal | 5.5-6.5 | None |
| Too Alkaline | > 6.5 | Sulfur/Peat Moss |
Regularly testing and adjusting will guarantee your Anthurium thrives.
Step 04: Remove the Plant
Gently grasp the base of the Anthurium, making sure to support the root ball, and carefully lift the plant out of its current pot.
Make sure the plant’s crown remains intact to prevent damage. If the roots seem tightly bound, gently loosen them with your fingers. This process is essential for preparing the roots for potential root pruning and future growth.
Check the pot size you’re transferring the plant to; it should be slightly larger than the previous one to accommodate growth without overwhelming the root system.
To facilitate removal, you might need to gently tap the sides of the current pot or run a small tool around the pot’s perimeter to loosen the soil and roots.
Step 05: Trim and Inspect Roots
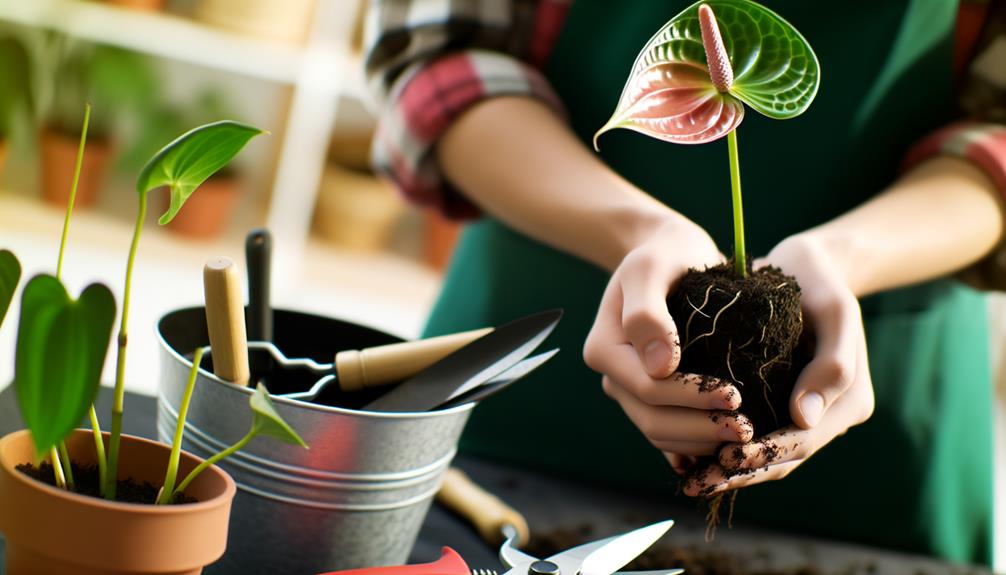
After successfully removing your Anthurium from its pot, carefully inspect the root system for any signs of rot, damage, or overcrowding. Start by gently shaking off excess soil to better view the roots.
Healthy roots should be white and firm. Trim away any brown, mushy, or damaged roots using sterilized pruning shears. This root trimming promotes overall root health and prevents future issues.
During this process, take a moment for pot inspection. Confirm the new pot size is appropriate; it should be slightly larger than the original to allow room for growth.
This step guarantees your Anthurium will thrive in its new environment, free from root-bound conditions or disease.
Step 06: Position in New Pot
Carefully place your Anthurium in the center of the new pot, making sure the roots spread evenly without bending or overcrowding.
Adjust the plant height so that the base of the stem is level with the pot’s rim. This positioning guarantees appropriate potting depth, which is essential for healthy growth. Avoid planting too deep, as this can lead to stem rot, or too shallow, which can leave roots exposed.
Once the plant is positioned correctly, gently fill in around the roots with the potting mix, firming it lightly to eliminate air pockets. Ensure the plant remains upright and stable.
Monitoring plant height and potting depth guarantees your Anthurium will thrive in its new environment.
Step 07: Water and Settle
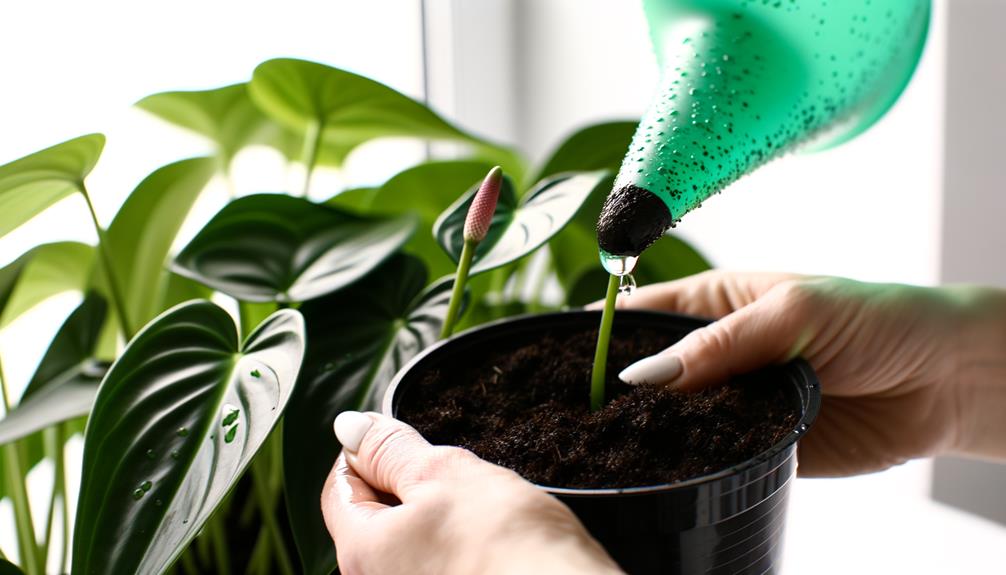
Once the Anthurium is positioned and secured in its new pot, water it thoroughly until you see excess moisture draining from the bottom. This initial watering helps to settle the soil around the roots, ensuring proper soil moisture.
Be sure the pot has good drainage to avoid waterlogging, which can compromise root health. After watering, check that the soil remains evenly moist but not soggy; this balance is essential for promoting robust root development.
Monitor the plant over the next few days, adjusting your watering schedule as needed to maintain ideal soil moisture. Consistent care at this stage prevents stress on the Anthurium and encourages healthy growth in its new environment.
Conclusion
Coincidentally, by following these steps, you’ll not only repot your anthurium but also enhance its overall health. With your newfound knowledge, you’ll maximize growth and vibrant blooms.
Remember, selecting the appropriate pot, preparing fresh soil, and trimming roots are essential. Your anthurium’s roots will appreciate the extra space, and you’ll enjoy a thriving plant.
Now, give it a good watering and watch it settle into its new home beautifully!


