Anthurium Propagation PDF – 3 Easy Steps to Grow Your Own
Propagating anthuriums at home is straightforward if you follow three essential steps. First, gather your materials: sterilized shears, a pot with drainage holes, well-draining soil, and rooting hormone.
Next, prepare your cuttings by selecting a healthy stem with at least two nodes, making a clean cut below a node, dipping it in rooting hormone, and allowing it to callus. Finally, plant the cutting, bury the node just below the soil surface, water thoroughly, and place it in bright, indirect light.
Keep the soil moist and monitor for root establishment. There's more to mastering these techniques and ensuring successful growth.
Key Takeaways
- Select a healthy Anthurium stem with at least two nodes for propagation.
- Make a clean cut below a node using sterilized pruning shears.
- Dip the cut end in rooting hormone and let it callus over.
- Plant the prepared cutting in a pot with well-draining soil mix.
- Keep the soil moist, provide bright indirect light, and maintain humidity.
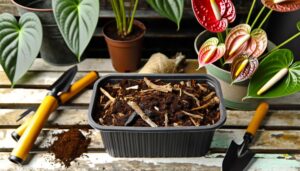
Gather Your Materials
To start propagating Anthurium, you'll need to gather necessary materials including sterilized pruning shears, a tidy pot, well-draining soil mix, and rooting hormone.
First, make sure your pruning shears are sterilized to prevent introducing pathogens. Use a solution of one part bleach to nine parts water.
Next, choose a neat pot with drainage holes to avoid waterlogging. Fill it with a well-draining soil mix; a combination of peat, perlite, and pine bark works well.
Finally, acquire rooting hormone to promote root development. This hormone contains auxins, which are essential for root formation.
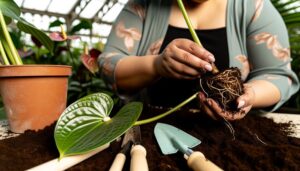
Prepare the Cuttings
Carefully select a healthy Anthurium stem with at least two nodes and a few leaves to guarantee successful propagation. Using sterilized pruning shears, make a clean cut just below a node. Remove any lower leaves to prevent rot when planted.
Dip the cut end into a rooting hormone powder to enhance root development. Maintain the cutting in a clean environment to avoid contamination. Let the cutting air dry for a few hours to callus over, which helps prevent fungal infections.
Once the cut end is callused, it's ready for planting. This meticulous preparation stage ensures the cutting's vascular system is intact, optimizing nutrient uptake and increasing the likelihood of successful root formation.
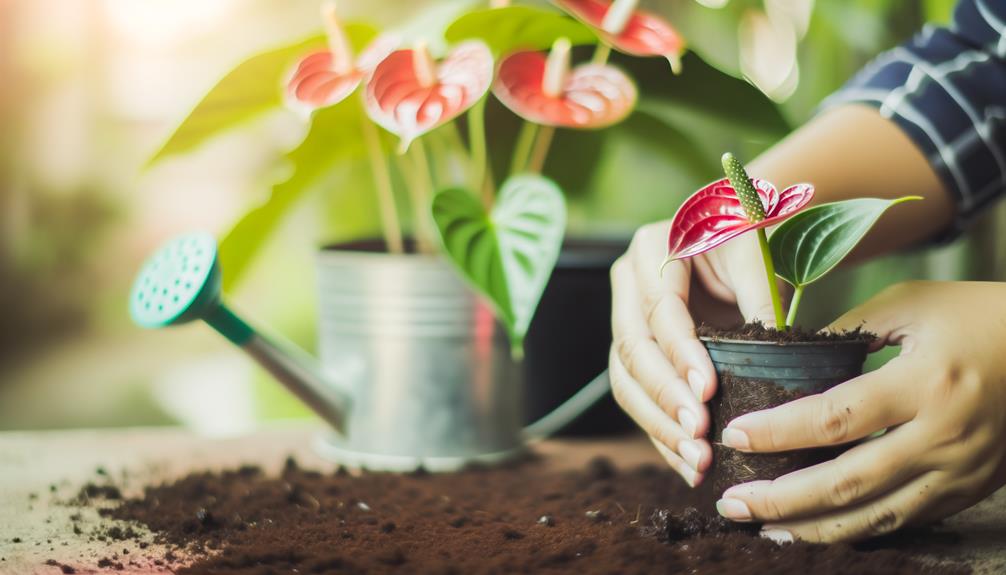
Plant and Nurture
Place the callused cutting into a pot filled with a well-draining potting mix, ensuring the node is buried just below the soil surface.
Firmly press the soil around the cutting to eliminate air pockets.
Water the potting mix thoroughly until water drains out of the bottom.
Position the pot in a location with bright, indirect light, maintaining temperatures between 70-85°F (21-29°C).
Keep the soil consistently moist but not waterlogged; misting can help maintain humidity levels.
Monitor the cutting for new growth, indicating root establishment.
After 4-6 weeks, gently tug the cutting to check for resistance, signaling successful rooting.
Continue to nurture the plant by providing balanced liquid fertilizer every 4-6 weeks during the growing season.
Conclusion
Now, you've got the knowledge to transform a single anthurium into a thriving garden. Imagine vibrant red blooms juxtaposed with lush green leaves, a tribute to your effort.
By gathering materials, preparing cuttings, and carefully planting, you're not just growing plants; you're nurturing life. Each step, from the precise cut to the tender care, brings scientific precision to a beautiful, natural outcome.
Your green thumb is now ready for action. Happy propagating!